How to Make Artisan Gluten-Free Sourdough Bread from Scratch
Discover an authentic gluten-free sourdough bread recipe on thenextrecipes.com. This incredible baking guide combines a wild yeast starter, nourishing ancient flours, and a crispy crust into an unforgettable artisanal loaf.
Table of Contents
The Ultimate Gluten-Free Sourdough Bread Recipe For Your Healthy Kitchen on thenextrecipes.com
Introduction
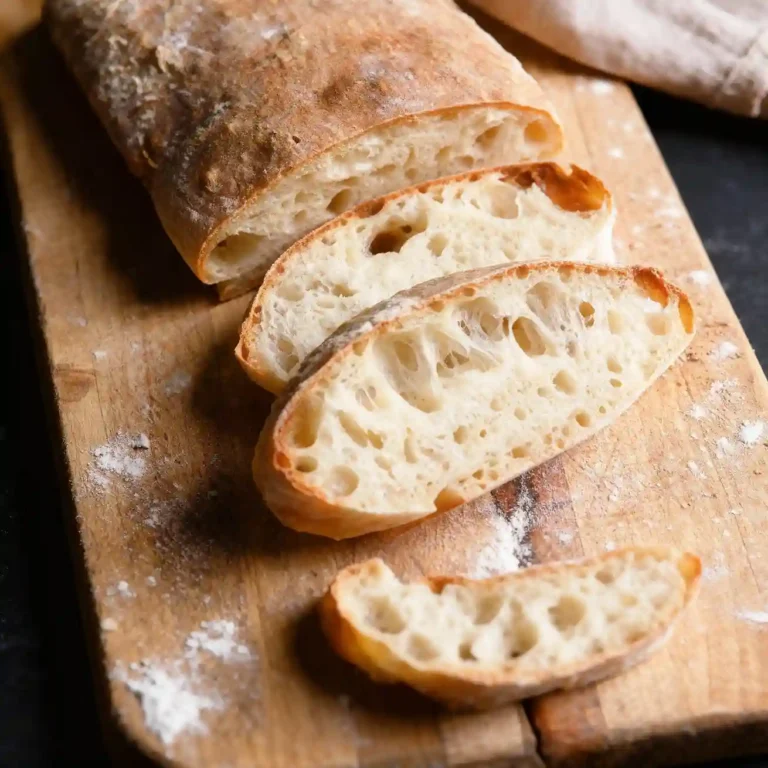
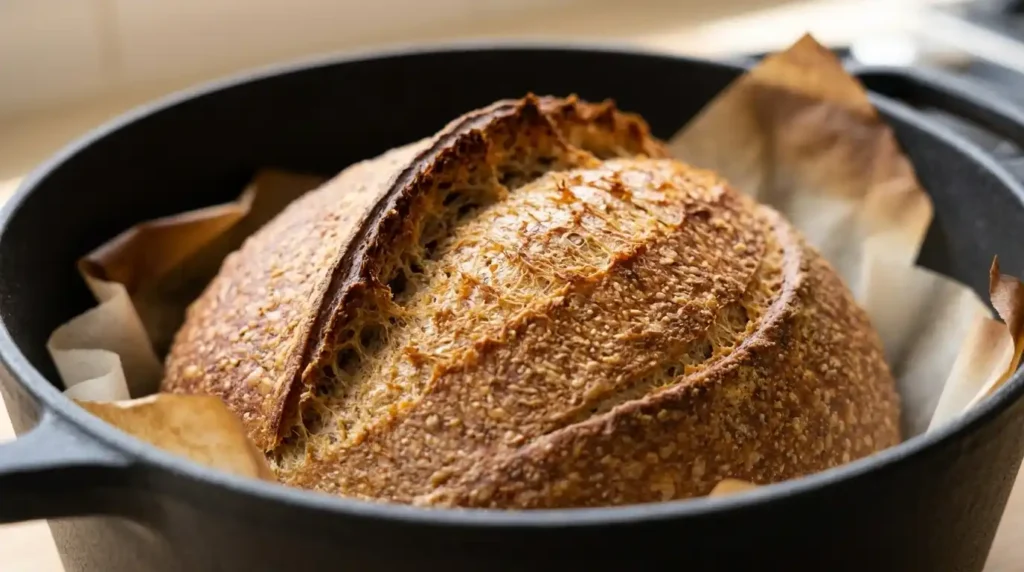
Few baking projects offer as much reward and satisfaction as mastering a traditional artisanal loaf. When you want to enjoy real, gut-friendly bread without the discomfort of wheat, a classic gluten-free sourdough bread stands out as the ultimate kitchen masterpiece. Instead of settling for dry, store-bought gluten-free alternatives packed with unrecognisable additives, making this magnificent loaf completely from scratch allows you to experience the natural magic of wild fermentation. You will love how a bubbly gluten-free starter transforms simple nutrient-dense flours into a loaf with a delightfully crispy crust and a soft, springy crumb. Whether you manage coeliac disease, a gluten intolerance, or simply want to nourish your family with wholesome ingredients, this timeless recipe delivers authentic bakery quality right in your home kitchen.
Ingredients List
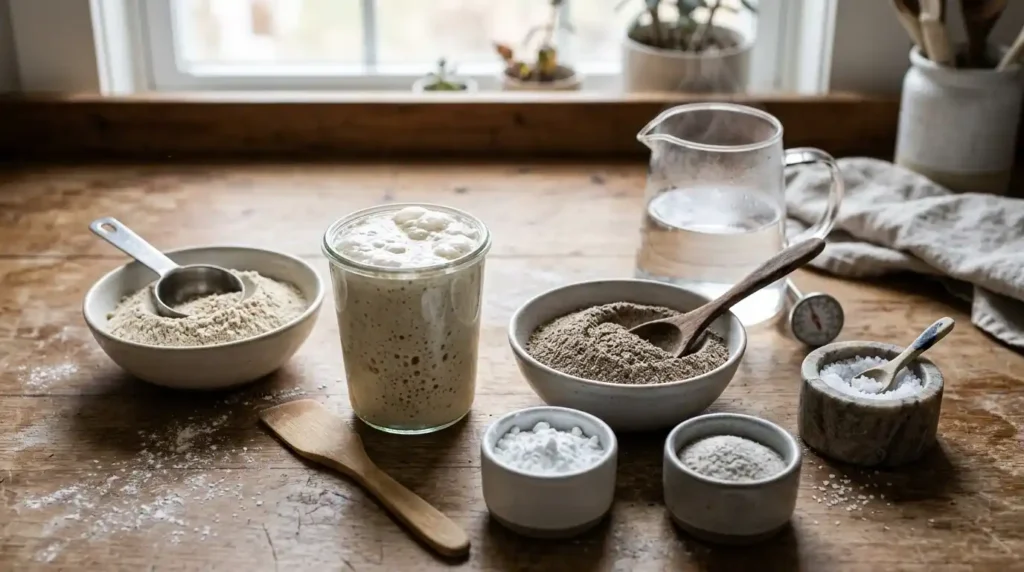
- Gluten-Free Sourdough Starter: An active, bubbly wild yeast culture built using water and alternative flours.
- Brown Rice Flour: Serves as a reliable, neutral structural base for the bread dough.
- Buckwheat or Sorghum Flour: Adds earthy depth, complex nutrients, and a rich, satisfying flavor profile.
- Tapioca Starch or Arrowroot: Provides essential light starchiness to help create a soft, flexible crumb texture.
- Psyllium Husk Powder: Acts as the crucial binding agent and moisture retainer that mimics gluten elasticity, helping trap gas for a proper rise.
- Warm Water: Activates the wild microbes and brings the dry ingredients together into a cohesive dough.
- Sea Salt: Enhances the natural complex flavors of the fermented grains and strengthens the overall dough structure.
Preparation Instructions For Gluten-free Sourdough Bread
Preparation Instructions For Gluten-free Sourdough Bread
Step 1: Feed Your Gluten-Free Starter
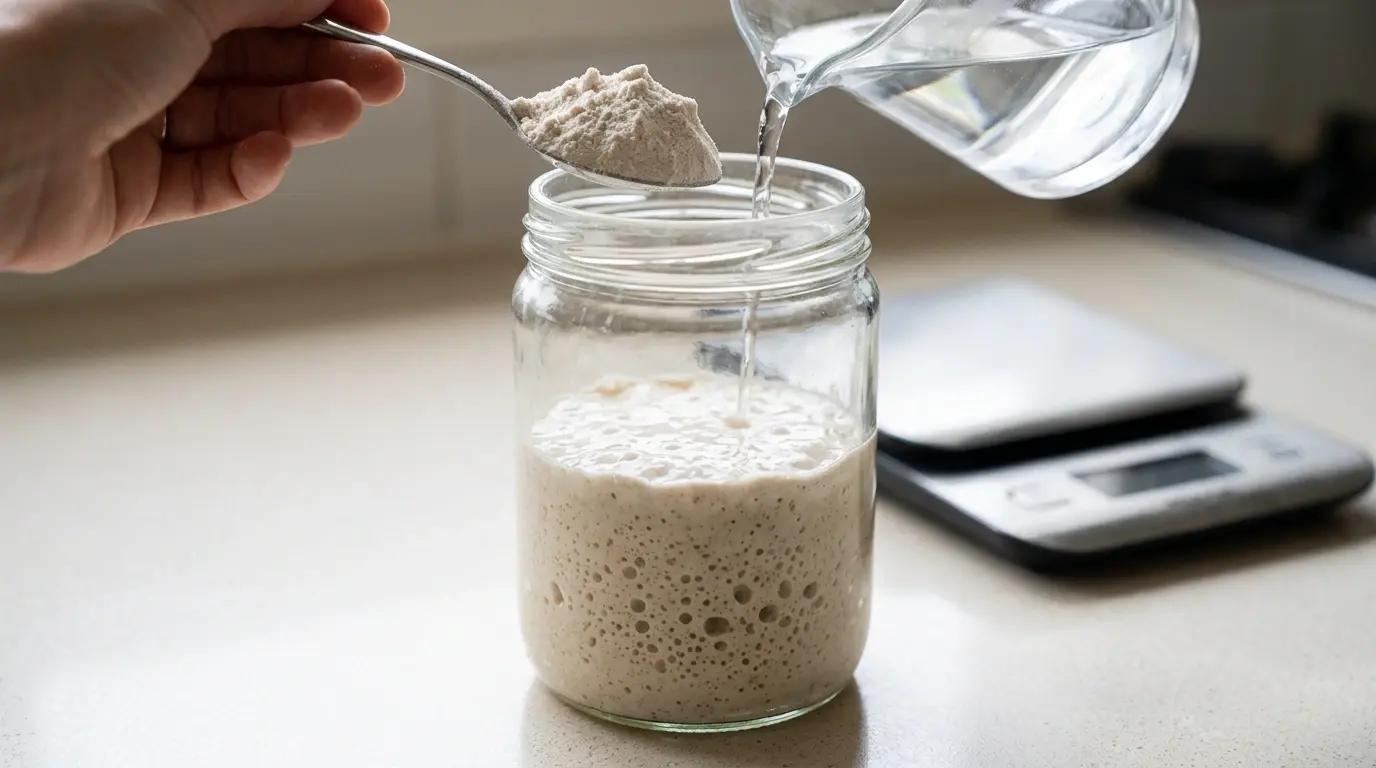
Ensure your gluten-free sourdough starter is active and bubbly by feeding it with equal parts alternative flour and warm water 4 to 12 hours before you begin mixing your final dough.
Step 2: Mix the Dry Flours and Psyllium Husk
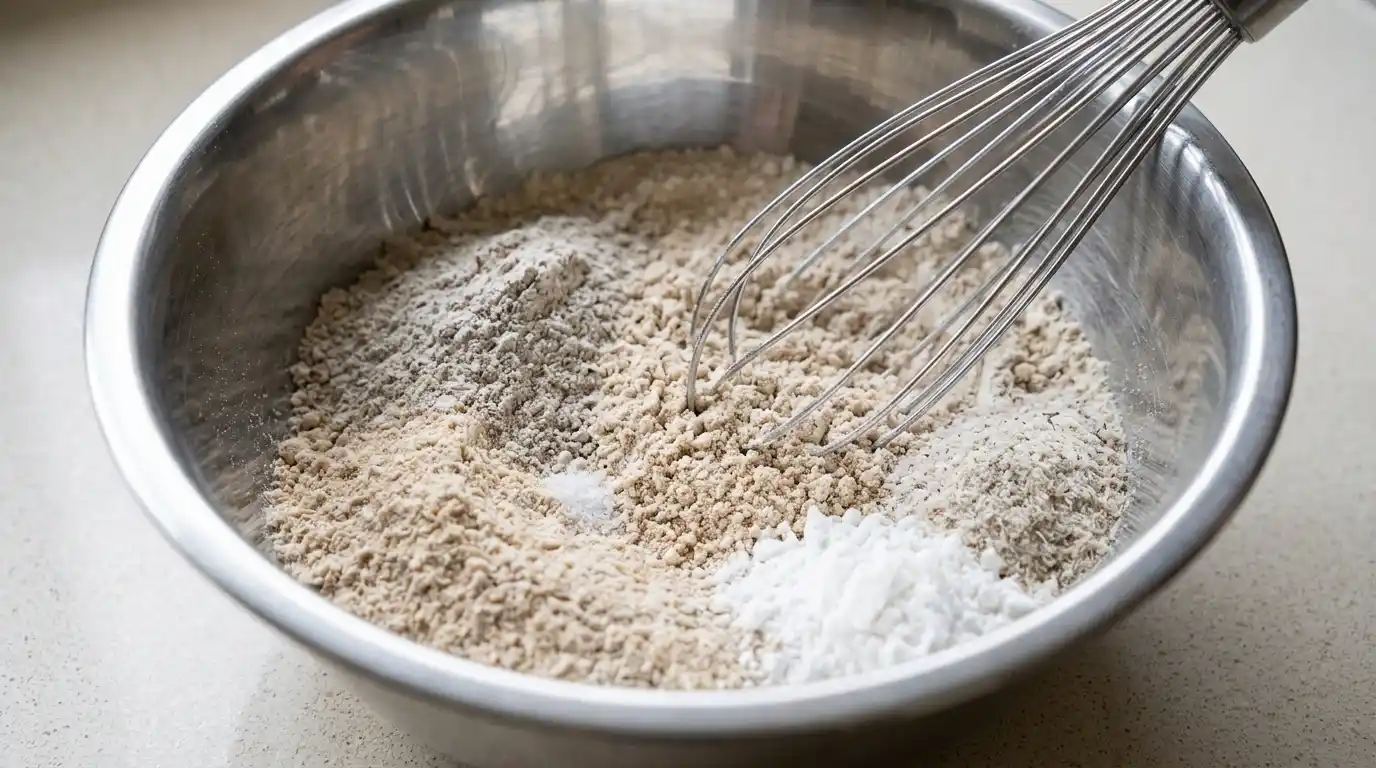
In a large mixing bowl, whisk together your brown rice flour, buckwheat or sorghum flour, tapioca starch, psyllium husk powder, and sea salt until thoroughly combined and free of any lumps.
Step 3: Combine with the Active Starter and Water
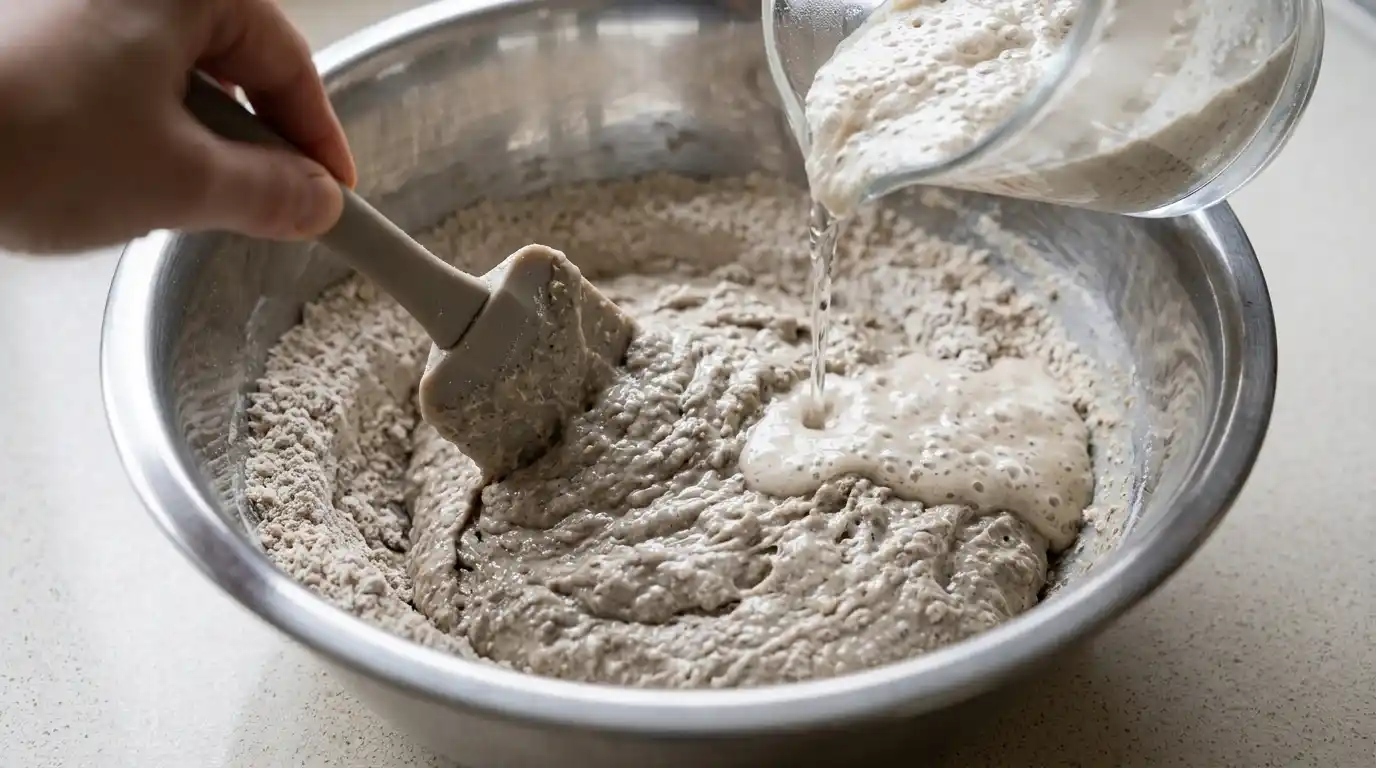
Pour the active, bubbly gluten-free sourdough starter and measured warm water into the dry mixture, stirring vigorously with a spatula or your hands until a thick, sticky dough forms.
Step 4: Bulk Fermentation and Shaping
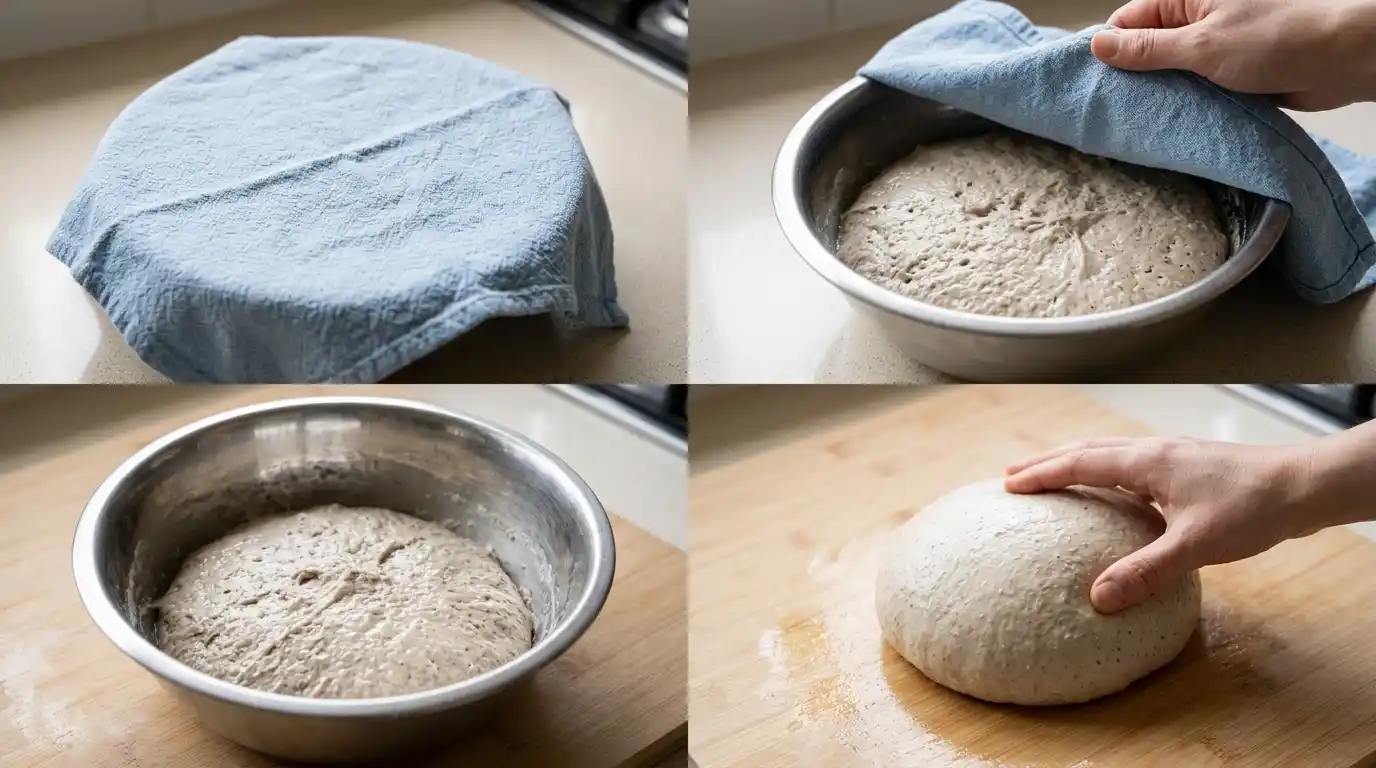
Cover the bowl with a damp cloth or plastic wrap and let the dough undergo its bulk fermentation at room temperature until it becomes airy and slightly puffed, then shape it gently into a smooth round loaf.
Step 5: Score and Bake to Perfection
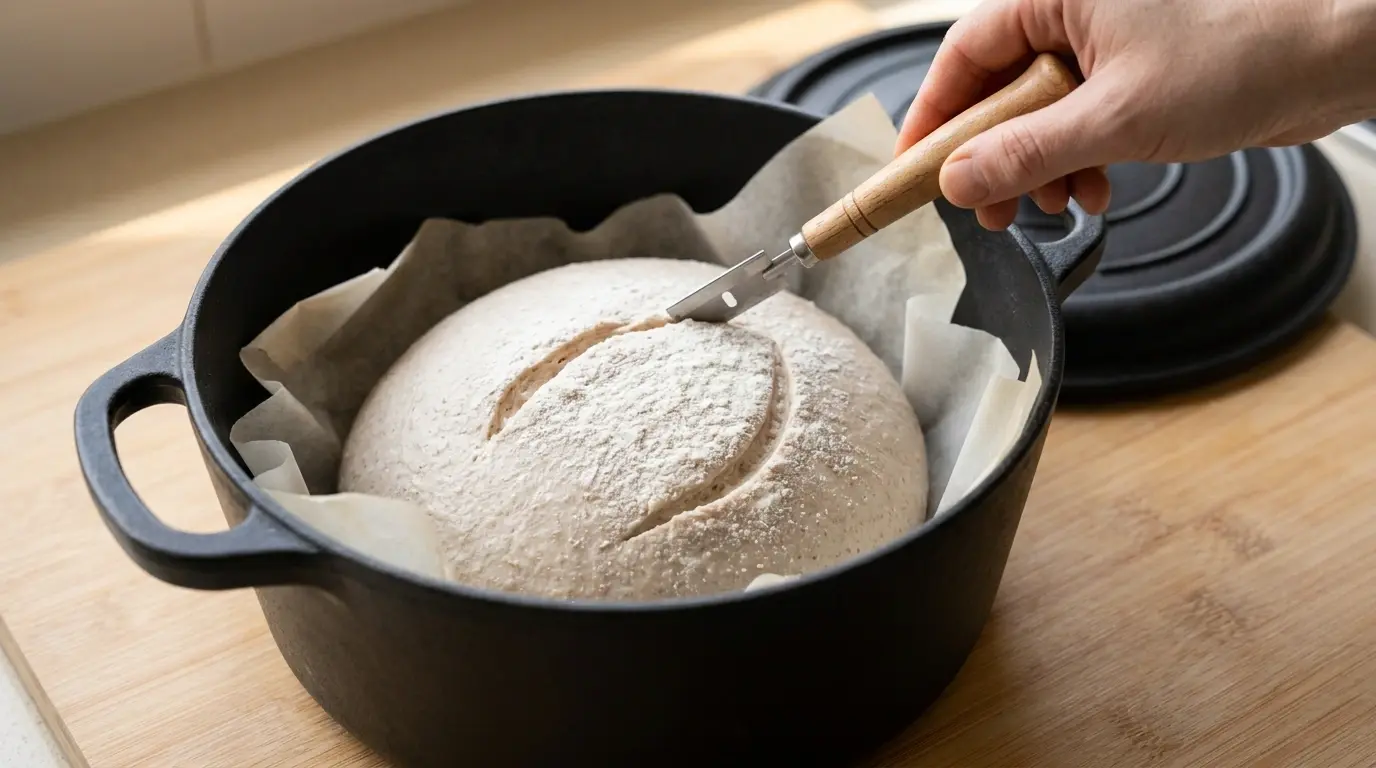
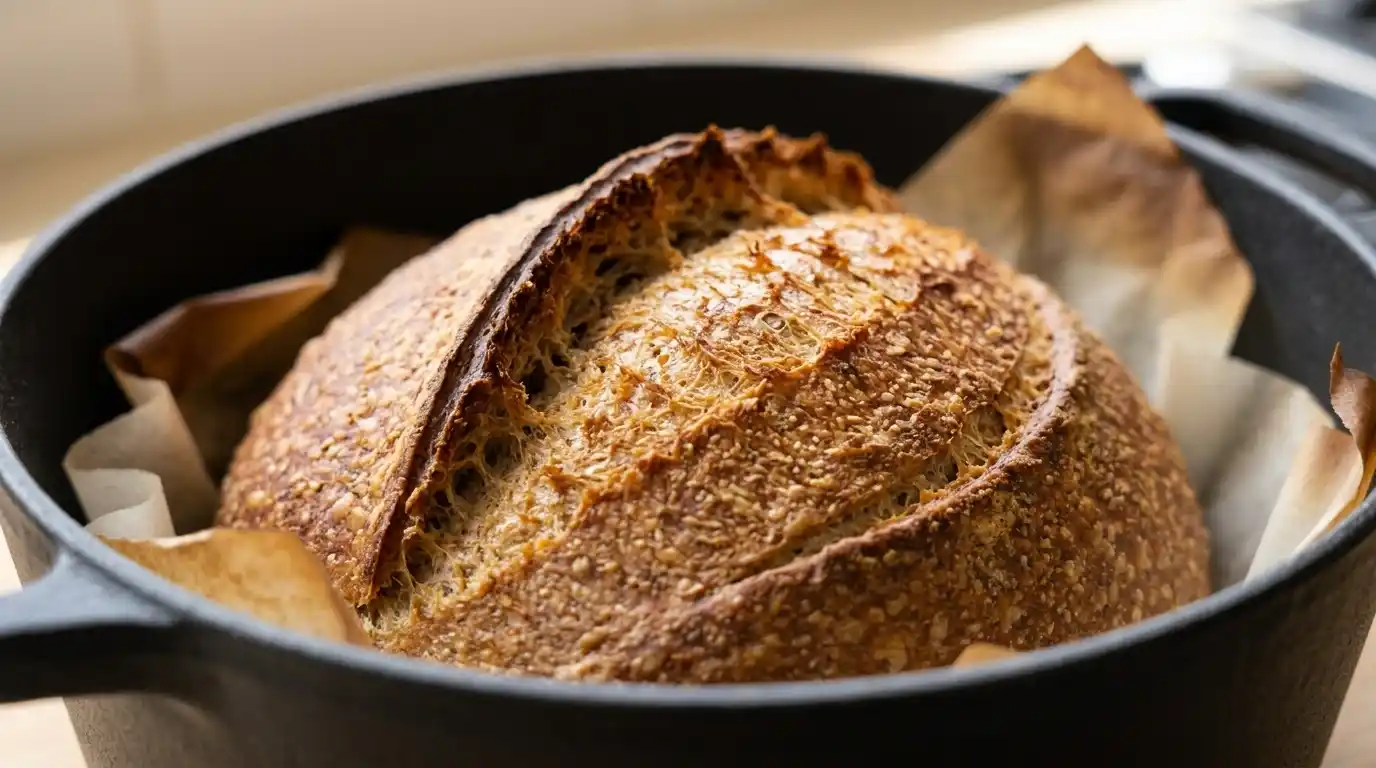
Transfer your shaped loaf into a parchment-lined Dutch oven, score the top with a sharp razor blade, cover with the lid, and bake at 450 degrees Fahrenheit (230 degrees Celsius) for 30 minutes covered, then remove the lid to crisp the crust for an additional 20 minutes before cooling completely.
Serving Suggestions
- Artisanal Avocado Toast: Slice the fully cooled loaf thickly, toast it lightly, and top it with smashed avocado, red pepper flakes, and a drizzle of olive oil for a nourishing breakfast.
- Olive Oil and Balsamic Dip: Serve warm, rustic slices alongside a shallow dish of premium extra virgin olive oil and aged balsamic vinegar as an elegant appetizer.
- Hearty Sandwich Base: Use sturdy slices to build a loaded turkey, cheese, and vegetable sandwich that holds together wonderfully without crumbling.
Frequently Asked Questions
Why is psyllium husk powder necessary in gluten-free sourdough?
Since true gluten is absent in this recipe, psyllium husk powder acts as a natural hydrocolloid binder that traps carbon dioxide bubbles, giving the bread its necessary structure, flexibility, and rise.
Can I maintain a gluten-free sourdough starter easily?
Yes, maintaining a gluten-free starter is simple; just store it in a jar at room temperature with regular daily or weekly feedings using equal parts water and gluten-free flour.
Why does gluten-free sourdough bread need to cool completely before slicing?
Cutting into the loaf while it is still hot can cause the interior crumb to appear gummy, as the starches and moisture need time to fully set and cool down.
Conclusion and Call-to-Action
Bringing this wholesome, gut-friendly loaf to your table is the ultimate way to enjoy real artisanal baking safely and deliciously. A classic gluten-free sourdough bread offers an unforgettable combination of tangy flavor, crispy crust, and nourishing ingredients that everyone will adore. We invite you to try this amazing recipe today and make thenextrecipes.com your go-to site for more culinary inspiration. Have you tried baking this gluten-free masterpiece yet? Leave a comment below sharing your own flour blends or questions, and let us know what recipe you want to see next!
How to Make Artisan Gluten-Free Sourdough Bread from Scratch
Ingredients
Equipment
Method
- Mix the Psyllium Gel: In a large bowl, whisk together the warm water and psyllium husk powder vigorously for 30 seconds until it thickens into a gelatinous, dough-like binder. Stir in the active gluten-free sourdough starter, olive oil, and honey until smooth.
- Combine Dry Ingredients: In a separate medium bowl, whisk together the brown rice flour, tapioca starch, potato starch, and kosher salt until thoroughly blended.
- Form the Dough: Pour the dry flour mixture into the wet psyllium and starter mixture. Using a silicone spatula or your hands, knead and mix thoroughly for 2 to 3 minutes until a cohesive, smooth dough forms that holds its shape.
- Bulk Fermentation: Shape the dough into a smooth round loaf. Place it into a floured banneton basket (or a towel-lined bowl) seam-side up. Cover with a damp towel and let it rise at room temperature for 4 to 6 hours, or until it has puffed up noticeably.
- Preheat the Dutch Oven: Place your heavy Dutch oven with its lid on inside your oven, and preheat the entire setup to 450°F (230°C) for at least 45 minutes.
- Score and Bake Covered: Carefully invert the loaf out of the basket onto a piece of parchment paper. Use a sharp razor blade or lame to score a deep slash across the top. Carefully lower the loaf (using the parchment paper edges) into the hot Dutch oven, cover with the lid, and bake for 30 minutes to trap steam for a great crust.
- Bake Uncovered: Remove the lid from the Dutch oven and bake for an additional 20 to 25 minutes, until the crust is deep golden brown and sounds hollow when tapped.
- Cool Completely: Remove the loaf from the oven and transfer it to a wire cooling rack. Let it cool completely for at least 2 hours before slicing to allow the interior crumb to set fully.