Classic Rice Krispie Treats Recipe: Chewy, Buttery, and Easy
Discover the best classic Rice Krispie treats recipe made with crispy cereal, melted butter, and gooey marshmallows. A quick, delicious 3-ingredient dessert!
Classic Rice Krispie Treats Recipe: Chewy, Buttery, and Easy
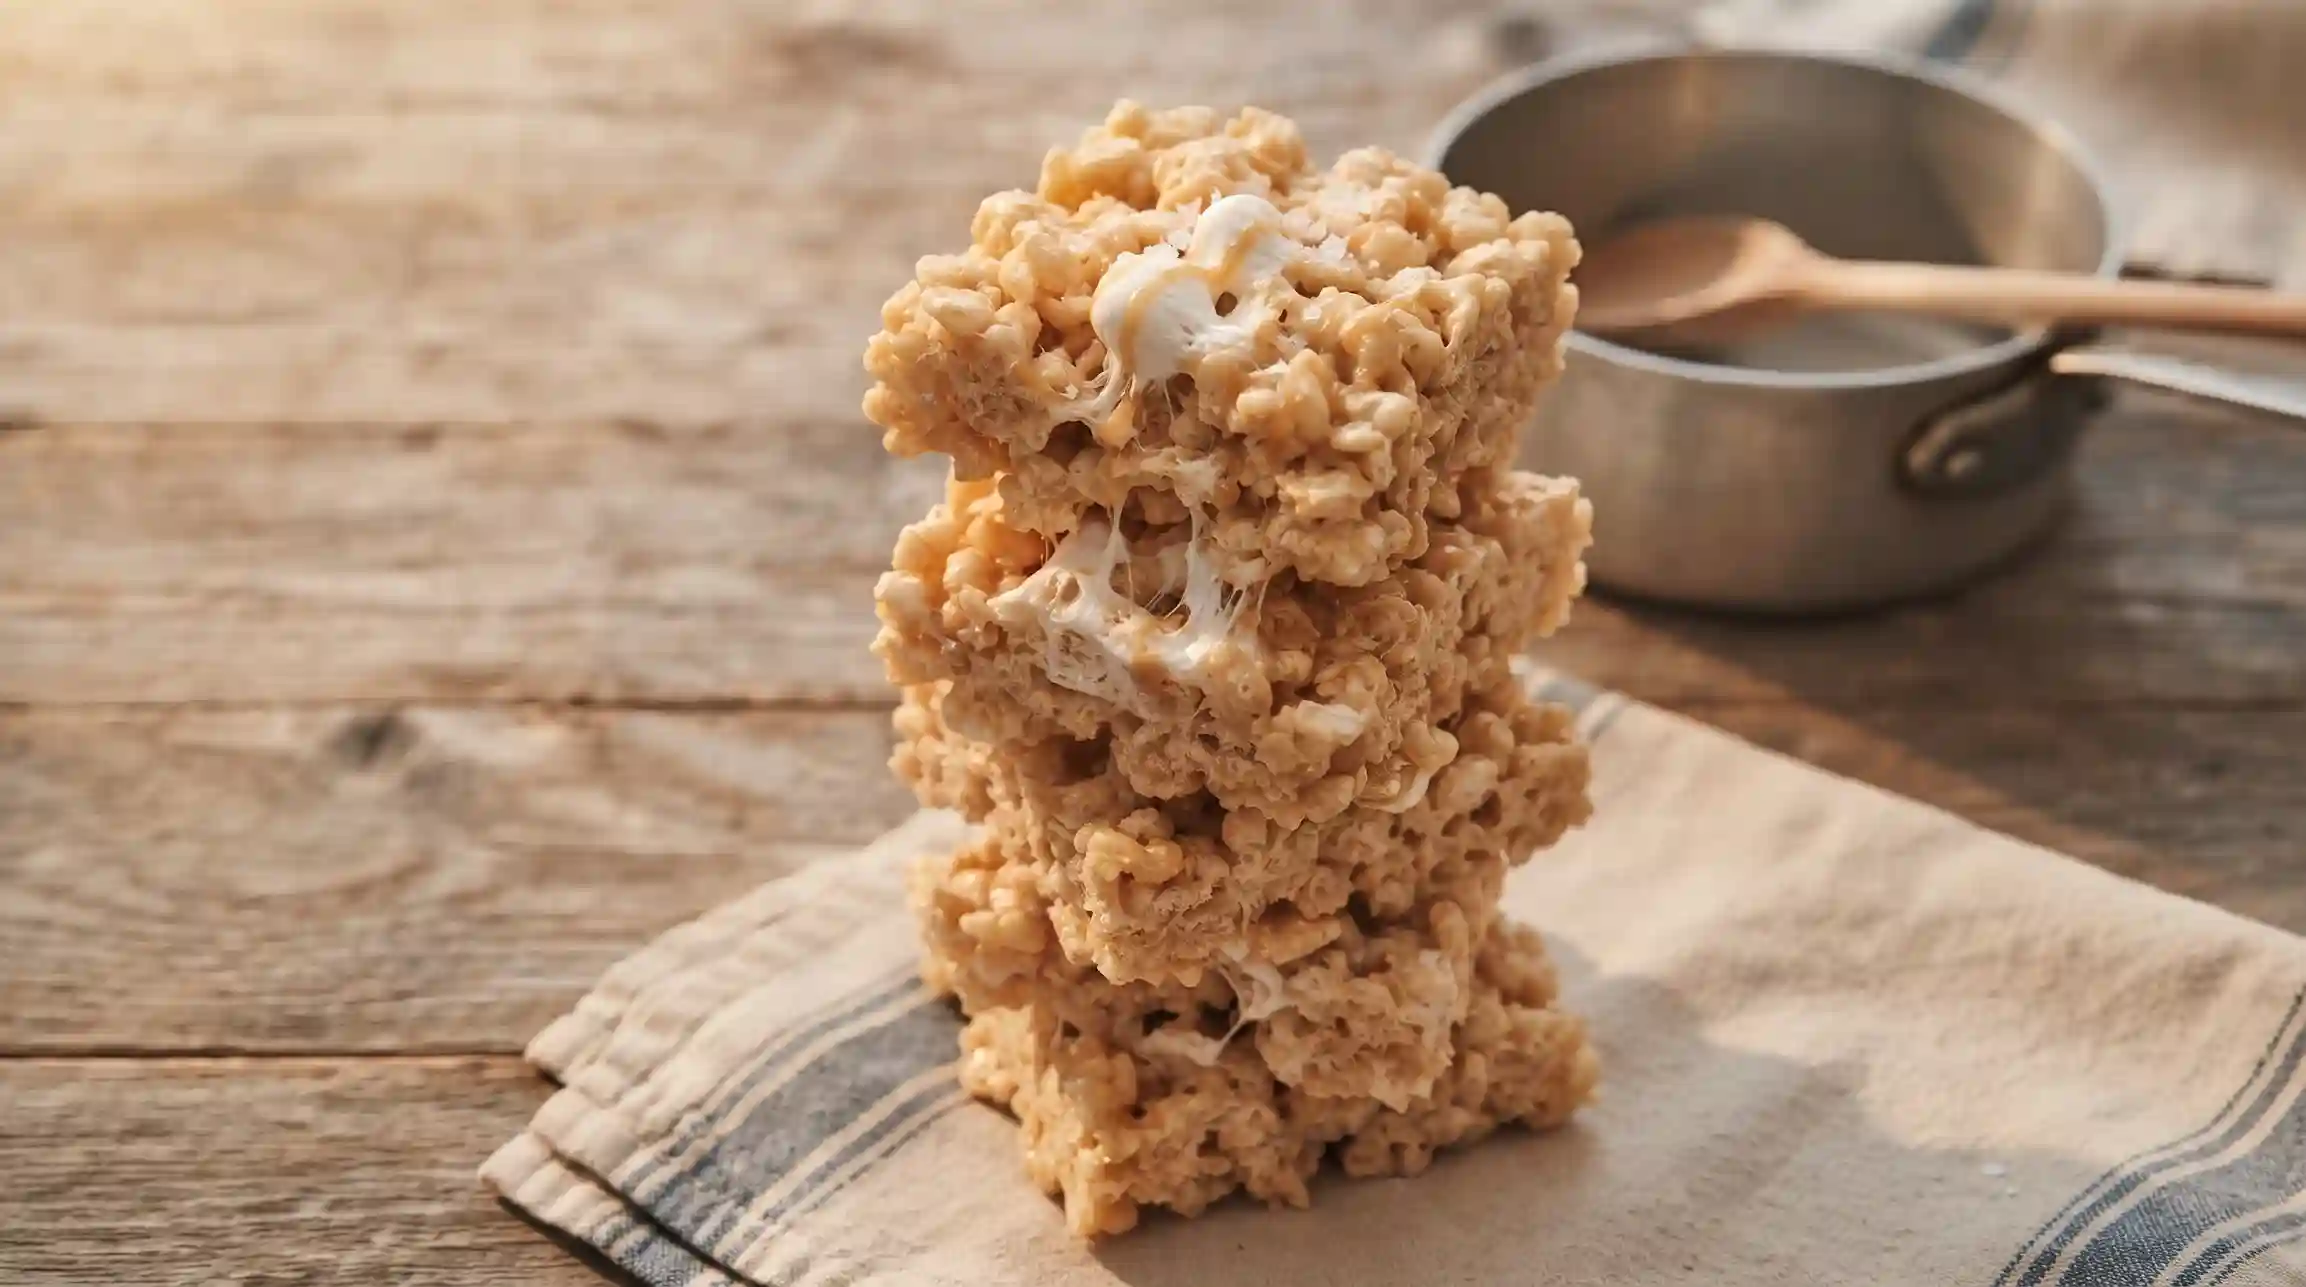
If you are looking for a quick, nostalgic, and effortless dessert that everyone loves, this classic Rice Krispie Treats Recipe is the absolute best choice. Made with just a handful of simple ingredients—crispy cereal, melted butter, and gooey marshmallows—these treats come together in minutes and deliver a wonderfully soft and chewy texture every single time.
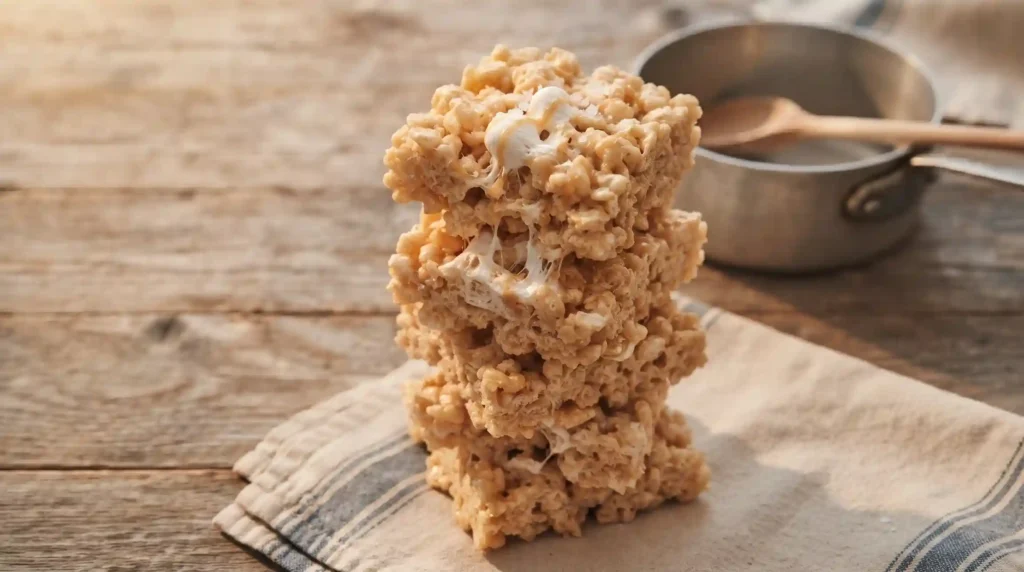
Table of Contents
Ingredients Needed
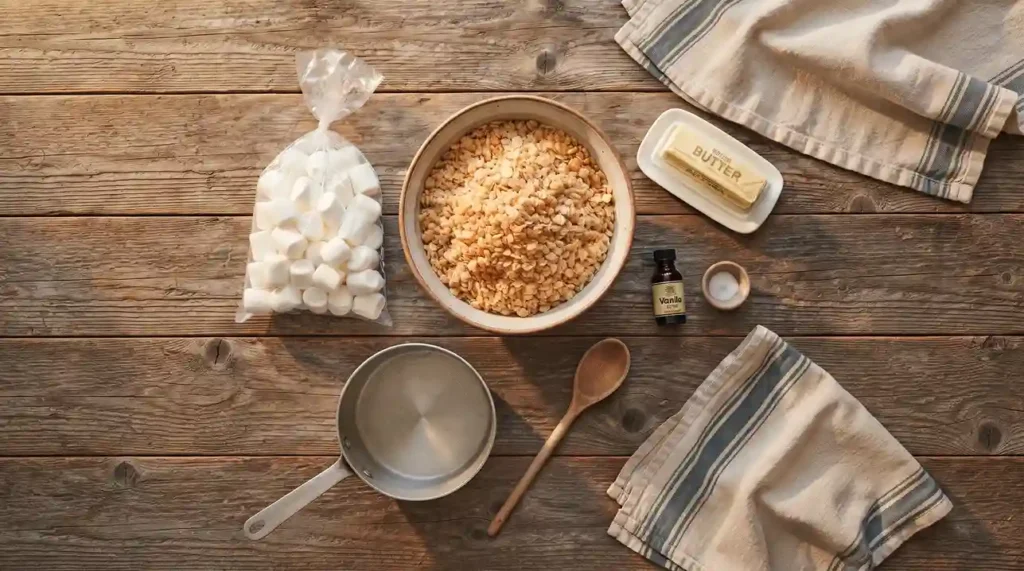
To whip up a batch of these homemade treats, gather the following simple pantry staples:
- Butter: 3 tablespoons unsalted butter.
- Marshmallows: 1 package (10 oz, about 40) regular marshmallows or 4 cups miniature marshmallows.
- Cereal: 6 cups crispy rice cereal (such as Kellogg’s Rice Krispies).
- Salt: A tiny pinch of salt (optional, to balance the sweetness).
- Vanilla Extract: 1/2 teaspoon vanilla extract (optional, for extra flavor).
Step-by-Step Instructions of Rice Krispie treats recipe
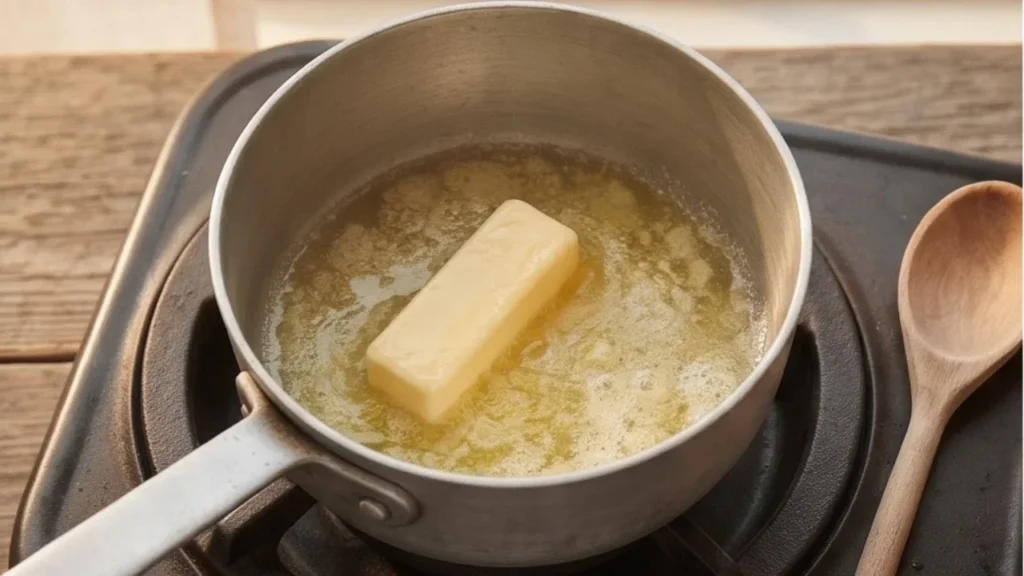
Step 1: Melt the Butter
In a large saucepan, melt the butter over low heat. Ensure the heat is kept low so the butter does not brown too quickly.
Step 2: Melt the Marshmallows
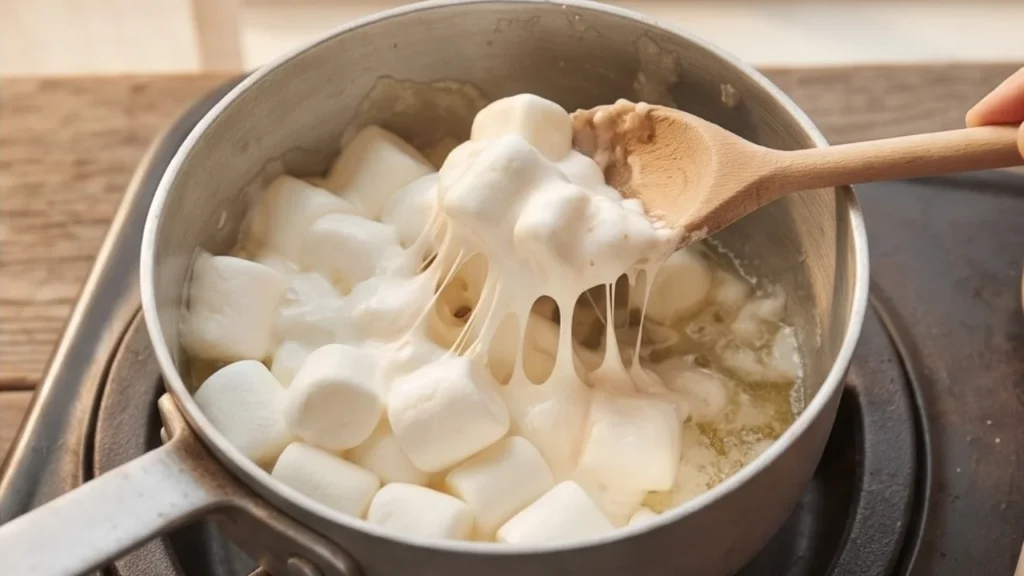
Add the marshmallows to the melted butter and stir continuously over low heat until they are completely melted and smooth. Remove the saucepan from the heat, and stir in the vanilla extract if desired.
Step 3: Mix in the Cereal
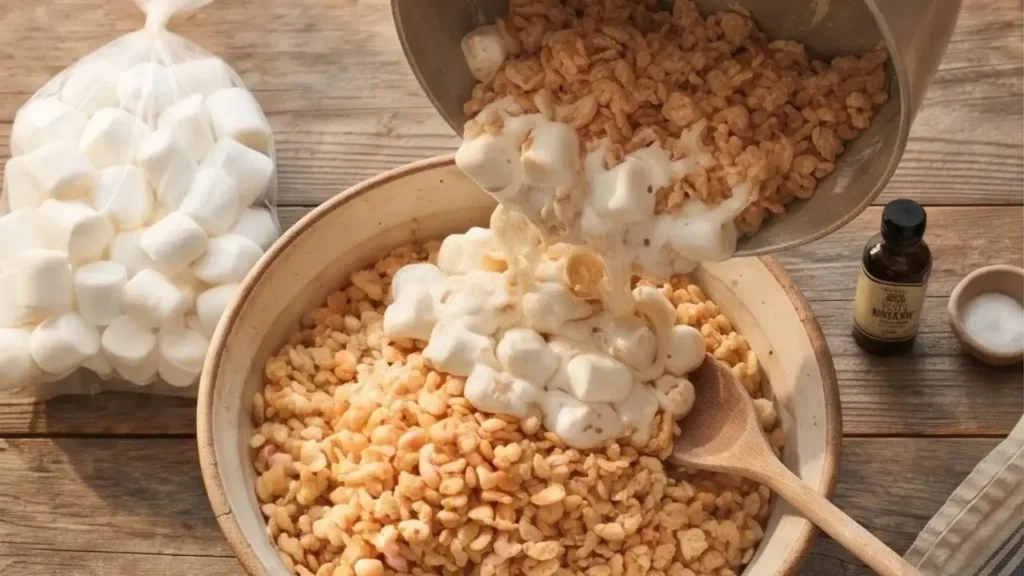
Add the crispy rice cereal into the marshmallow mixture. Stir gently using a spatula until the cereal is evenly coated and thoroughly combined.
Step 4: Press into Pan
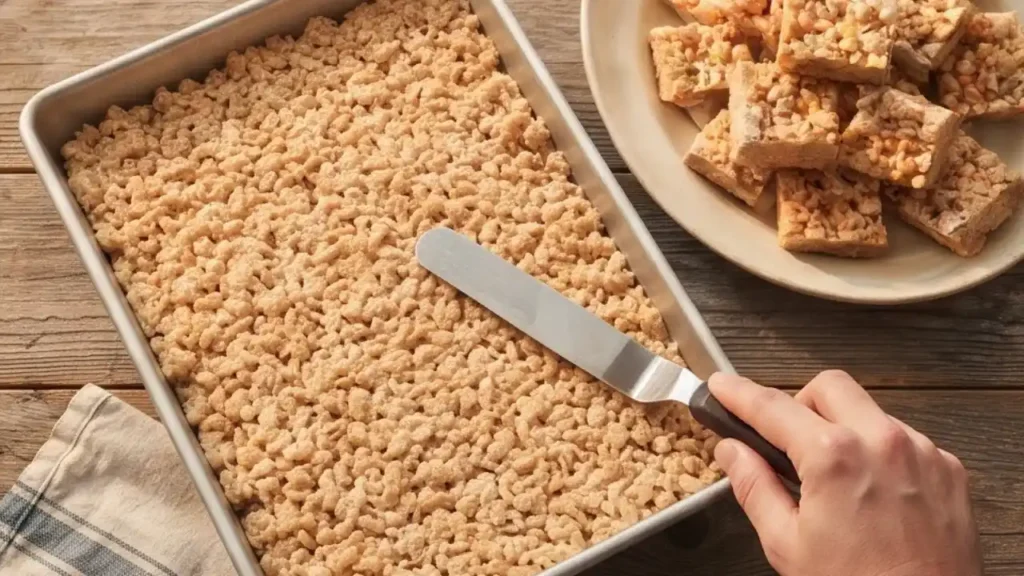
Transfer the warm mixture into a greased 9×13 inch baking pan. Using a piece of wax paper or a greased spatula, gently press the mixture evenly and firmly into the pan (do not pack it down too tightly, or the treats will become hard).
Step 5: Cool and Slice
Allow the treats to cool completely at room temperature (about 30 minutes). Cut them into squares and serve!
How to Serve
Serve these classic chewy Rice Krispie treats at room temperature as a quick snack, lunchbox surprise, or party dessert. For an extra special presentation, drizzle them with melted chocolate or dip half of each square into semi-sweet chocolate and let it set before serving.
Frequently Asked Questions of Rice Krispie treats recipe
Why did my Rice Krispie treats turn out hard and crunchy? Treats usually turn out hard if the marshmallows were overheated over high heat while melting, or if the cereal mixture was packed down way too tightly into the baking pan. Keep the heat low and press them gently!
Can I use old marshmallows? For the best gooey and soft texture, always use fresh marshmallows. Old, stale marshmallows do not melt smoothly and will result in stiff, dry treats.
How should I store leftover Rice Krispie treats? Store them in an airtight container at room temperature with pieces of wax paper between the layers to prevent sticking. They will stay fresh and chewy for up to 3 days.
Conclusion
Making classic Rice Krispie treats recipe at home is a quick, fun, and nostalgic baking project that requires just three basic ingredients. With a delightfully chewy texture and buttery sweetness, they are guaranteed to satisfy any sweet tooth. Whip up a batch today and enjoy a timeless favorite!
Classic Rice Krispie Treats Recipe: Chewy, Buttery, and Easy
Ingredients
Equipment
Method
- Step 1: In a large saucepan, melt the butter over low heat. Ensure the heat is kept low so the butter does not brown too quickly.
- Step 2: Add the marshmallows to the melted butter and stir continuously over low heat until they are completely melted and smooth. Remove the saucepan from the heat, and stir in the vanilla extract if desired.
- Step 3: Add the crispy rice cereal into the marshmallow mixture. Stir gently using a spatula until the cereal is evenly coated and thoroughly combined.
- Step 4: Transfer the warm mixture into a greased 9×13 inch baking pan. Using a piece of wax paper or a greased spatula, gently press the mixture evenly and firmly into the pan (do not pack it down too tightly, or the treats will become hard).
- Step 5: Allow the treats to cool completely at room temperature (about 30 minutes). Cut them into squares and serve!