Easy Chocolate Chip Scones – Soft, Flaky & Delicious
Master these Chocolate Chip Scones with our easy homemade cooking guide on thenextrecipes. This quick recipe makes a perfect morning meal.
⭐️⭐️⭐️⭐️⭐️ (4.9 from 1,400 fans)
📸 900+ photo shares | ☀️ Updated [October 2025]

Table of Contents
Chocolate Chip Scones: Flaky, Buttery, and Irresistibly Chocolaty!
There are few joys in life quite like a warm scone, fresh from the oven, especially when it’s bursting with pockets of melted chocolate. These Chocolate Chip Scones aren’t just a treat; they’re an experience – a moment of pure, buttery bliss that transports you to a cozy cafe, even if you’re just in your own kitchen. Imagine biting into a scone that’s wonderfully crisp on the outside, tender and flaky within, with dark chocolate pooling delightfully on your tongue. Perfect for a leisurely weekend breakfast, a charming afternoon tea, or simply a comforting snack to brighten any day, this recipe will quickly become a cherished favorite.
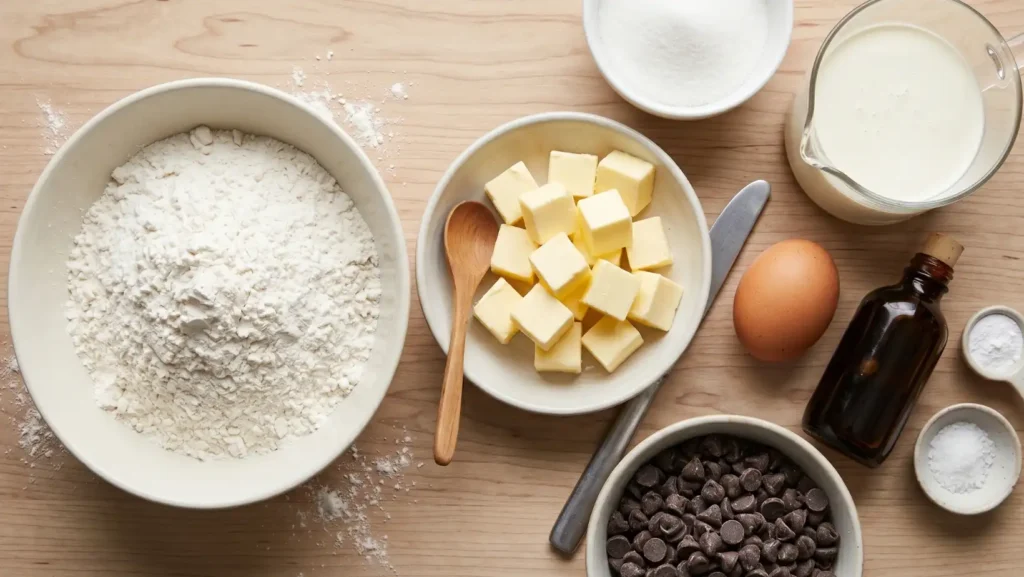
What You’ll Need
Creating these dreamy Chocolate Chip Scones requires just a few simple ingredients, many of which you likely already have in your pantry. The magic truly happens when cold butter meets flour, creating those glorious flaky layers we all adore. Gather these essentials and get ready to bake something truly special!
- 2 cups (240g) all-purpose flour, plus more for dusting
- 1/4 cup (50g) granulated sugar
- 1 tablespoon baking powder
- 1/2 teaspoon salt
- 1/2 cup (113g) unsalted butter, very cold and cut into small cubes
- 1 large egg
- 1/2 cup (120ml) heavy cream, plus 1 tablespoon for brushing
- 1 teaspoon vanilla extract
- 1 cup (170g) chocolate chips (dark or semi-sweet work beautifully)
How to Make Chocolate Chip Scones
Let’s dive into the simple, joyful process of creating these magnificent Chocolate Chip Scones. The key is to work quickly and keep everything as cold as possible to achieve that perfect flaky texture!
How to Make Chocolate Chip Scones
Setting the Stage: Workspace and Cold Butter

Preheat your oven to 400°F (200°C). Line a baking sheet with parchment paper.
In a large bowl, whisk together the flour, granulated sugar, baking powder, and salt. Make sure it’s all nicely combined.
Achieving the Perfect ‘Coarse Crumb’ Texture
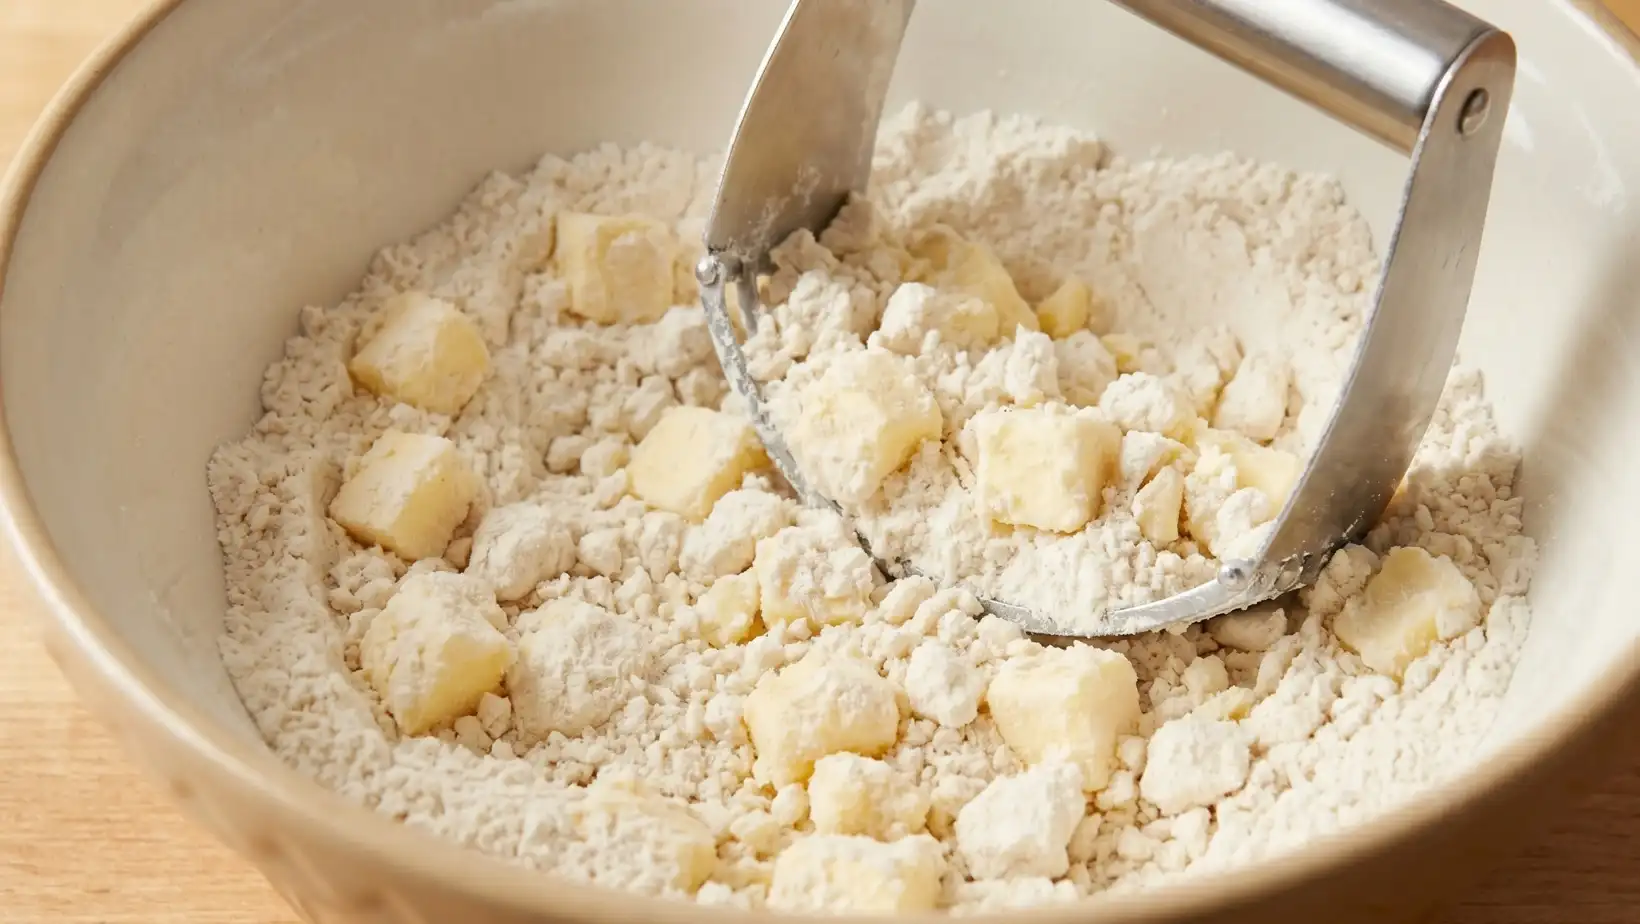
Add the very cold, cubed butter to the dry ingredients. Using a pastry blender, two knives, or your fingertips, cut the butter into the flour mixture until it resembles coarse crumbs with some pea-sized pieces remaining. This is where the flakiness begins!
Introducing the Wet Ingredients
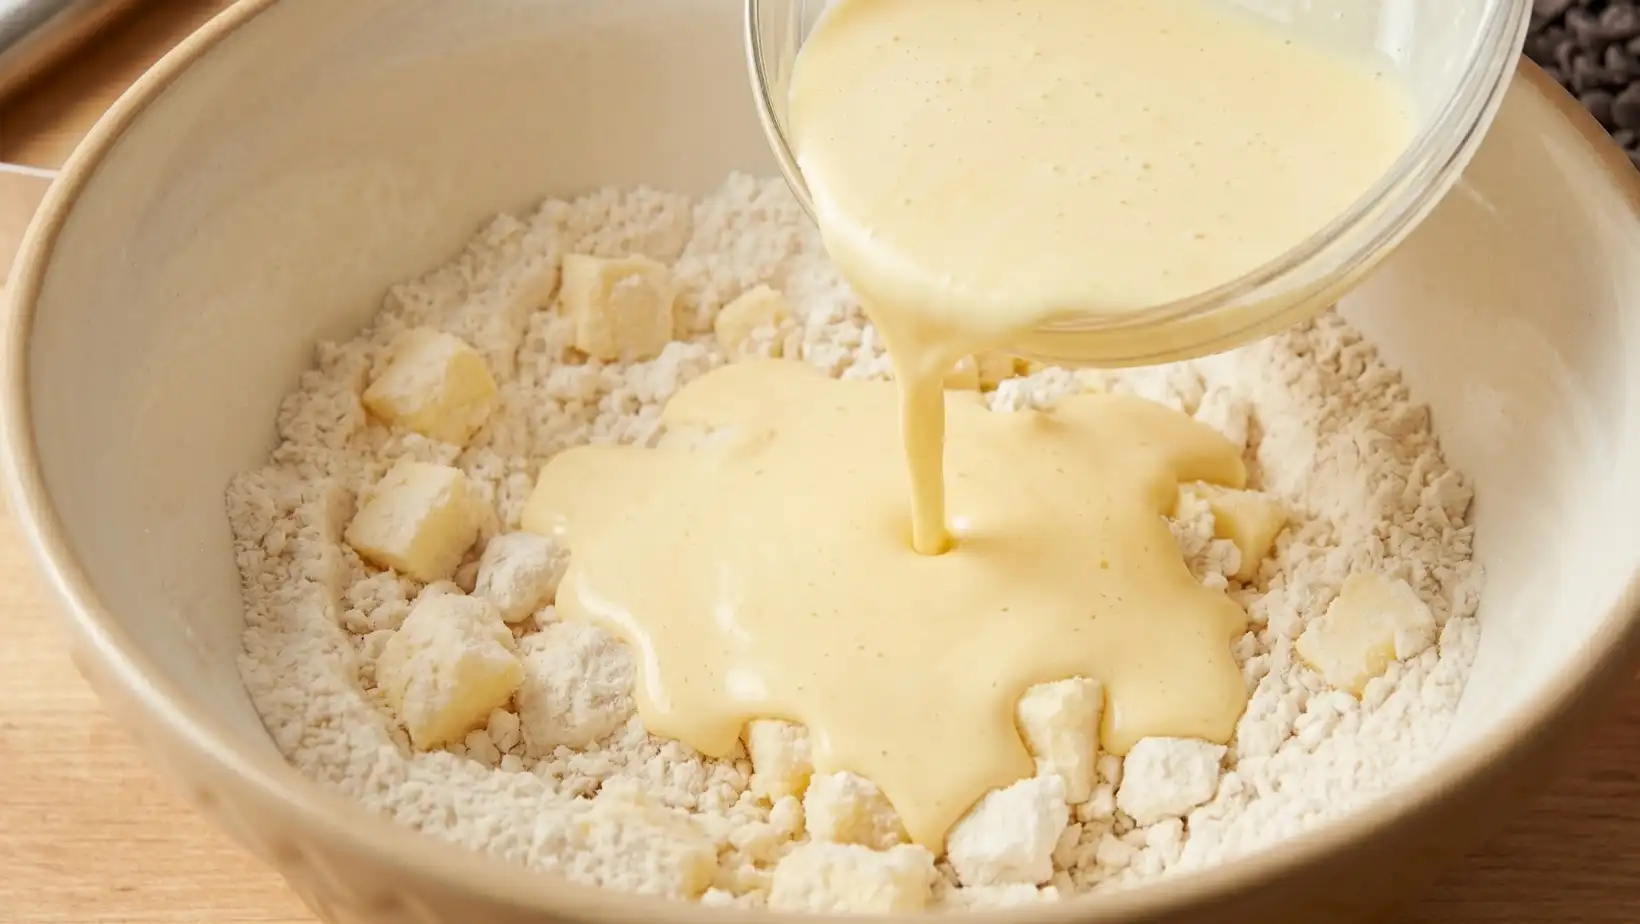
In a separate small bowl, whisk together the egg, 1/2 cup heavy cream, and vanilla extract. Pour this wet mixture into the dry ingredients.
Shaping the Shaggy Disc on the Counter
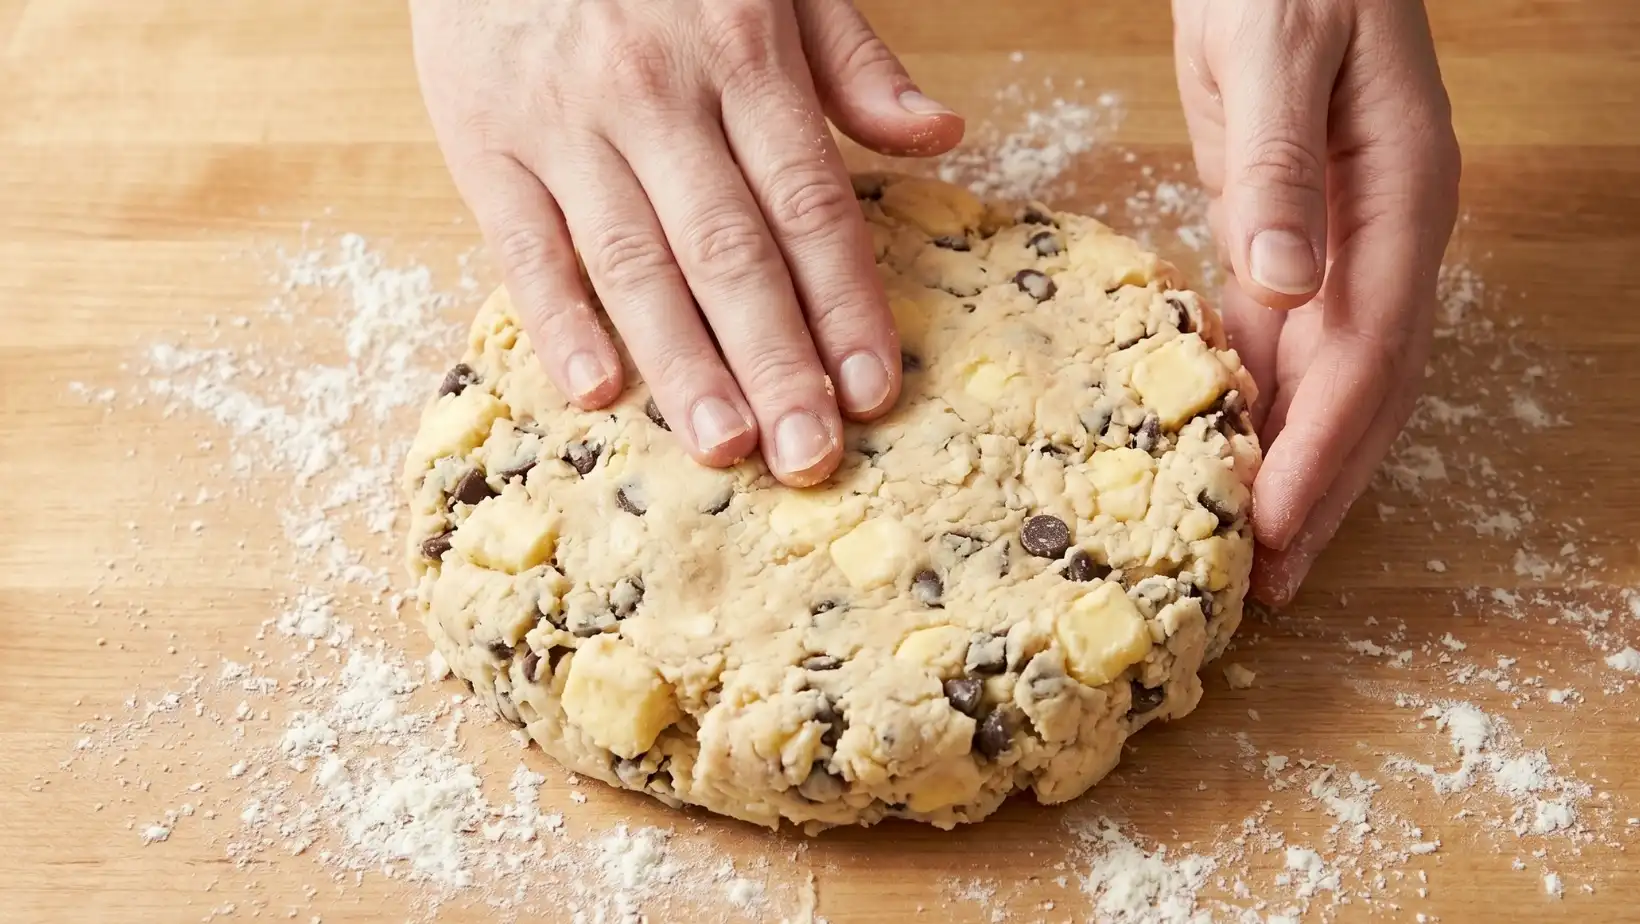
Use a fork or your hands to gently mix until just combined. Be careful not to overmix! A slightly shaggy dough is perfect. Fold in the chocolate chips until evenly distributed.
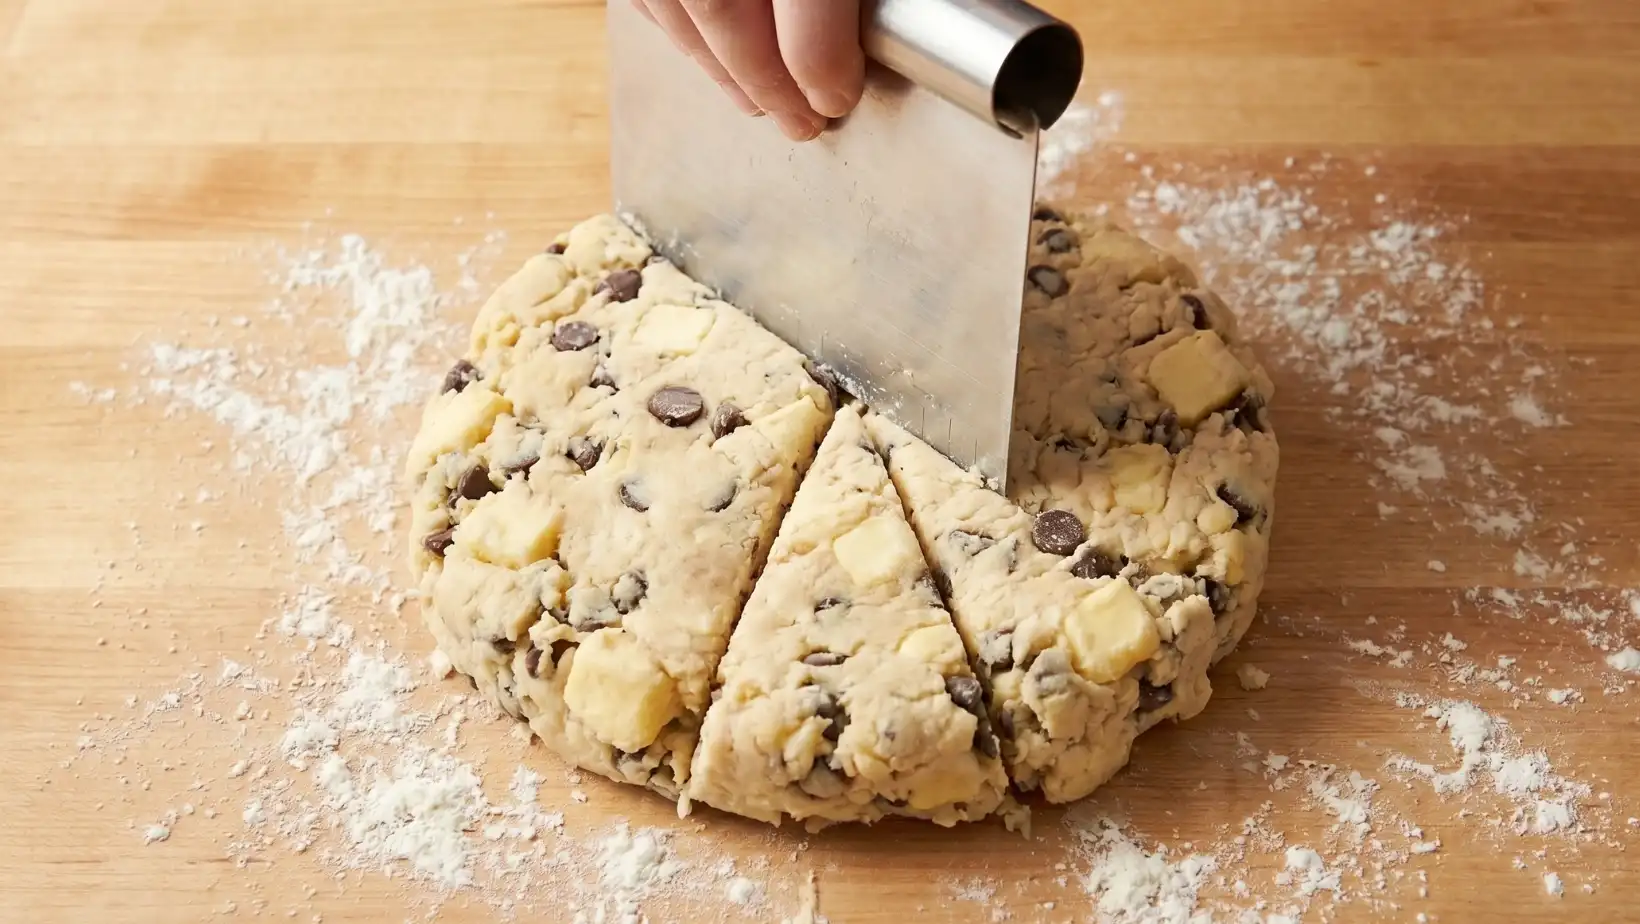
Cutting the Pizza Wedges
Turn the dough out onto a lightly floured surface. Gently pat the dough into an 8-inch round disc, about 3/4 inch thick.
Transfer and the Final Cream Glaze
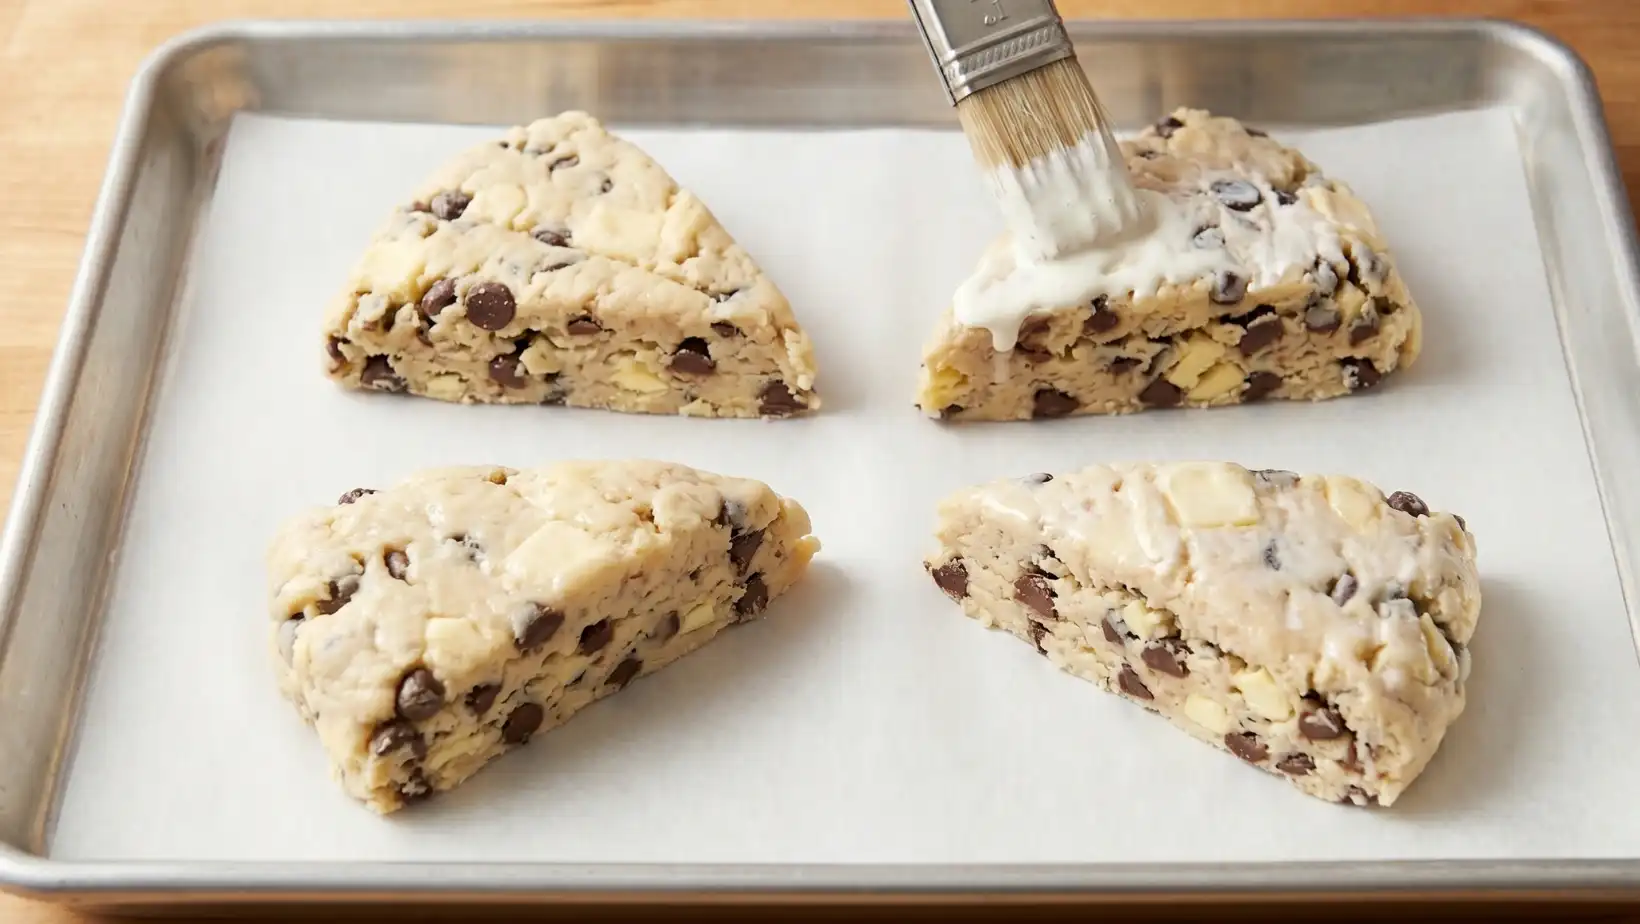
Carefully transfer the wedges to your prepared baking sheet, spacing them a little apart. Brush the tops of the scones with the remaining 1 tablespoon of heavy cream. This helps them achieve a beautiful golden crust.
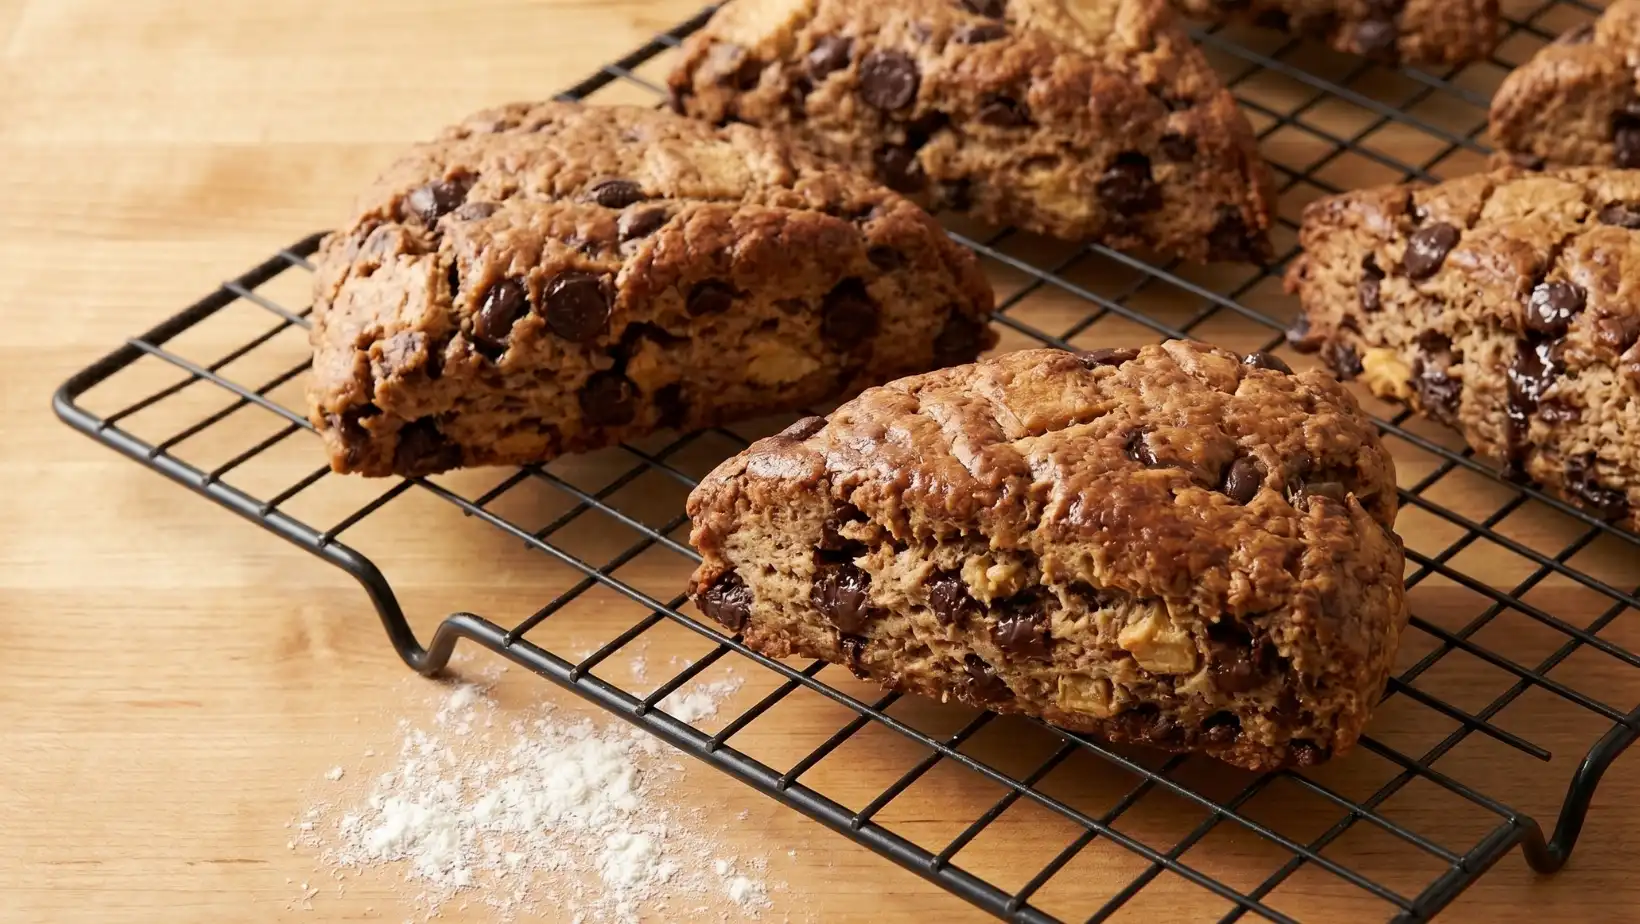
Bake to Perfection: Golden Brown and Flaky
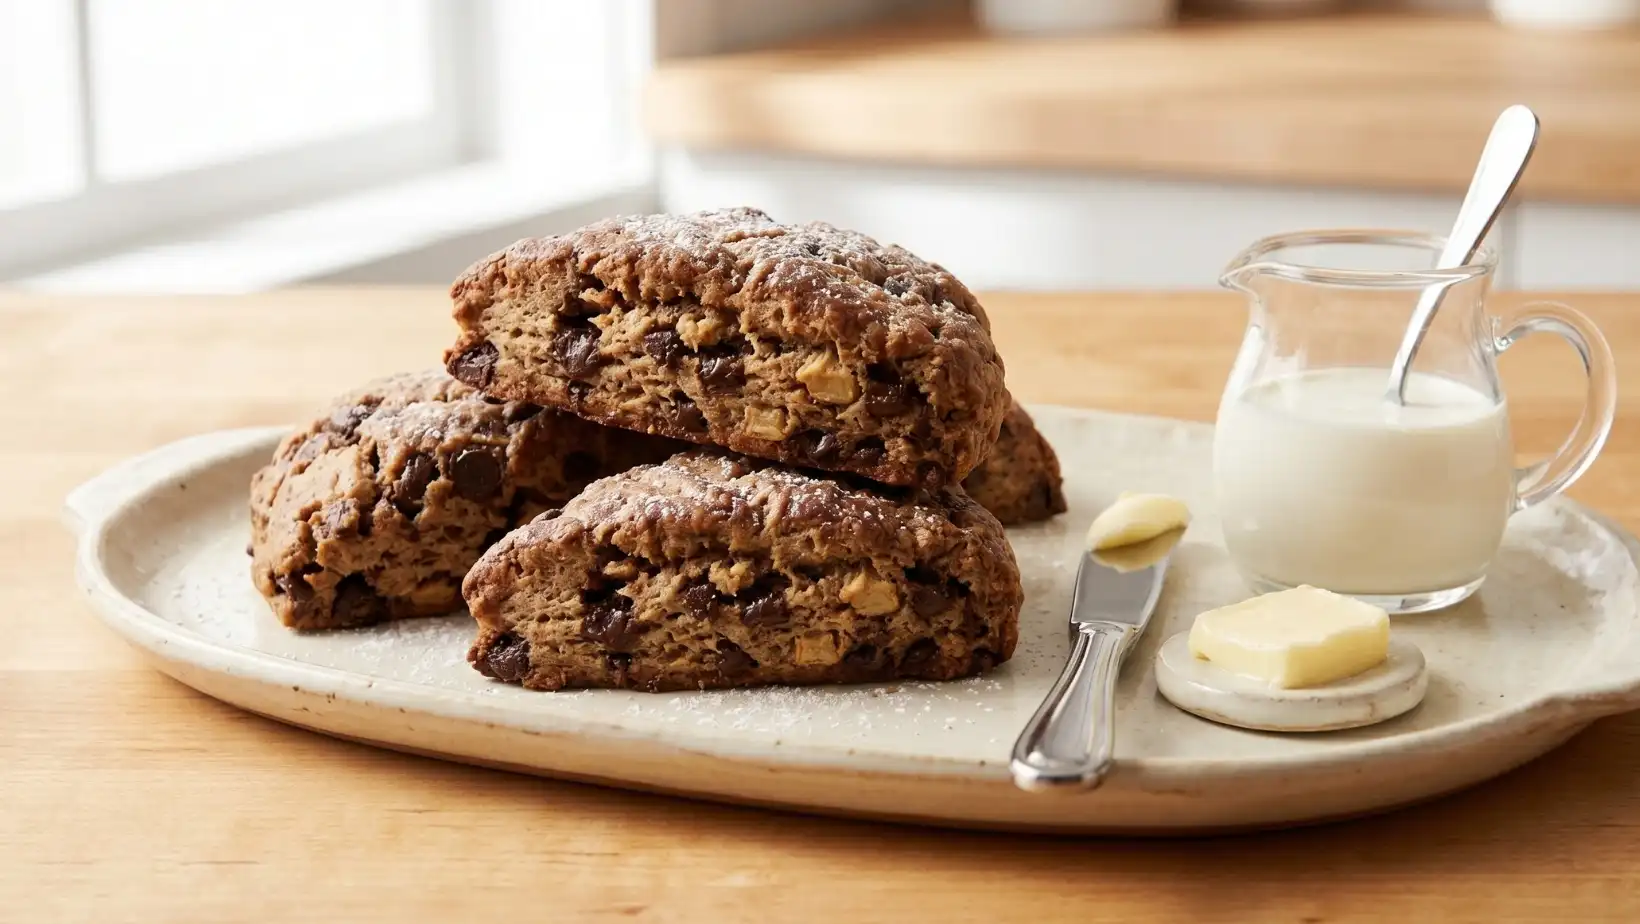
Bake for 15-18 minutes, or until the scones are golden brown and a skewer inserted into the center comes out clean.
Let them cool slightly on the baking sheet before transferring to a wire rack. Serve warm and savor every single bite!
Fun Twists & Serving Ideas
These Chocolate Chip Scones are absolutely divine on their own, but if you’re feeling adventurous, here are a few ways to elevate them even further!
- Nutty Indulgence: Add 1/2 cup of chopped toasted pecans or walnuts along with the chocolate chips for an extra layer of flavor and crunch.
- Zesty Brightness: Stir in 1 teaspoon of orange or lemon zest with the dry ingredients. Citrus and chocolate are a match made in heaven!
- Glaze Craze: Drizzle a simple vanilla glaze over the cooled scones. Whisk together 1 cup powdered sugar with 2-3 tablespoons milk and 1/2 teaspoon vanilla extract until smooth.
- Double Chocolate Dream: Use a mix of white chocolate chips and dark chocolate chips for a delightful contrast.
- Serve with: A generous dollop of clotted cream, your favorite fruit jam, or simply a steaming mug of coffee or tea. They’re also fabulous with a scoop of vanilla ice cream for a truly decadent dessert.
Reviews
- Jessica L. ⭐️⭐️⭐️⭐️⭐️“These scones are a dream! So easy to make and the chocolate makes them feel extra special. My family devoured them in minutes. This recipe is a keeper!”
- Mista T. ⭐️⭐️⭐️⭐️⭐️“I’ve always been intimidated by scones, but this recipe made it so simple. The instructions were clear, and the results were perfectly flaky and buttery. Highly recommend!”
- Sandra P. ⭐️⭐️⭐️⭐️⭐️“Oh my goodness, the smell alone is worth it! These taste like something from a fancy bakery. I used dark chocolate chips, and they were divine. Thank you for this wonderful recipe!”
FAQ
Can I use milk instead of heavy cream?
While heavy cream contributes to the rich flavor and tender texture, you can substitute whole milk in a pinch. However, the scones might be slightly less rich and tender.
Why is it important to use cold butter?
Cold butter is crucial for flaky scones! As the cold butter melts in the hot oven, it creates pockets of steam, which separate the layers of dough, resulting in that wonderfully light and flaky texture.
Can I make the dough ahead of time?
Yes! You can prepare the dough, cut the scones, and then place them on the baking sheet in the freezer for about 30 minutes until firm. Then transfer them to an airtight container or freezer bag. When ready to bake, place the frozen scones directly on a baking sheet and bake for a few extra minutes (20-25 minutes total) at the same temperature.
How do I store leftover scones?
Store cooled scones in an airtight container at room temperature for up to 2-3 days. Reheat them briefly in the microwave or oven for that fresh-baked warmth.
Conclusion
There’s something truly magical about bringing a batch of warm, homemade Chocolate Chip Scones to the table. It’s an act of love, a simple pleasure that creates moments of comfort and joy. Whether you’re sharing them with loved ones or savoring one all to yourself with a quiet cup of tea, these scones are sure to put a smile on your face. Don’t hesitate – gather your ingredients and let the aroma of fresh-baked goodness fill your home. Happy baking, friends!
Recipe Note
For the freshest taste and best texture, enjoy these Chocolate Chip Scones on the day they are baked. If you must store them, a quick warm-up in a toaster oven or microwave will revive their tender crumb and melty chocolate goodness.
Bakery-Style Chocolate Chip Scones
Ingredients
Equipment
Method
- Preheat and Prep: Preheat your oven to 400°F (200°C). Line a large baking sheet with a piece of parchment paper or a silicone baking mat.
- Mix Dry Ingredients: In a large mixing bowl, whisk together the all-purpose flour, granulated sugar, baking powder, and kosher salt.
- Grate the Butter: Take your stick of frozen unsalted butter and grate it using the large holes of a standard box grater. Immediately toss the grated frozen butter into the flour mixture. Use your fingers to gently toss the mixture until the butter shreds are completely coated in flour.
- Whisk the Wet Ingredients: In a separate small bowl or liquid measuring cup, whisk together the cold heavy whipping cream, the cold egg, and the pure vanilla extract until smooth.
- Combine: Pour the wet ingredients over the flour and butter mixture. Add the semi-sweet chocolate chips. Use a silicone spatula or a wooden spoon to gently fold the mixture together just until the dough begins to clump and moisten. Do not overmix.
- Shape the Dough: Dump the crumbly dough out onto a clean, lightly floured work surface. Use your hands to gently bring the dough together, pressing it into an 8-inch disc that is about 1 inch thick.
- Cut the Scones: Using a bench scraper or a sharp chef knife, cut the disc in half, then into quarters, and then into eighths, creating 8 equal-sized triangular wedges.
- Bake: Transfer the wedges to your prepared baking sheet, leaving about 2 inches of space between each scone. Brush the tops of the scones lightly with the extra 2 tablespoons of heavy cream and sprinkle generously with the coarse sparkling sugar. Bake in the preheated oven for 15 to 18 minutes, or until the scones are a beautiful golden brown on top and around the edges.
- Cool and Serve: Remove the baking sheet from the oven and let the scones cool for at least 10 minutes before serving. They are best enjoyed warm with a cup of hot coffee.
Notes
Grating the Butter: Using a box grater for frozen butter is a game-changing shortcut. It creates the perfect uniform size of butter pieces throughout the dough without requiring the heat of your hands or a pastry blender to cut it in.
Storage: Scones are notoriously best eaten on the exact same day they are baked. Store leftovers in an airtight container at room temperature for up to 2 days. To refresh them, pop them into a 350°F oven for 5 minutes to restore their slightly crisp exterior.