Ingredients
Equipment
Method
- Mix the Psyllium Gel: In a large bowl, whisk together the warm water and psyllium husk powder vigorously for 30 seconds until it thickens into a gelatinous, dough-like binder. Stir in the active gluten-free sourdough starter, olive oil, and honey until smooth.
- Combine Dry Ingredients: In a separate medium bowl, whisk together the brown rice flour, tapioca starch, potato starch, and kosher salt until thoroughly blended.
- Form the Dough: Pour the dry flour mixture into the wet psyllium and starter mixture. Using a silicone spatula or your hands, knead and mix thoroughly for 2 to 3 minutes until a cohesive, smooth dough forms that holds its shape.
- Bulk Fermentation: Shape the dough into a smooth round loaf. Place it into a floured banneton basket (or a towel-lined bowl) seam-side up. Cover with a damp towel and let it rise at room temperature for 4 to 6 hours, or until it has puffed up noticeably.
- Preheat the Dutch Oven: Place your heavy Dutch oven with its lid on inside your oven, and preheat the entire setup to 450°F (230°C) for at least 45 minutes.
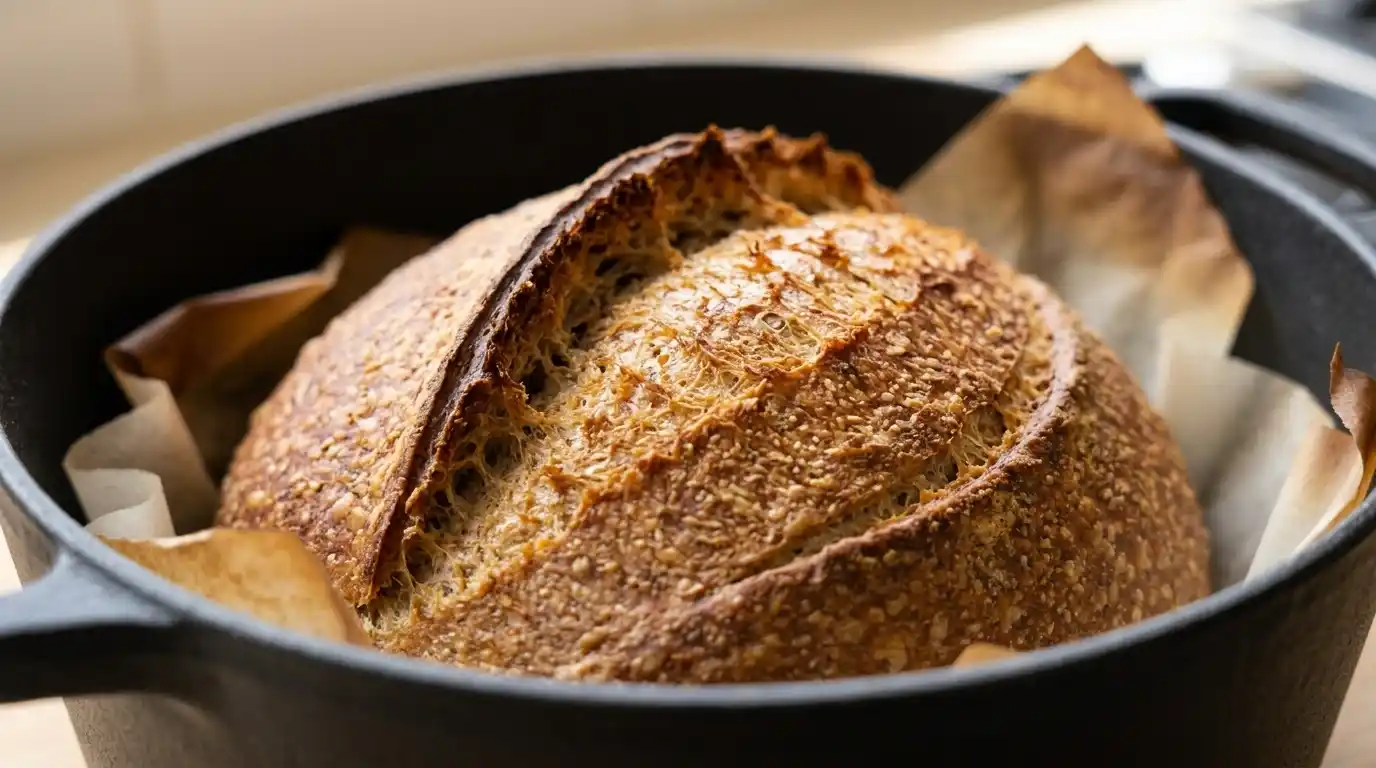
- Score and Bake Covered: Carefully invert the loaf out of the basket onto a piece of parchment paper. Use a sharp razor blade or lame to score a deep slash across the top. Carefully lower the loaf (using the parchment paper edges) into the hot Dutch oven, cover with the lid, and bake for 30 minutes to trap steam for a great crust.
- Bake Uncovered: Remove the lid from the Dutch oven and bake for an additional 20 to 25 minutes, until the crust is deep golden brown and sounds hollow when tapped.
- Cool Completely: Remove the loaf from the oven and transfer it to a wire cooling rack. Let it cool completely for at least 2 hours before slicing to allow the interior crumb to set fully.
Notes
The Magic of Psyllium Husk: Do not omit or substitute the psyllium husk powder. Because gluten-free flours lack gluten proteins to trap air, psyllium acts as the essential binder that gives the dough its elasticity and chew.
Weighing Ingredients: For the absolute best consistency in gluten-free baking, using a digital kitchen scale to measure your flours in grams is highly recommended over measuring cups.
Cooling is Crucial: Cutting into the bread while it is still warm will make the interior texture feel gummy. Let it cool completely so the starches can finish setting into a perfect sliceable crumb.