Ingredients
Equipment
Method
- Preheat and Prep: Preheat your oven to 400°F (200°C). Line a large baking sheet with a piece of parchment paper or a silicone baking mat.
- Mix Dry Ingredients: In a large mixing bowl, whisk together the all-purpose flour, granulated sugar, baking powder, and kosher salt.
- Grate the Butter: Take your stick of frozen unsalted butter and grate it using the large holes of a standard box grater. Immediately toss the grated frozen butter into the flour mixture. Use your fingers to gently toss the mixture until the butter shreds are completely coated in flour.
- Whisk the Wet Ingredients: In a separate small bowl or liquid measuring cup, whisk together the cold heavy whipping cream, the cold egg, and the pure vanilla extract until smooth.
- Combine: Pour the wet ingredients over the flour and butter mixture. Add the semi-sweet chocolate chips. Use a silicone spatula or a wooden spoon to gently fold the mixture together just until the dough begins to clump and moisten. Do not overmix.
- Shape the Dough: Dump the crumbly dough out onto a clean, lightly floured work surface. Use your hands to gently bring the dough together, pressing it into an 8-inch disc that is about 1 inch thick.
- Cut the Scones: Using a bench scraper or a sharp chef knife, cut the disc in half, then into quarters, and then into eighths, creating 8 equal-sized triangular wedges.
- Bake: Transfer the wedges to your prepared baking sheet, leaving about 2 inches of space between each scone. Brush the tops of the scones lightly with the extra 2 tablespoons of heavy cream and sprinkle generously with the coarse sparkling sugar. Bake in the preheated oven for 15 to 18 minutes, or until the scones are a beautiful golden brown on top and around the edges.
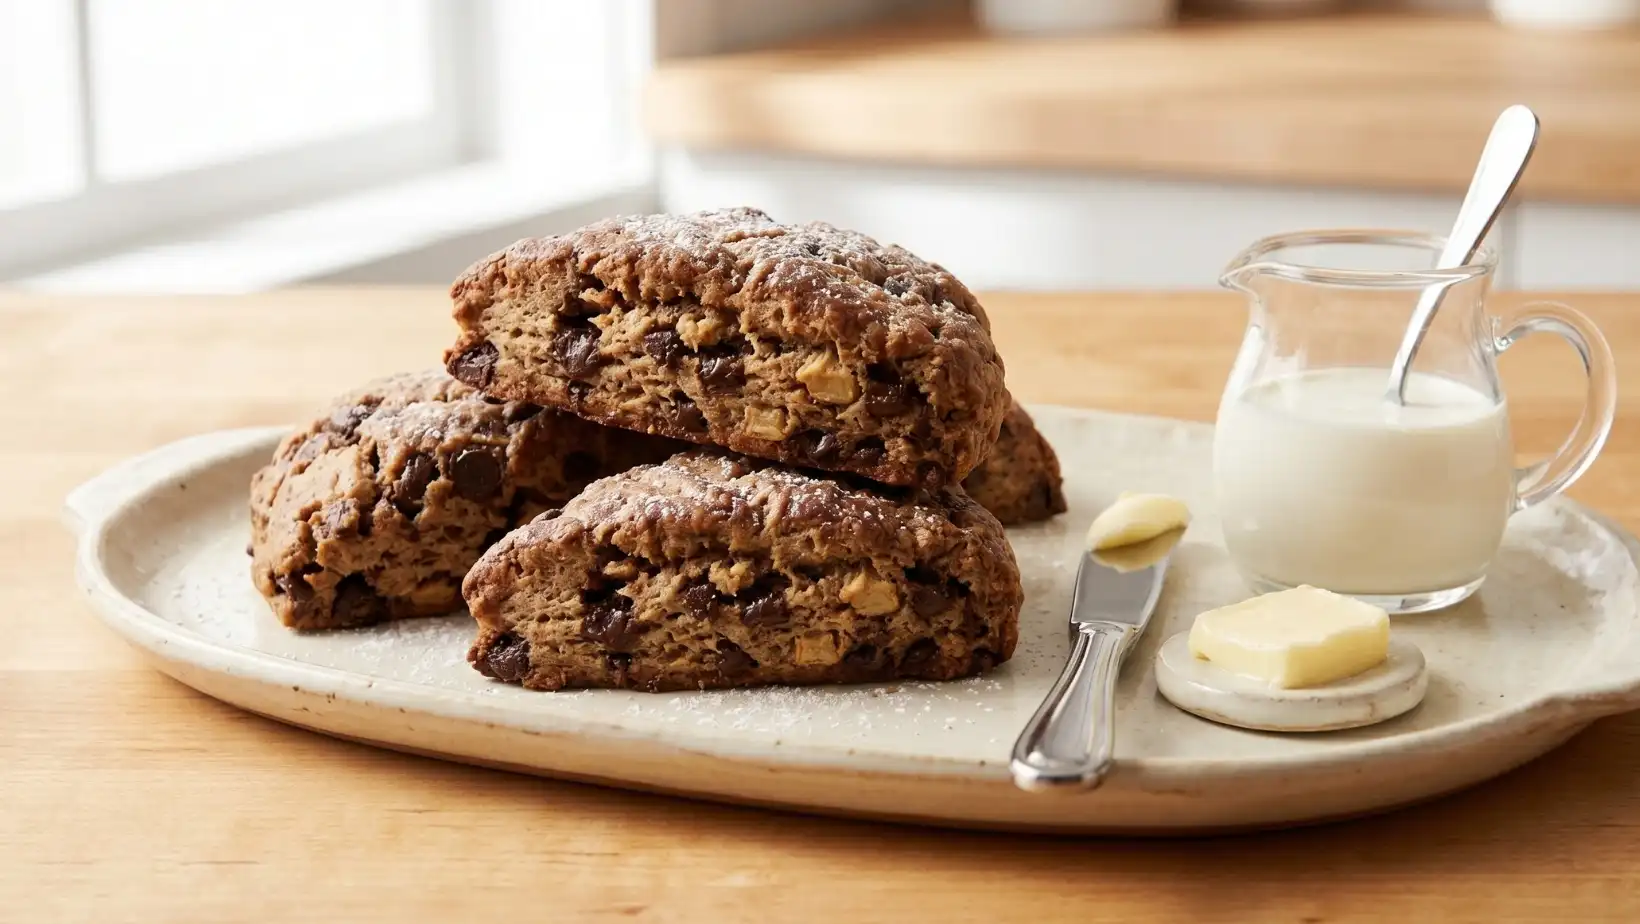
- Cool and Serve: Remove the baking sheet from the oven and let the scones cool for at least 10 minutes before serving. They are best enjoyed warm with a cup of hot coffee.
Notes
Temperature is Everything: The secret to tall, flaky scones is keeping the butter and liquid ingredients as cold as absolutely possible before they hit the hot oven. If your kitchen is very warm and the dough feels soft while shaping, place the cut wedges in the freezer for 10 minutes before baking.
Grating the Butter: Using a box grater for frozen butter is a game-changing shortcut. It creates the perfect uniform size of butter pieces throughout the dough without requiring the heat of your hands or a pastry blender to cut it in.
Storage: Scones are notoriously best eaten on the exact same day they are baked. Store leftovers in an airtight container at room temperature for up to 2 days. To refresh them, pop them into a 350°F oven for 5 minutes to restore their slightly crisp exterior.