Ingredients
Equipment
Method
- Preheat and Prep Pans: Preheat your oven to 350°F (175°C). Grease three 8-inch round cake pans with butter or non-stick baking spray, then line the bottoms with parchment paper rounds to ensure the cakes release perfectly.
- Mix Dry Ingredients: In a large mixing bowl, whisk together the cake flour, baking powder, baking soda, and kosher salt. Set this mixture aside.
- Cream Butter and Sugar: In the bowl of a stand mixer fitted with the paddle attachment, beat the softened unsalted butter on medium-high speed for about 2 minutes until completely smooth and creamy. Add the granulated sugar and beat for another 3 to 4 minutes until the mixture is very pale and fluffy.
- Add Eggs and Vanilla: Reduce the mixer speed to medium. Add the room temperature eggs one at a time, mixing well after each addition. Scrape down the sides of the bowl with a silicone spatula. Beat in the vanilla bean paste.
- Alternate Wet and Dry: With the mixer on the lowest speed, add one-third of the dry flour mixture. Once barely mixed in, pour in half of the buttermilk. Repeat with another third of the flour, the remaining buttermilk, and finish with the last of the flour. Mix just until combined; do not overmix.
- Bake the Layers: Divide the batter evenly among the three prepared cake pans. Smooth the tops with a spatula. Bake for 30 to 35 minutes, or until a toothpick inserted into the center comes out completely clean. Let the cakes cool in the pans for 10 minutes before turning them out onto wire racks to cool completely.
- Make the Buttercream: In a clean stand mixer bowl, beat the softened butter on medium-high speed for 5 minutes until it is very pale and almost white. Reduce the speed to low and gradually add the sifted powdered sugar, one cup at a time. Add the heavy whipping cream, clear vanilla extract, and salt. Increase the speed to high and beat for 3 to 5 minutes until the frosting is incredibly light and fluffy.
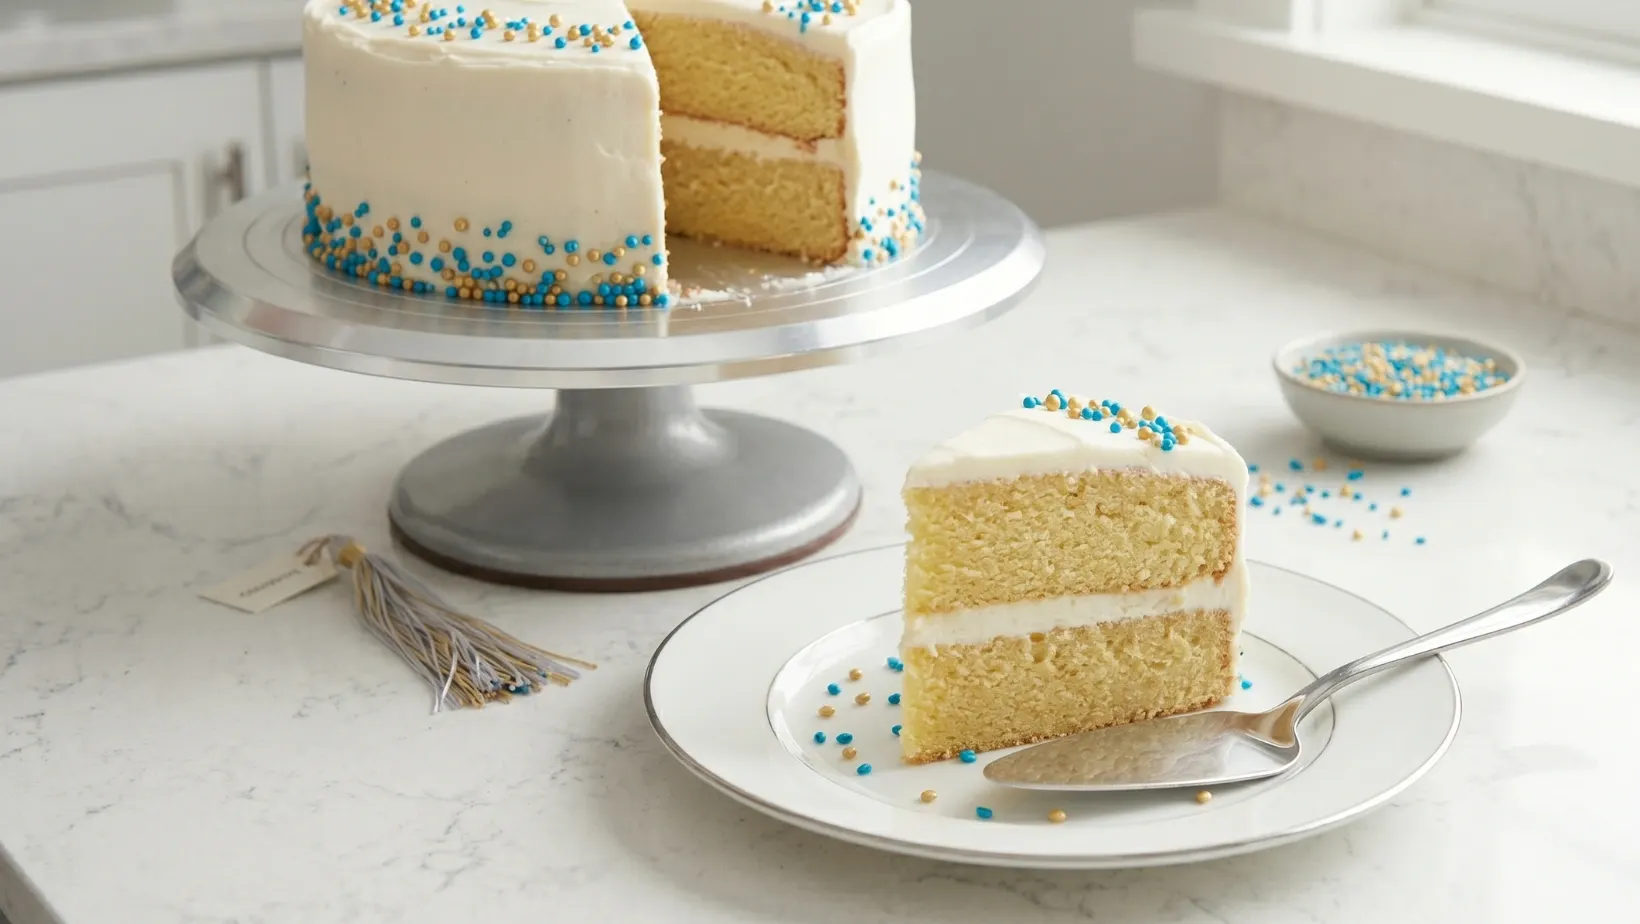
- Assemble and Decorate: Place the first cooled cake layer on a serving platter or cake stand. Spread an even layer of buttercream over the top. Repeat with the second and third layers. Apply a smooth, thin crumb coat of frosting around the entire cake and chill in the refrigerator for 20 minutes.
- Final Frosting: Apply a thick, final layer of the white buttercream, smoothing the sides with a bench scraper. Divide the remaining frosting into small bowls and dye it using your gel food coloring to match the specific school colors. Transfer the colored frosting to piping bags and pipe decorative borders, rosettes, or a congratulatory message onto the cake.
Notes
Use Gel Food Coloring: When dyeing your buttercream for the school colors, absolutely use concentrated gel food coloring rather than liquid drops. Liquid coloring will thin out your frosting and make it runny, while gel provides incredibly vibrant, saturated colors without changing the texture.
Clear Vanilla Extract: To achieve a stark, beautiful white base frosting that looks great in photos, use clear imitation vanilla extract instead of pure brown vanilla extract, which will give the frosting a yellow tint.
Make-Ahead Layers: You can bake the cake layers up to a month in advance. Let them cool completely, wrap each layer tightly in a double layer of plastic wrap, and freeze. You can actually assemble and frost the cake while the layers are still slightly frozen; it makes them much easier to handle and stack without breaking.