
Sourdough Bread Recipe: 10 Best Secrets for Crusty Perfection
Discover the best sourdough bread recipe on thenextrecipes.com. Learn how to bake sourdough bread from scratch and find out is sourdough bread good for you.
Table of Contents
The Ultimate Sourdough Bread Recipe on thenextrecipes.com
⭐️⭐️⭐️⭐️⭐️ (4.9 from 1,900 fans)
📸 700+ photo shares | ☀️ Updated October 2025

Introduction
Few artisan baking projects capture the rustic crust, airy open crumb, and unmistakable tangy flavor quite like a traditional naturally fermented loaf. Whether you are building your first active wild yeast starter, looking to elevate your weekend baking routine, or curious about the nutritional benefits of fermented grains, mastering a dependable sourdough bread recipe stands out as the ultimate culinary achievement. Instead of relying on commercial yeast, creating your own homemade artisan loaf using flour, water, salt, and wild fermentation delivers a bakery-quality experience right at home. You will love the rewarding process of scoring and baking a golden masterpiece that smells and tastes incredible.
Understanding the Magic of Sourdough Fermentation
Why Wild Yeast, Long Fermentation, and Scoring Matter
Balancing natural microbial activity with proper dough handling is the secret to achieving that signature sourdough texture and tangy flavor profile.
- The Wild Starter Foundation: Feeding a vibrant culture of wild yeast and beneficial bacteria provides the natural rise and complex flavor.
- The Long Fermentation Benefit: Letting the dough ferment slowly breaks down gluten proteins and phytic acid, answering the question: is sourdough bread good for you with improved digestibility and nutrient absorption.
- The Precision Scoring Slash: Making a deliberate cut across the top of the loaf before baking allows steam to escape, controlling how the crust expands in the oven.
Essential Ingredients for Your Sourdough Loaf
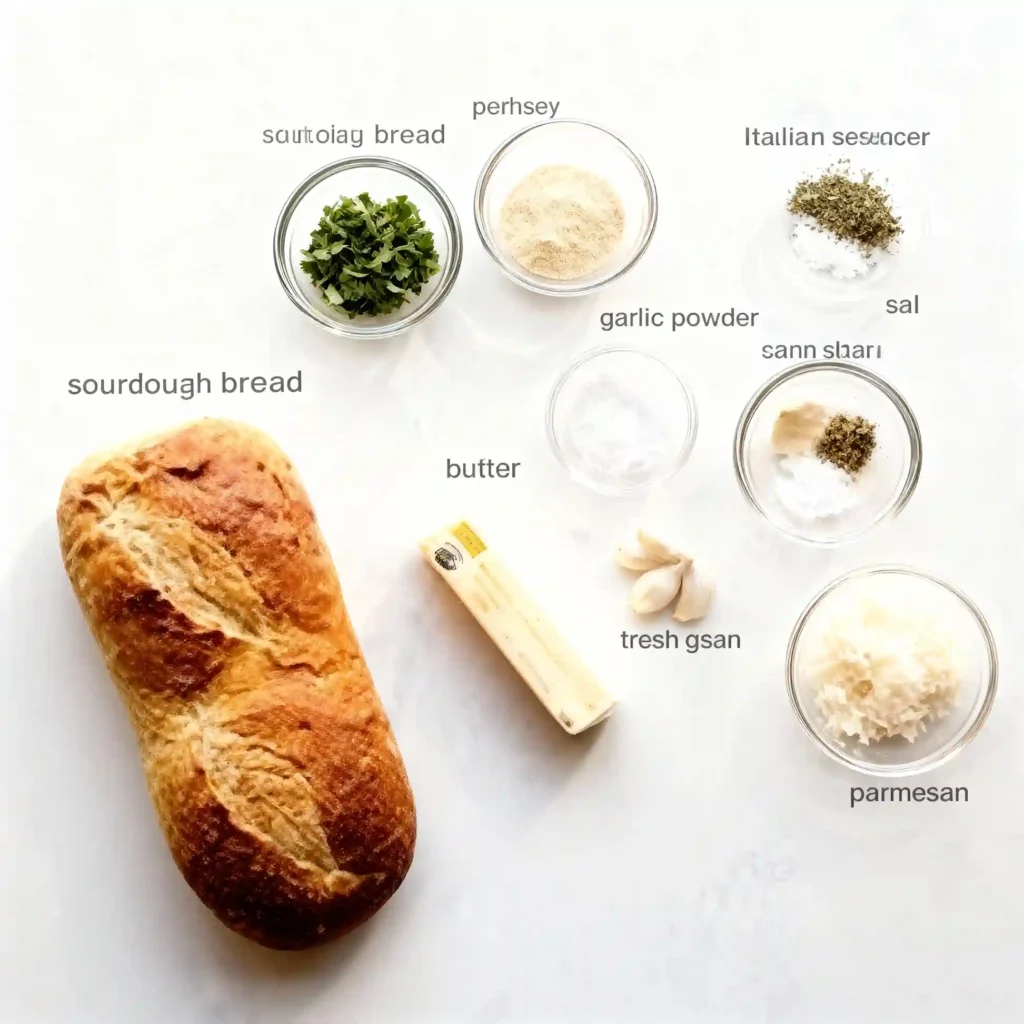
To keep your kitchen prep smooth and organized, the table below outlines core ingredients that form the backbone of artisan bread making.
| Category | Ingredient | Quantity | Purpose |
| Main Culture | Active Sourdough Starter (Fed & Bubbly) | 1/2 cup (100g) | Acts as the natural leavening agent to rise the dough. |
| Primary Flour | Bread Flour (High Protein) | 4 cups (500g) | Provides the gluten structure for an airy, chewy crumb. |
| Hydration | Filtered Water (Lukewarm) | 1 3/4 cups (375g) | Hydrates the flour and activates fermentation. |
| Flavor Enhancer | Fine Sea Salt or Kosher Salt | 2 tsp (12g) | Strengthens gluten bonds and balances the sour tang. |
| Dusting Flour | Rice Flour or Semolina | 2 tbsp | Prevents sticking inside your proofing basket. |
Step-by-Step Baking Methods for Artisan Success
Method 1: Mixing and Autolyse
To begin learning how to bake sourdough bread, combine your active bubbly starter with lukewarm water and bread flour until a shaggy dough forms. Let it rest for 45 minutes (the autolyse phase) to allow the flour to absorb the water fully before mixing in your salt.
Method 2: Bulk Fermentation and Stretch-and-Fold
During bulk fermentation, perform a series of stretch-and-fold techniques every 30 minutes for the first two hours to build dough strength. Cover the bowl and let the dough rise at room temperature until it increases in volume by roughly 50% and shows bubbly pockets.
Method 3: Shaping, Proofing, and Baking
Shape the dough into a tight round loaf (boule), place it upside down into a floured banneton basket, and refrigerate overnight for cold retard. Score the top with a sharp razor blade and bake inside a preheated Dutch oven at 450 degrees Fahrenheit (230 degrees Celsius) with the lid on for 20 minutes, then uncovered for 25 minutes until deeply golden.
Serving Suggestions and Pairing Ideas
A magnificent artisan loaf deserves wonderful accompaniments to showcase its flavor:
- Simple Spreads: Enjoy warm slices slathered with salted European butter, creamy avocado, or artisanal honey.
- Savory Platters: Pair with a sharp artisan cheese board, cured meats, and tangy cornichons.
- Bruschetta Base: Toast thick slices and top with fresh garlic, ripe tomatoes, basil, and a drizzle of extra virgin olive oil.
Frequently Asked Questions About Sourdough
Is sourdough bread easier to digest than regular bread?
Yes! The long fermentation process by wild yeast and lactic acid bacteria breaks down gluten and starches, making is sourdough bread good for you a resounding yes for people seeking more digestible grain options.
How do I know when my sourdough starter is ready to bake with?
Your starter is ready when it has been fed recently, smells pleasantly yeasty and slightly sweet-sour, and has doubled or tripled in size with plenty of visible bubbles.
Why didn’t my sourdough loaf rise or get an open crumb?
Under-fermentation, an inactive starter, or insufficient gluten development during stretch-and-folds are the most common reasons a loaf turns out dense. Give your dough enough time to ferment properly!
Reviews
- Sarah L. ⭐⭐⭐⭐⭐”Absolutely Divine!” “I’ve made a lot of sourdough, but adding the fresh garlic and herbs took it to a whole new level! My kitchen smelled incredible, and the bread was perfect with our Sunday roast. My family devoured it!”
- Mark T. ⭐⭐⭐⭐⭐”My New Go-To Sourdough!” “I was a bit intimidated by adding ingredients to my sourdough, but this recipe made it so easy. The instructions were clear, and the result was a beautifully fragrant and crusty loaf. Highly recommend!”
- Chloe P. ⭐⭐⭐⭐⭐”So Flavorful!” “The mix of rosemary and garlic in this bread is just heavenly. It felt like a special treat to bake and eat. It freezes well too, so I always have a slice ready for a quick snack.”
Conclusion and Call-to-Action
Bringing a warm, crusty, and aromatic artisan loaf to your table is the ultimate rewarding experience for any home baker. By mastering these dependable techniques and exploring this premier sourdough bread recipe guide, you are guaranteed a delicious baking success every single time. Visit thenextrecipes.com to discover more inspiring bread recipes and baking favorites. What is your favorite way to enjoy fresh sourdough bread? Leave a comment below sharing your thoughts, and let us know what recipe you want to see next!
Garlic Herb Sourdough Bread
Cook Time: N/A
Total Time: 24 hours (includes bulk fermentation and cold proof)
Course: Bread
Servings: 10-12 slices
Calories: 190-230 kcal per slice (estimate)
Ingredients
- 100g active sourdough starter (fed 4-8 hours prior)
- 350g warm water (approx. 90-95°F / 32-35°C)
- 500g strong bread flour
- 10g fine sea salt
- 4-5 cloves fresh garlic, minced
- 2-3 tablespoons fresh mixed herbs (e.g., rosemary, thyme, oregano, parsley), finely chopped
- 1 tablespoon olive oil (optional, for mixing with garlic/herbs)
Instructions
1.Autolyse (1 hour): In a large bowl, combine 350g warm water and 500g bread flour. Mix until no dry spots remain. Cover the bowl and let it rest for 1 hour at room temperature.
2. Add Starter & Salt: After autolyse, add 100g active sourdough starter and 10g sea salt to the dough. Mix thoroughly, kneading gently in the bowl for 5-10 minutes until the salt is fully incorporated and the dough starts to come together.
3. Incorporate Garlic & Herbs: In a small bowl, mix the minced garlic and chopped fresh herbs with 1 tablespoon of olive oil (optional, helps distribute). Flatten the dough slightly, spread the garlic-herb mixture over it, and gently fold it in multiple times until evenly distributed.
4. Bulk Fermentation (3-5 hours): Cover the bowl and let the dough rest at room temperature (72-78°F / 22-25°C). Perform a series of “stretch and folds” every 30-45 minutes for the first 2-3 hours. To do this, wet your hand, grab one side of the dough, stretch it up, and fold it over itself. Rotate the bowl and repeat 3-4 times. The dough should become noticeably stronger and more elastic. The total bulk fermentation time will depend on your room temperature and starter activity. Look for the dough to increase in volume by about 30-50%.
5. Preshape (30 minutes): Gently turn the dough out onto a lightly floured surface. Gently shape it into a round (boule) or oval (batard) by tucking the edges under to create surface tension. Let it rest, uncovered, for 20-30 minutes.
6. Final Shape: Lightly flour your work surface. Gently flatten the preshaped dough. For a boule, fold the top down, then the sides in, and finally roll the dough from the top down, sealing the seam. Create tension on the surface by dragging it towards you. For a batard, perform a similar series of folds to create an oval.
7. Cold Proof (12-18 hours): Place the shaped dough, seam-side up, into a floured banneton or a bowl lined with a floured tea towel. Cover with a plastic bag or shower cap and refrigerate for 12-18 hours. This slows fermentation, develops flavor, and makes the dough easier to score.
8. Bake (45 minutes): Preheat your oven to 450°F (232°C) with a Dutch oven inside for at least 30 minutes. Carefully remove the hot Dutch oven. Gently invert the cold dough from the banneton into the hot Dutch oven. Score the top of the dough with a sharp razor blade or knife (e.g., a single slash or a pattern).
9. Covered Bake: Cover the Dutch oven and bake for 30 minutes.
10. Uncovered Bake: Remove the lid and bake for another 15-20 minutes, or until the crust is deeply golden brown and the internal temperature reaches 200-210°F (93-99°C). 11. Cool: Carefully remove the bread from the Dutch oven and transfer it to a wire rack to cool completely for at least 1-2 hours before slicing. Slicing too early can result in a gummy texture.
Chef’s Notes: For best results, use a well-fed, active sourdough starter. The cold proofing step develops deep flavor, improves crust, and makes the dough easier to handle. Adjust the amount of garlic and herbs to your preference.