Traditional Italian Easter Cookies Recipe (Soft & Easy)
Traditional Italian Easter Cookies Recipe (Soft & Easy)
⭐️⭐️⭐️⭐️⭐️ (4.9/5 Rating) | 🍽️ Servings: 3-4 dozen (approx. 40 cookies) | ⏱️ Total Time: 1 hour 45 minutes | 📸 Updated March 2026
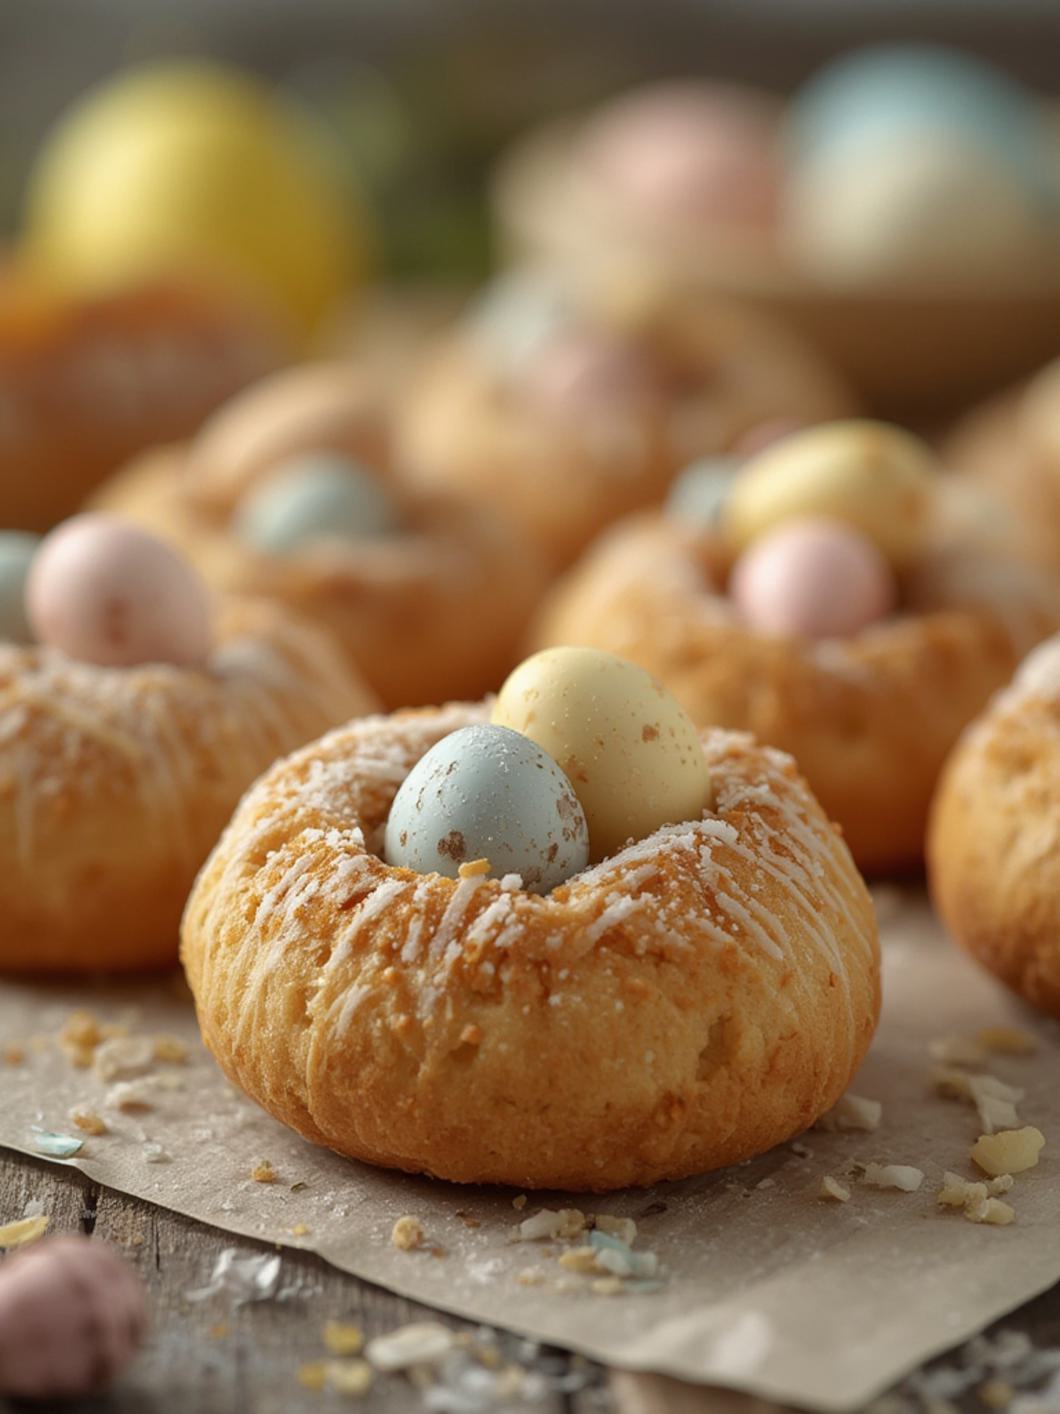
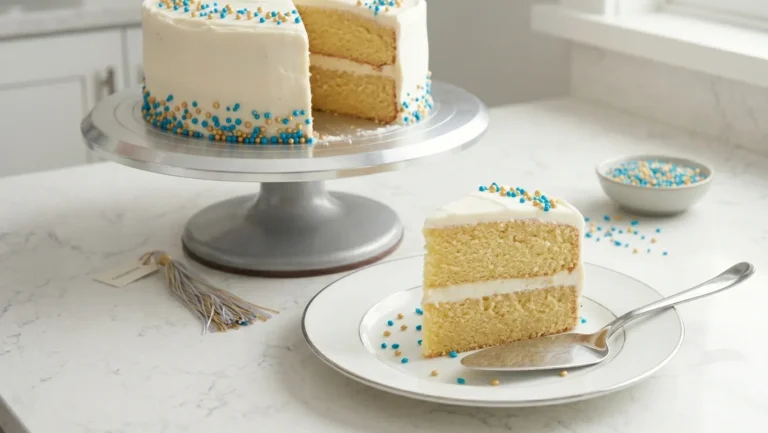
Learn how to make the best traditional italian easter cookies at home! These soft, lemon-glazed cookies with colorful sprinkles are a festive favorite. Simple ingredients, authentic taste, and perfect for your Easter table. Whether you’re a seasoned baker or just starting, our easy-to-follow recipe ensures perfect results every time, honoring the classic flavors often associated with Italian Easter Cookies with Anise.
Table of Contents
The Science of Italian Easter Cookies with Anise
Beyond their delightful appearance and taste, there’s a delicate balance of ingredients that contribute to the signature softness and flavor of Italian Easter Cookies with Anise. The combination of butter and eggs creates a tender crumb, while the baking powder ensures a light, airy texture rather than a dense, chewy one. The slight acidity from the lemon zest in both the dough and the glaze reacts with the baking powder, enhancing the lift and adding a bright counterpoint to the sweetness. If you choose to add anise extract, it introduces a distinct, warm licorice-like note that is both traditional and surprisingly versatile, harmonizing beautifully with the citrus. Understanding these elements helps achieve that perfect, melt-in-your-mouth cookie that defines this beloved Easter treat.
What You’ll Need
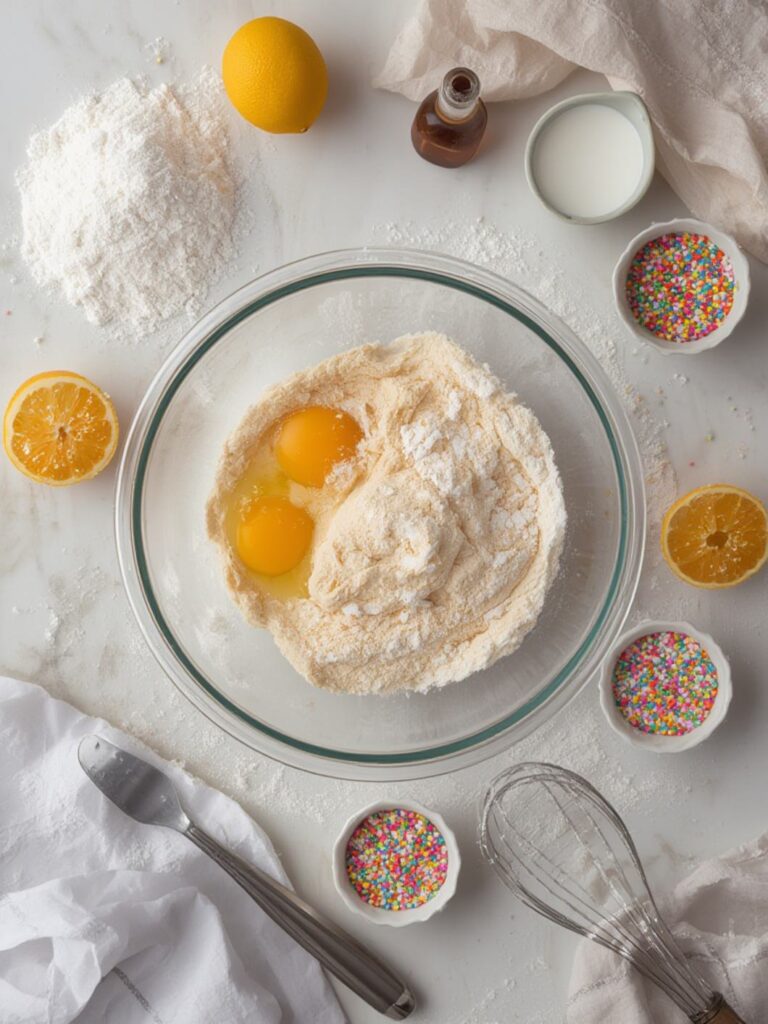
- 3 cups all-purpose flour (spooned and leveled for best results)
- 1 teaspoon baking powder
- 1/2 teaspoon salt
- 1/2 cup (1 stick) unsalted butter, softened
- 1 cup granulated sugar (fine-grain sugar helps with creaming)
- 2 large eggs, room temperature (crucial for emulsion)
- 1/2 cup whole milk, room temperature
- 1 teaspoon vanilla extract (pure vanilla offers the best flavor)
- 1 teaspoon lemon zest (from about 1 lemon)
- 1/2 teaspoon anise extract (optional, but traditional for Italian Easter Cookies with Anise)
For the Glaze:
- 2 cups powdered sugar, sifted (prevents lumps)
- 3-4 tablespoons fresh lemon juice (or milk, for a milder flavor)
- 1/2 teaspoon vanilla extract
- Colorful Easter sprinkles, for decorating
How to Master italian easter cookies
- Prep Your Workspace: Preheat your oven to 375°F (190°C). Line two baking sheets with parchment paper.
- Combine Dry Ingredients: In a medium bowl, whisk together the flour, baking powder, and salt. Set aside.
- Cream Butter & Sugar: In a large bowl, using an electric mixer, cream together the softened butter and granulated sugar until light and fluffy (about 3-4 minutes). This step is key for soft italian easter cookies.
- Add Wet Ingredients: Beat in the eggs one at a time, mixing well after each addition. Stir in the milk, vanilla extract, lemon zest, and anise extract (if using). The mixture might look a little curdled, but that’s okay.
- Combine Wet and Dry: Gradually add the dry ingredients to the wet ingredients, mixing on low speed until just combined. Be careful not to overmix; overmixing can lead to tough cookies. The dough will be soft and slightly sticky.
- Shape the Cookies: Drop rounded tablespoons of dough onto the prepared baking sheets, leaving about 2 inches between each cookie. For a more traditional shape, you can roll the dough into small balls or even log shapes and twist them, but a simple drop cookie works beautifully.
- Bake: Bake for 10-12 minutes, or until the edges are lightly golden and the tops are set. Don’t let them brown too much if you want them truly soft.
- Cool: Let the cookies cool on the baking sheets for a few minutes before transferring them to a wire rack to cool completely.
- Prepare Glaze: While the cookies cool, whisk together the powdered sugar, lemon juice, and vanilla extract in a shallow bowl until smooth. Adjust consistency with more sugar or lemon juice as needed – you want it thick enough to coat but thin enough to drip slightly.
- Glaze & Decorate: Once the cookies are completely cool, dip the tops into the glaze, allowing excess to drip off. Place back on the wire rack and immediately decorate with colorful sprinkles before the glaze sets. Let the glaze harden completely before storing. This method creates the quintessential italian easter cookies look and taste.
Fun Twists & Serving Ideas for Italian Easter Cookies with Anise
These classic Italian Easter Cookies with Anise are wonderful on their own, but here are some ideas to make them even more special:
- Citrus Medley: Instead of just lemon, try a mix of orange and lime zest in the dough and glaze for a brighter, more complex citrus flavor.
- Nutty Crunch: Fold in 1/2 cup of finely chopped pistachios or blanched almonds into the dough for added texture and a delicate nutty note.
- Chocolate Drizzle: After the lemon glaze has set, melt some dark or white chocolate and drizzle it over the cookies for an extra layer of decadence.
- Coffee Pairing: These soft cookies are absolutely divine when served with a strong espresso, cappuccino, or a glass of dessert wine, making them perfect for an after-dinner treat or a festive brunch spread.
FAQ & Reviews
Q: Can I make the dough ahead of time?
A: Yes! You can prepare the dough and refrigerate it for up to 2 days. Make sure to wrap it tightly in plastic wrap. Let it come to room temperature for about 15-20 minutes before shaping and baking.
Q: My cookies are spreading too much. What went wrong?
A: This can happen if your butter was too soft, your oven isn’t hot enough, or you overmixed the dough. Try chilling the shaped cookie dough for 15-20 minutes before baking, or add 1-2 tablespoons more flour next time.
Q: How long do these cookies stay fresh?
A: When stored in an airtight container at room temperature, these cookies will stay soft and delicious for up to 5-7 days. The glaze helps to seal in moisture!
Q: Can I freeze these cookies?
A: Absolutely! Freeze the unglazed baked cookies in a single layer, then transfer to an airtight freezer-safe bag for up to 3 months. Thaw at room temperature and then glaze as usual. You can also freeze the unbaked dough balls.
Community Reviews
Maria G. 
“My nonna’s recipe is almost identical! These are truly the softest Italian Easter cookies I’ve ever made. The lemon glaze is perfect. My family devoured them!”
Chef Mike R.
“As a professional baker, I appreciate the simplicity and authenticity of this recipe. The balance of lemon and subtle anise (I added it!) is spot on. A fantastic guide for anyone wanting to master italian easter cookies.”
Sarah L.
“So easy and incredibly delicious! I’ve always been intimidated by traditional Italian recipes, but this one made it a breeze. The instructions were clear, and my cookies turned out beautiful and soft. A new Easter tradition!”
Conclusion
There you have it – a foolproof guide to crafting the most delightful italian easter cookies right in your own kitchen. Their tender crumb, bright lemon glaze, and festive sprinkles make them an irresistible addition to any holiday table. Whether you embrace the traditional hint of Italian Easter Cookies with Anise or prefer a pure lemon essence, this recipe provides the perfect foundation for a truly memorable Easter treat. Get baking and share the joy!
Recipe Note
For the ultimate soft texture, ensure all your wet ingredients (eggs, milk) are at room temperature before mixing. This allows them to emulsify better with the butter and sugar, creating a smoother dough and a more consistent, tender cookie.
italian easter cookies
📍 Global Cuisine • 🏷️ Recipe
45 minutes
40 minutes
36-48 cookies
180 per cookie (estimated)
Ingredients
- ▪️ 1 cup (2 sticks) unsalted butter, softened
- ▪️ 1 ½ cups granulated sugar
- ▪️ 4 large eggs
- ▪️ 1 teaspoon vanilla extract (or anise extract, or lemon zest)
- ▪️ 4 cups all-purpose flour, plus more for dusting
- ▪️ 4 teaspoons baking powder
- ▪️ ½ teaspoon salt
- ▪️ ½ cup milk
- ▪️ For the Glaze:
- ▪️ 2 cups powdered sugar
- ▪️ 3-4 tablespoons milk (or lemon juice)
- ▪️ ½ teaspoon vanilla extract
- ▪️ Assorted sprinkles, for decorating
Preparation
1
In a large bowl, cream together the softened butter and granulated sugar until light and fluffy, about 3-5 minutes.
2
Beat in the eggs one at a time, ensuring each is fully incorporated before adding the next. Stir in the vanilla extract (or anise extract/lemon zest).
3
In a separate medium bowl, whisk together the flour, baking powder, and salt.
4
Gradually add the dry ingredients to the wet ingredients, alternating with the milk, beginning and ending with the flour mixture. Mix until just combined and a soft, pliable dough forms. Do not overmix.
5
Cover the dough with plastic wrap and chill in the refrigerator for at least 30 minutes to make it easier to handle.
6
Preheat your oven to 375°F (190°C). Line baking sheets with parchment paper.
7
On a lightly floured surface, take small portions of the chilled dough (about 1 tablespoon each). Roll each portion into a rope about 5-6 inches long, then shape into rings, S-shapes, or other desired forms.
8
Place the shaped cookies about 1 inch apart on the prepared baking sheets.
9
Bake for 10-12 minutes, or until the edges are lightly golden. Do not overbake; the cookies should remain soft.
10
Remove from the oven and transfer cookies to a wire rack to cool completely before glazing.
11
While the cookies cool, prepare the glaze: In a medium bowl, whisk together the powdered sugar, 3 tablespoons of milk (or lemon juice), and vanilla extract until smooth. Add more milk, a teaspoon at a time, if a thinner consistency is desired.
12
Once the cookies are completely cool, dip the top of each cookie into the glaze, letting any excess drip off. Immediately decorate with sprinkles.
13
Place the glazed cookies back on the wire rack and allow the glaze to set for at least 30 minutes before serving or storing. Store in an airtight container at room temperature.