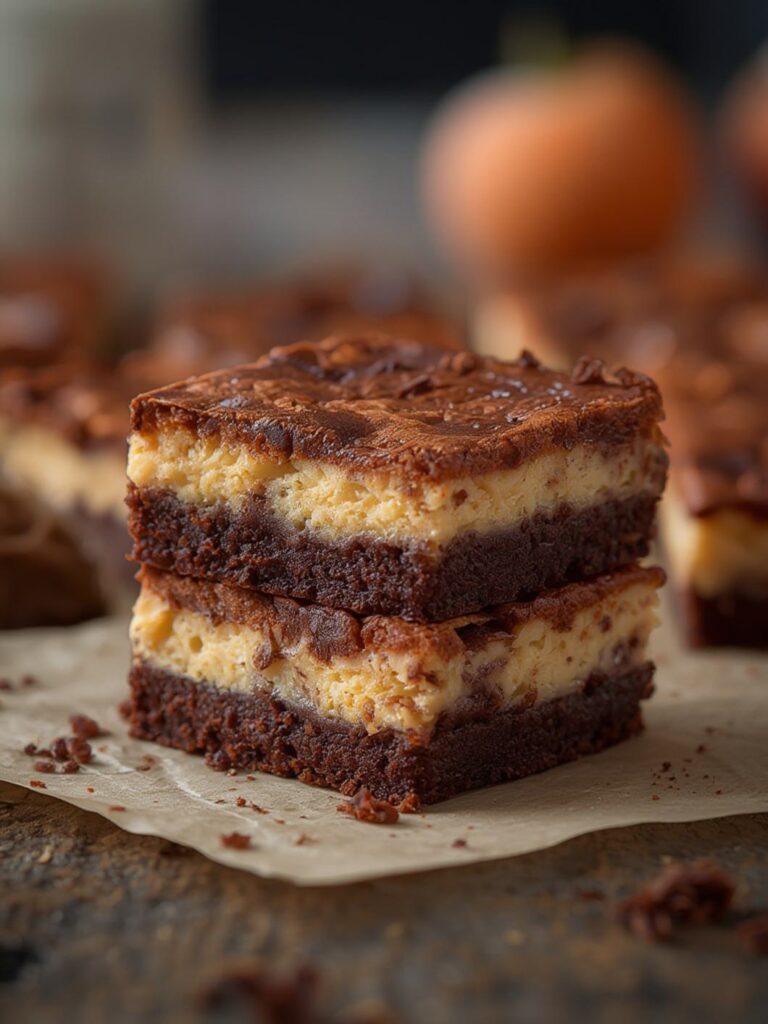
How to Make Oreo Inspired Crumbl Cookies — Step-by-Step Recipe
Discover how to make oreo inspired crumbl cookies at home. This step-by-step recipe delivers thick, soft-baked cookies packed with crushed Oreos.
How to Make Oreo Inspired Crumbl Cookies — Step-by-Step Recipe

Table of Contents
There is something magical about oreo inspired crumbl cookies — thick, impossibly soft, and loaded with chunks of the iconic cookie in every bite. This recipe captures that bakery-style magic right in your own kitchen — no waiting in line required.
Whether you are a beginner baker or a seasoned cookie enthusiast, this guide will walk you through every step — from crushing the perfect Oreos to achieving that coveted crumbl-style texture.
Ingredients & Tools Needed
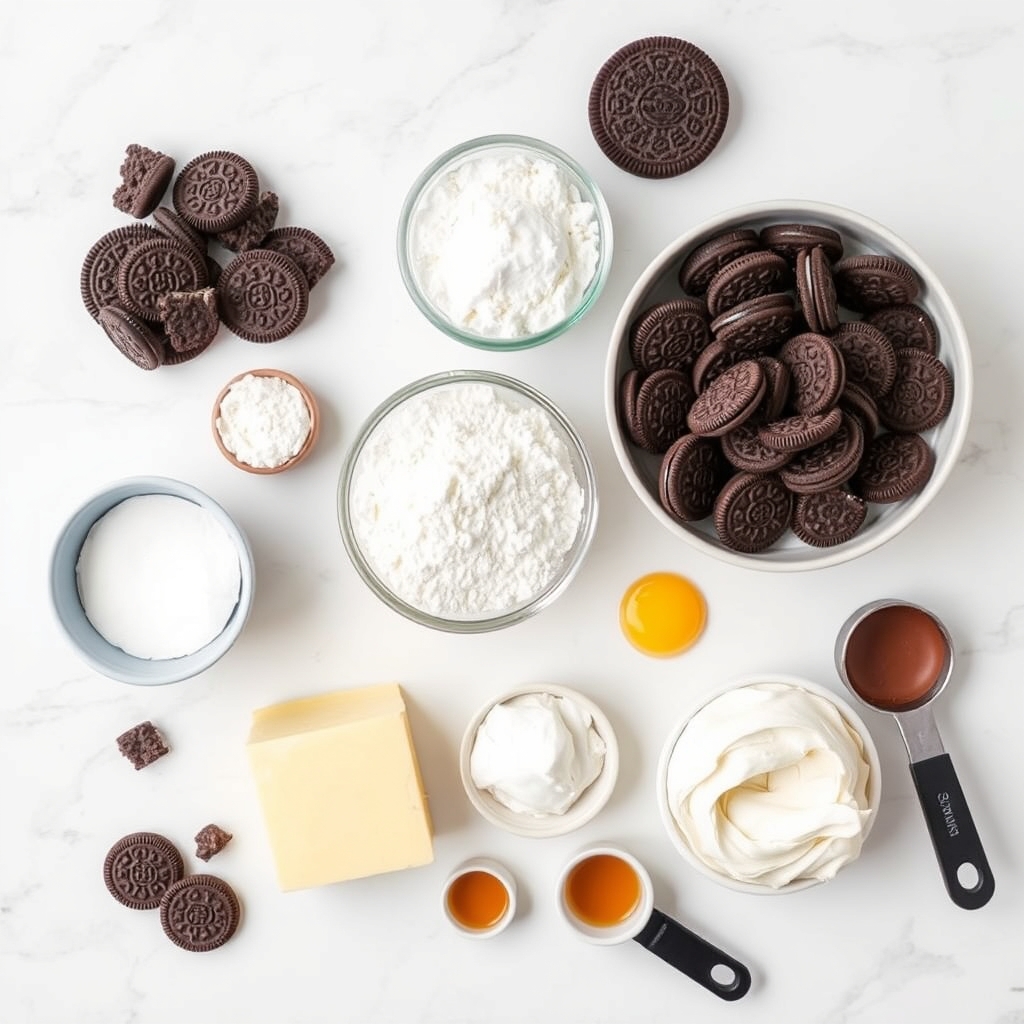
For the Cookies (Makes 16)
- 113g (½ cup) unsalted butter, softened
- 100g (½ cup) granulated sugar
- 100g (½ cup packed) brown sugar
- 1 large egg
- 1 tsp vanilla extract
- 240g (2 cups) all-purpose flour (or bread flour for extra chew)
- 1 tsp baking powder
- ½ tsp salt
- 18 oz original Oreo cookies (about 18 cookies, crushed)
Optional Cream Cheese Frosting
- 57g (¼ cup) cream cheese, softened
- 28g (2 tbsp) unsalted butter, softened
- 120g (1 cup) powdered sugar
- 1 tsp vanilla extract
Tools
- Large mixing bowl + hand mixer or stand mixer
- Baking sheets + parchment paper
- Cookie scoop or large spoon
- Wire cooling rack
- Ziplock bag + rolling pin (for crushing Oreos)
💡 Pro Tip: For the best flavor, use bread flour instead of all-purpose. The extra protein creates a chewier interior that perfectly complements the soft crumbl texture.
Step-by-Step Instructions
Step 1 — Crush the Oreos
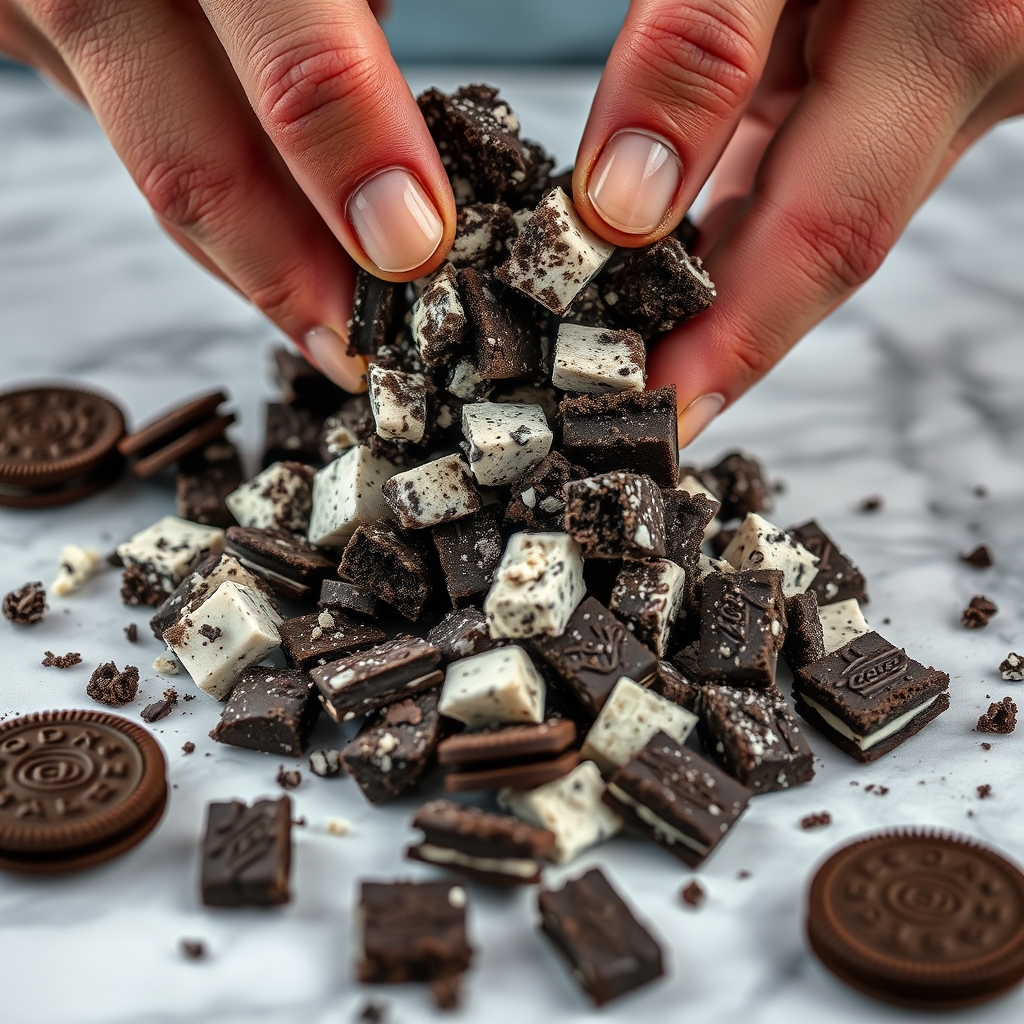
Place Oreo cookies in a ziplock bag. Use a rolling pin to crush them into coarse chunks — not fine crumbs. You want some big pieces for that signature crumbl cookie texture.
Step 2 — Cream Butter & Sugars
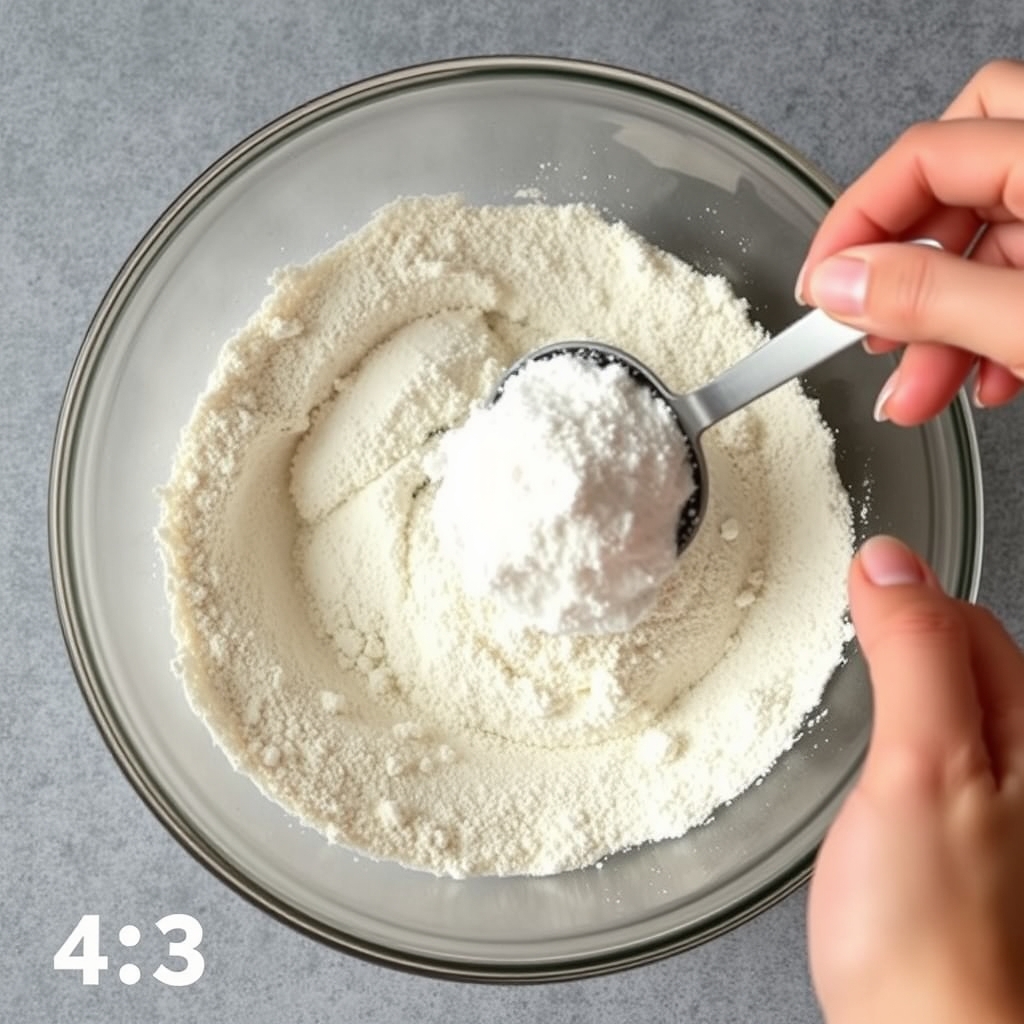
In a large bowl, beat softened butter, granulated sugar, and brown sugar together until light and fluffy — about 3 minutes on medium-high speed. This step is crucial for that bakery-style rise.
Step 3 — Add Egg & Vanilla
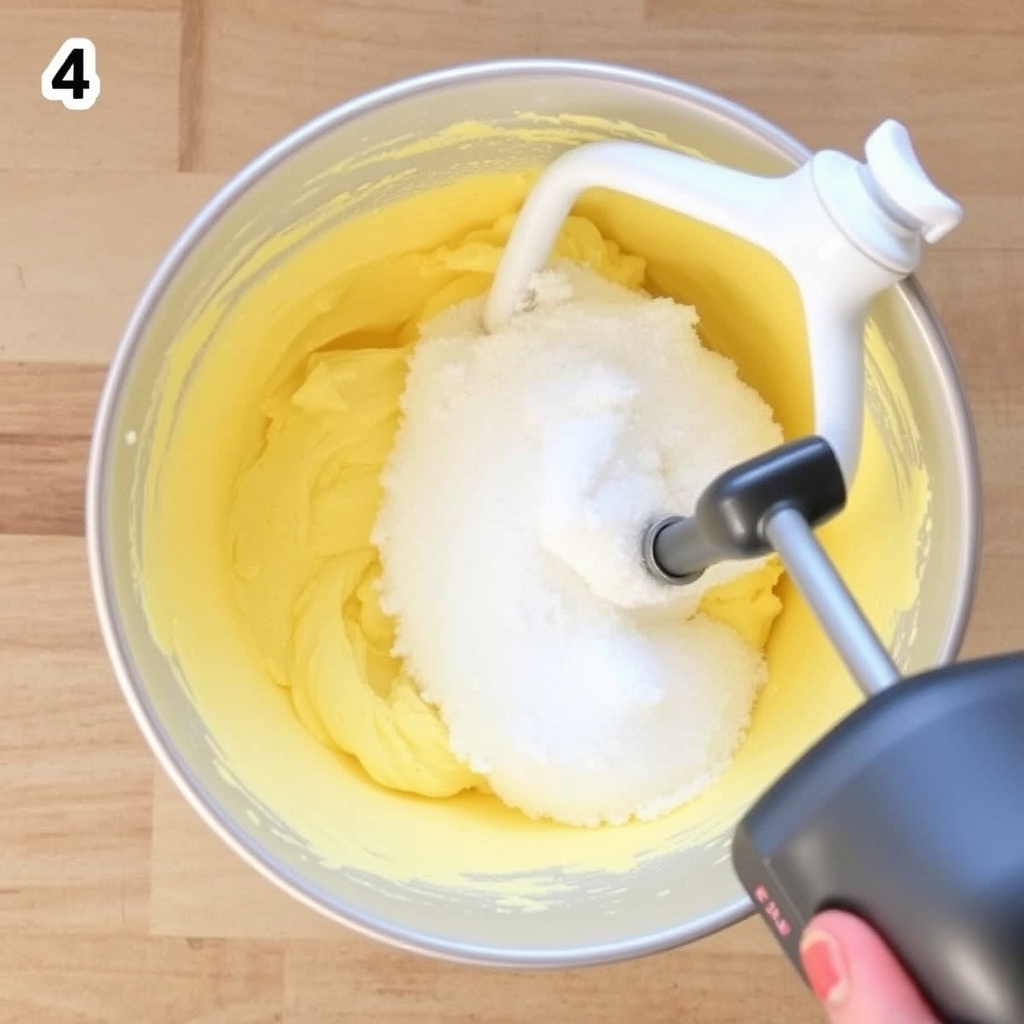
Add the egg and vanilla extract. Beat until fully combined and the mixture looks creamy. Scrape down the sides of the bowl as needed.
Step 4 — Combine Dry Ingredients
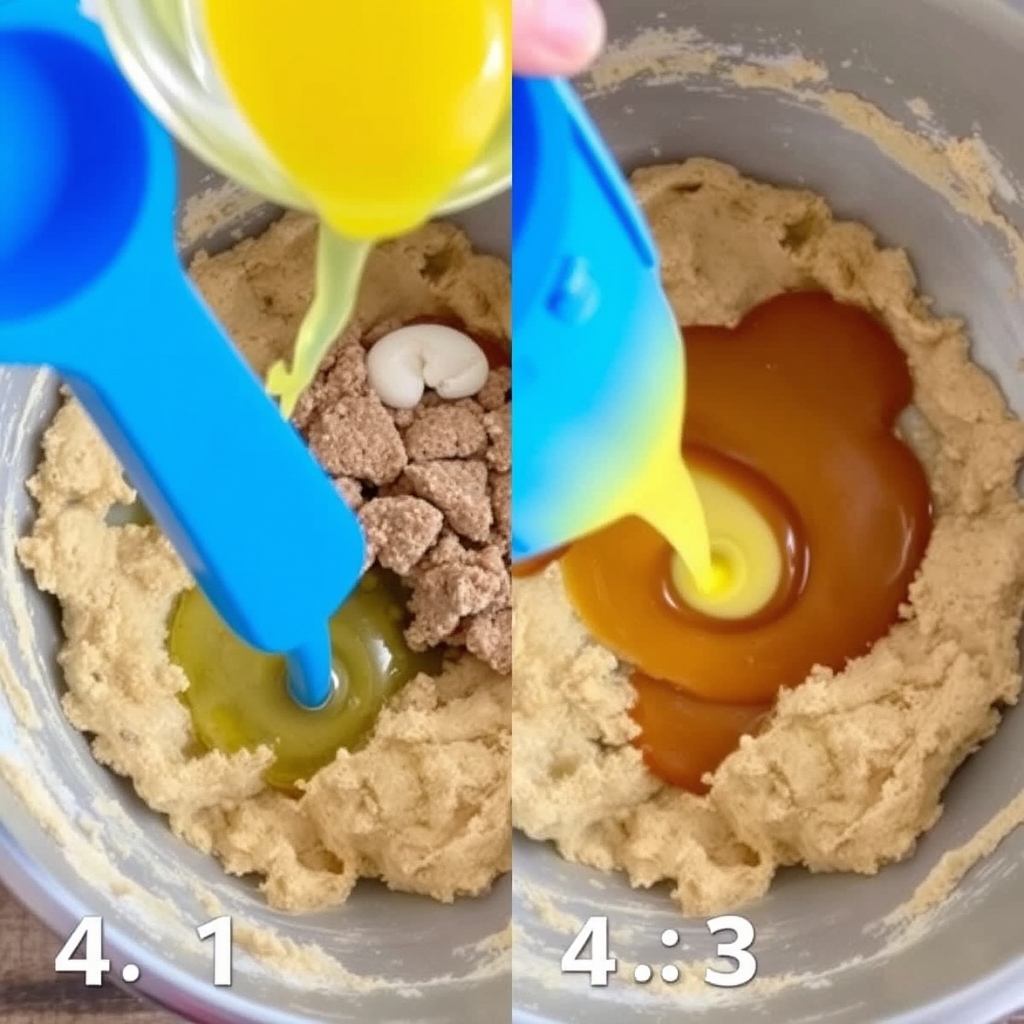
In a separate bowl, whisk together flour, baking powder, and salt. Gradually add to the wet ingredients, mixing on low speed until just combined. Do not overmix.
Step 5 — Fold in the Oreos
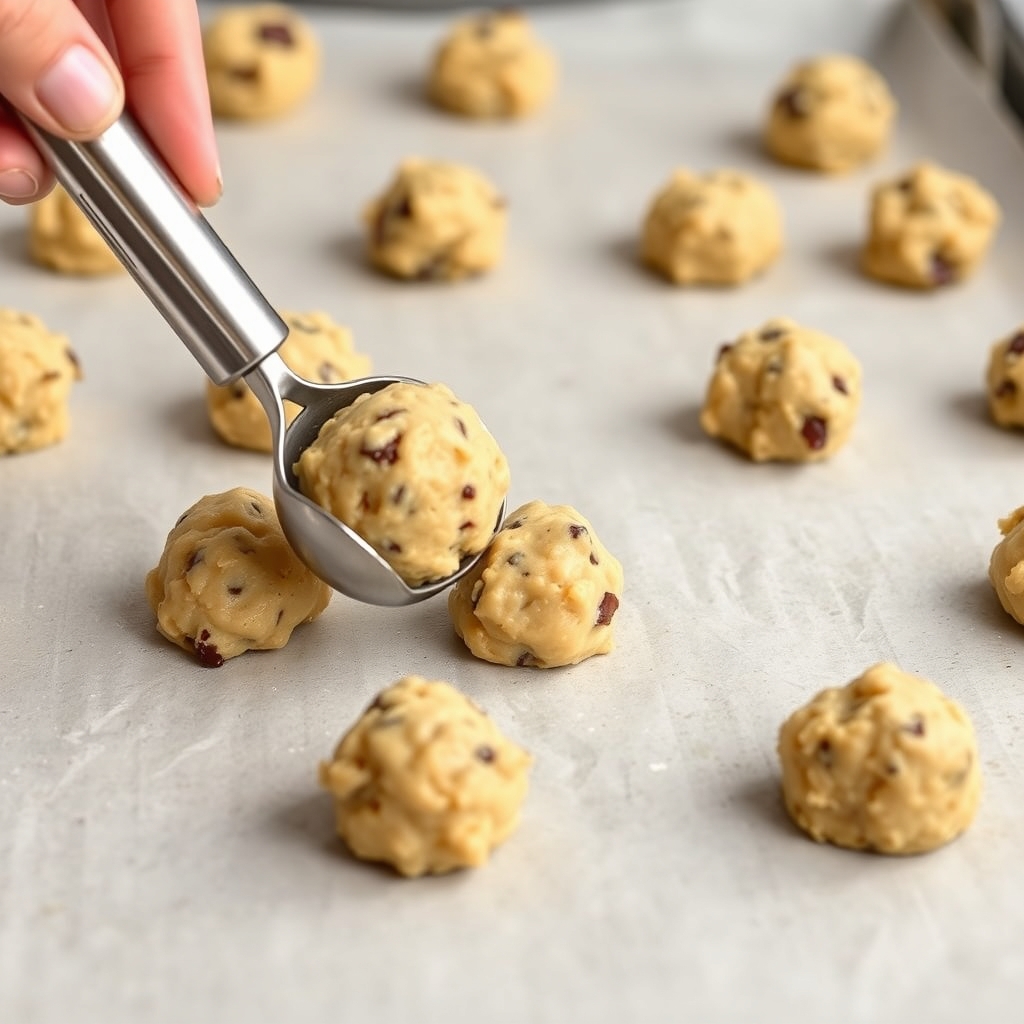
Gently fold in the crushed Oreos until they are evenly distributed throughout the dough. Don’t worry if some pieces break — that is part of the charm.
Step 6 — Scoop & Bake
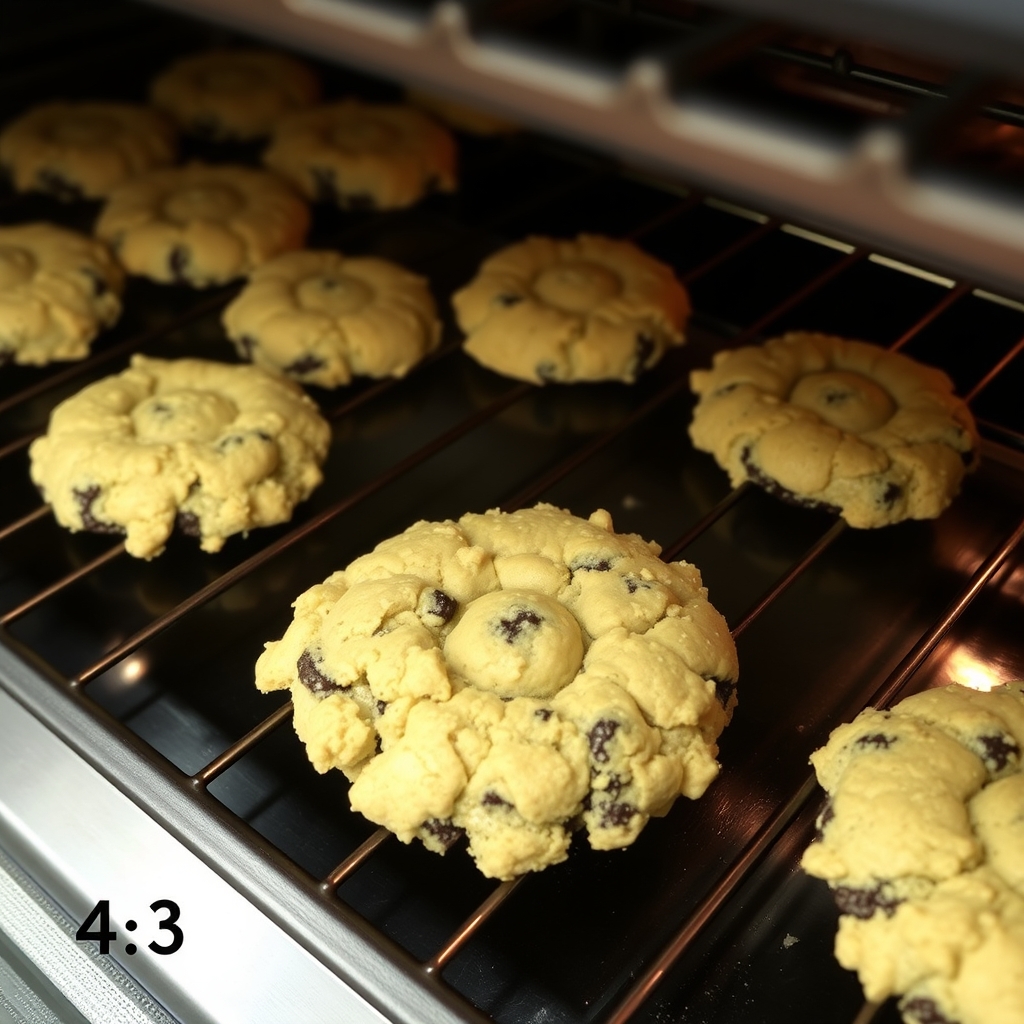
Scoop dough into 3-tablespoon balls (about the size of a large walnut). Place on parchment-lined baking sheets, spacing 2 inches apart. Bake at 190°C (375°F) for 10–12 minutes until edges are golden but centers still look slightly underbaked.
Step 7 — Cool
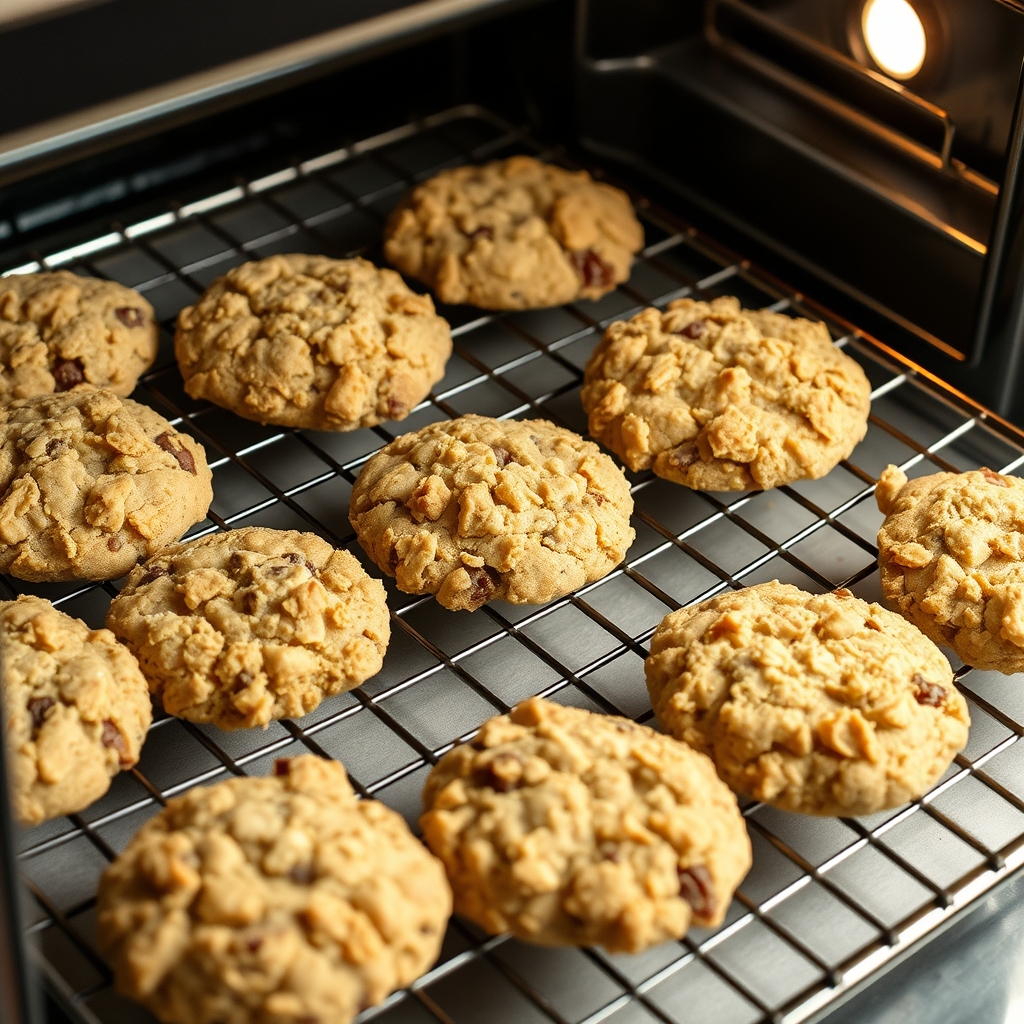
Let the cookies cool on the baking sheet for 5 minutes — this helps them set. Then transfer carefully to a wire rack to cool completely before frosting.
Pro Tips for Perfect Cookies Every Time
- Use room temperature ingredients — cold butter will not cream properly, leading to dense cookies.
- Don’t overbake — pull them out when centers still look soft. They finish cooking on the hot pan.
- Chill the dough for 30 minutes if you have time — this prevents spreading and intensifies flavor.
- Use bread flour for extra chewiness that mimics the Crumbl original.
- Add the frosting only after cookies are completely cool — otherwise it will melt.
Storage & Variations
Storage: Keep in an airtight container at room temperature for up to 5 days. Freeze baked cookies for up to 3 months — thaw at room temperature or warm briefly in the microwave.
Variations:
- Double Stuf: Use Double Stuf Oreos for an even creamier center.
- Golden Oreos: Substitute Golden Oreos for a different flavor profile.
- Chocolate Frosting: Swap cream cheese frosting for chocolate ganache or buttercream.
- Mini Cookies: Use a tablespoon for bite-sized treats — bake for 8 minutes.
FAQs About This Oreo Crumbl Cookie Recipe
Can I use a stand mixer instead of a hand mixer?
Absolutely — a stand mixer with paddle attachment works perfectly. Just use medium speed to avoid overmixing.
Do I need to refrigerate the dough?
It is not required, but chilling for 30 minutes helps prevent excessive spreading and deepens the flavor. If you are short on time, bake immediately — the cookies will still taste amazing.
Can I make these without cream cheese frosting?
The cookies are delicious on their own. The frosting is optional — it adds a creamy tang that complements the Oreos, but it is not necessary for great flavor.
Why are my cookies hard?
Overbaking is the most common cause. Take them out when the edges are golden but centers still look slightly underdone. Also, make sure your baking powder is fresh — old leavening agents can affect texture.
Conclusion:
These oreo inspired crumbl cookies are everything you’d expect from a bakery favorite — thick, soft, and loaded with chunks of creamy Oreos in every bite. With that perfect balance of sweet vanilla dough and rich cookie crunch, they’re dangerously addictive straight out of the oven (or even cold from the fridge!).
What makes this recipe special isn’t just the flavor — it’s the nostalgic twist that brings back childhood memories of milk-and-cookies magic, but with a grown-up upgrade. Whether you’re baking for a party, a cozy night in, or just because you deserve something sweet, these cookies deliver joy in every bite-sized piece.
So grab your apron, fire up that oven, and treat yourself. And hey — don’t forget to share a photo of your batch using #OreoCrumblMagic. We’d love to see your version!
Delicious Chocolate Oreo Pumpkin Whip Pie
Ingredients
Equipment
Method
- Make the Crust
- Combine crushed Oreos and melted butter. Press firmly into a 9-inch pie dish. Chill for 10 minutes while preparing the filling.
- Prepare the Filling
- In a large bowl, beat cream cheese and powdered sugar until smooth. Add pumpkin purée, vanilla, and pumpkin pie spice; mix until creamy. Fold in half of the whipped topping.
- Add Chocolate Layer (Optional)
- Spread a thin layer of melted chocolate over the Oreo crust before adding the pumpkin filling for a rich twist.
- Assemble the Pie
- Spoon pumpkin filling into the crust and smooth the top. Spread remaining whipped topping evenly over the pie.
- Chill & Serve
- Refrigerate for at least 3 hours or overnight before slicing. Garnish with crushed Oreos or a chocolate drizzle if desired.