Perfect Sticky Sushi Rice in Rice Cooker: The Ultimate Fail-Proof Guide
Master the perfect sushi rice in rice cooker with our homemade guide on thenextrecipes.com. This quick and easy cooking recipe explains how to cook sushi rice with a rice cooker for professional results. Perfect for your next Japanese meal.
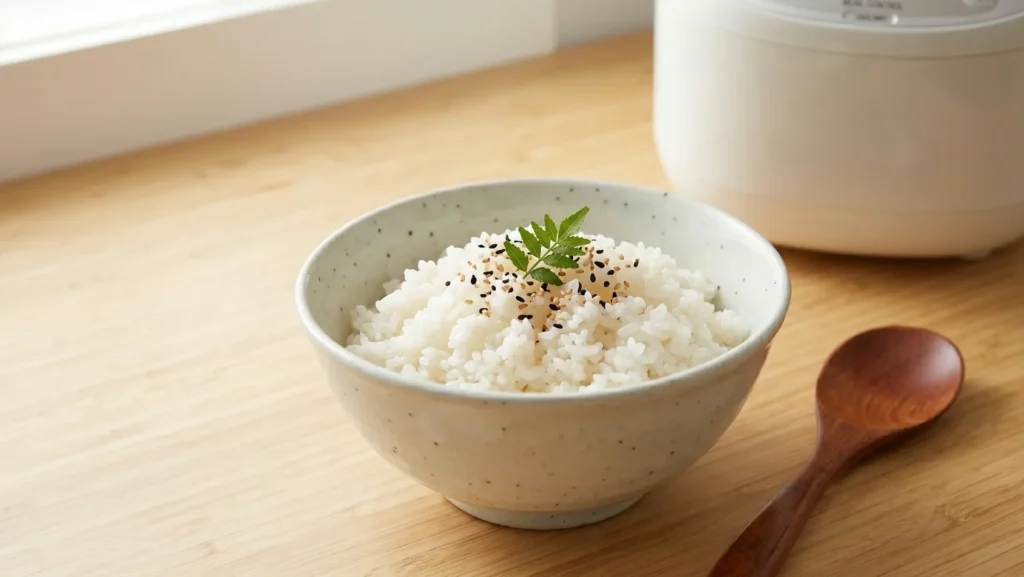
Table of Contents
Perfect Sticky Sushi Rice in Rice Cooker: The Ultimate Fail-Proof Guide
If you have ever tried to make sushi at home and ended up with a mushy mess or crunchy grains, you know that the rice is the most important part. Making professional-grade sushi rice in rice cooker units is actually the best-kept secret of home chefs. Why struggle with a stovetop pot when you can achieve consistent, pearly, and seasoned grains every single time? On thenextrecipes.com, I am all about making complex techniques accessible, and today I am showing you exactly how to cook sushi rice with a rice cooker so you can host your own sushi night with confidence.
Using a sushi rice cooker setting or even a standard digital model simplifies the cooking process immensely. This recipe is easy to prepare, delicious, and serves as the essential foundation for rolls, bowls, or even the trendy crispy rice sushi that has taken social media by storm. If you want a homemade meal that tastes like it came from a high-end Tokyo restaurant, mastering sushi rice in rice cooker technology is your first step.
What is Sushi Rice and Why Does it Matter
Before we start, we need to answer a common question: what is sushi rice exactly? It is not just regular white rice. It is a short-grain Japanese rice (Japonica) that has a higher starch content, which gives it that characteristic stickiness. When you prepare sushi rice in rice cooker machines, the controlled environment allows the starch to gelatinize perfectly.
Unlike long-grain varieties, this specific rice must be seasoned with a vinegar mixture after cooking. Whether you are using a dedicated sushi rice cooker or an instant pot sushi rice method, the goal is to have grains that are sticky enough to hold together but firm enough to maintain their individual shape.
Ingredients List for Perfect Sushi Rice

To get the best results for your sushi rice in rice cooker, your ingredients must be precise. High-quality rice is the most important part of this recipe.
- Short-Grain Sushi Rice: 2 cups of authentic Japanese white rice (the most critical part of the recipe).
- Filtered Water: 2 cups (essential for the sushi rice cooker to steam the grains perfectly).
- Rice Vinegar: 1/4 cup (provides the signature tangy flavor for your cooking).
- Granulated Sugar: 2 tablespoons (to balance the acidity of the vinegar).
- Sea Salt: 1 teaspoon (to enhance the savory notes of the dish).
Preparation Instructions: How to Cook Sushi Rice with a Rice Cooker
Following these steps will ensure your sushi rice in rice cooker comes out with the perfect texture every time.
Preparation Instructions: How to Cook Sushi Rice with a Rice Cooker
Prep Your Ingredients

Begin by organizing your ingredients on a clean wooden surface. You will need high-quality short-grain rice, rice vinegar, sugar, sea salt, and fresh water. Having your sushi rice cooker ready on the counter will make the cooking process quick and easy.
Rinse Until Clear
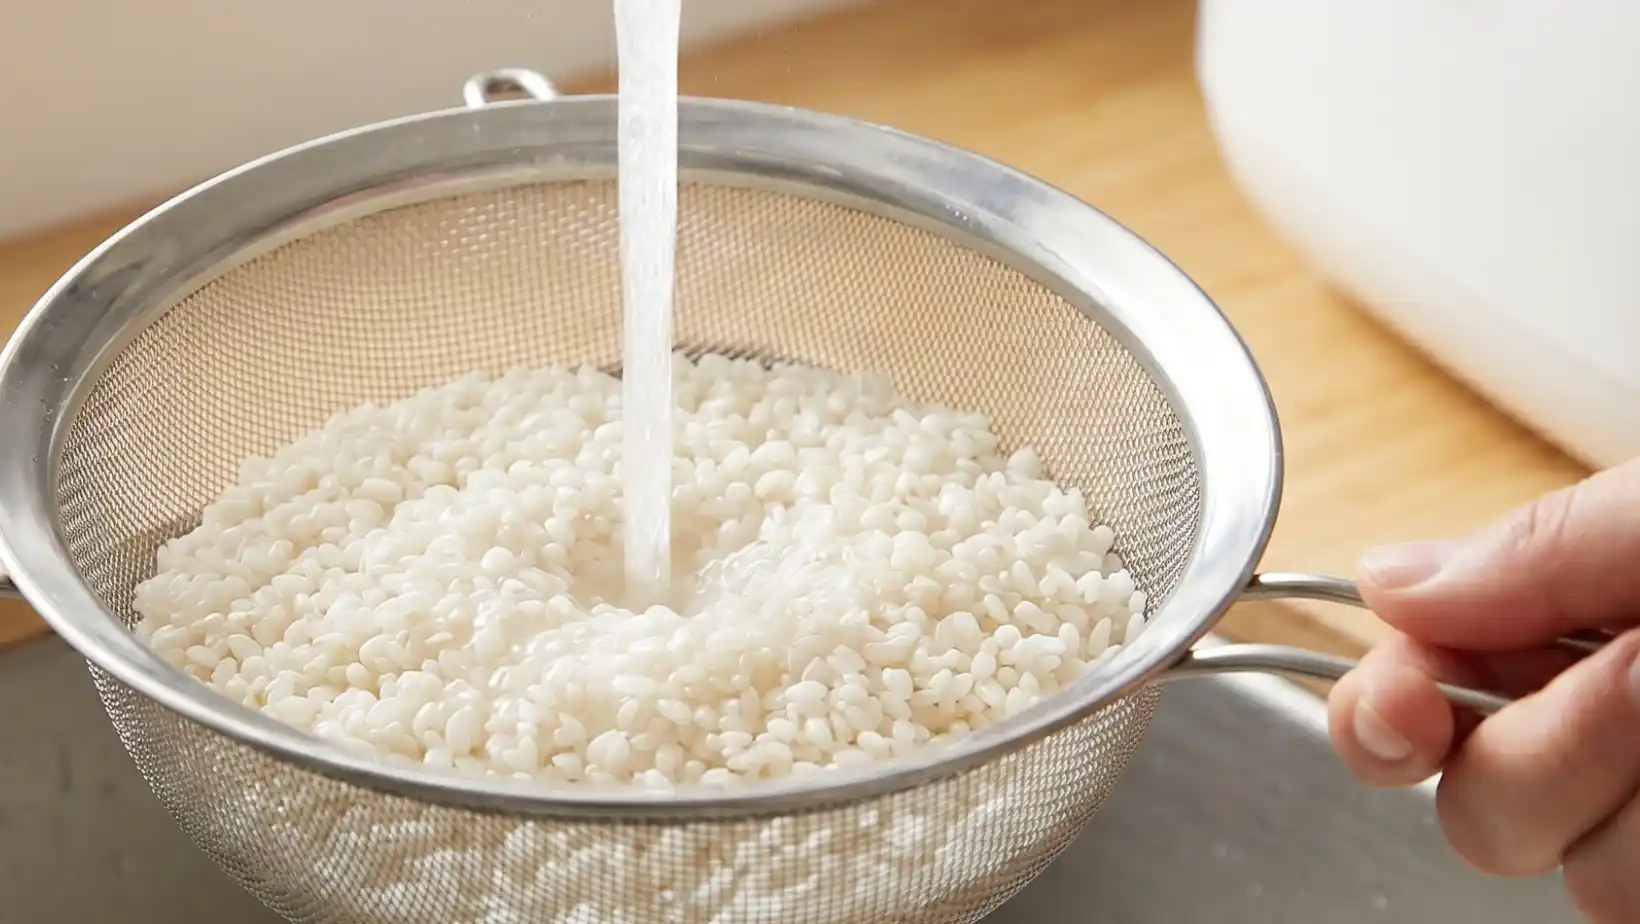
Place the dry rice into a fine-mesh strainer over the sink. Run cold water over the grains, swirling them gently with your hand. Continue rinsing until the water running through the strainer is completely clear. This is a vital part of the recipe to remove excess starch and prevent the rice from becoming gummy.
Measure the Water
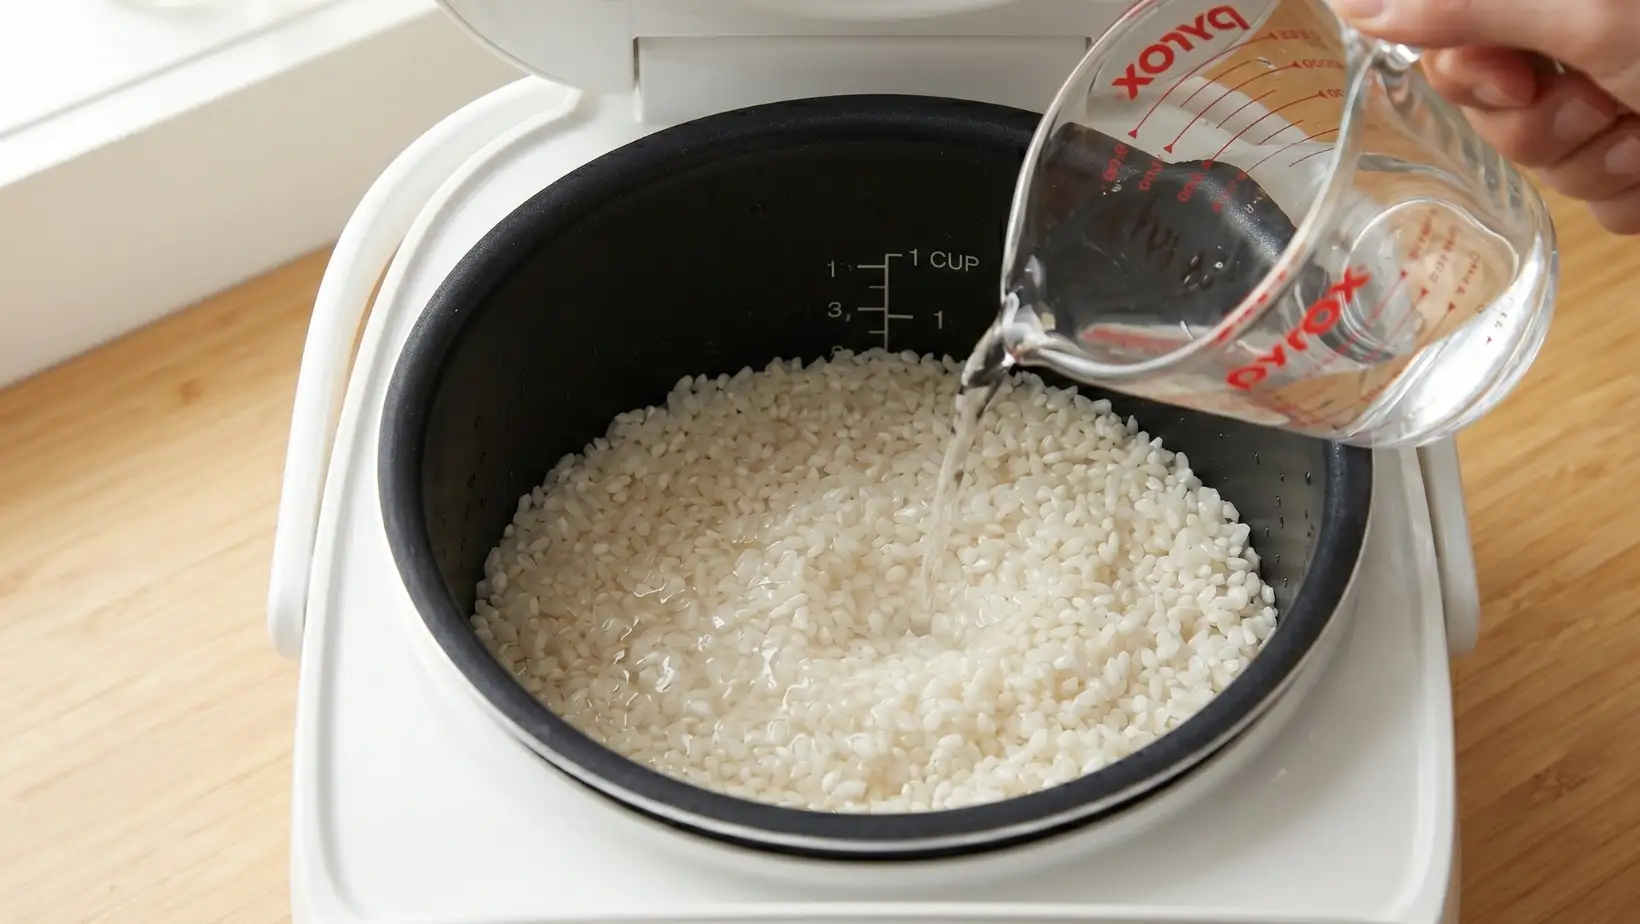
Transfer the rinsed rice into the inner pot of your sushi rice cooker. Using a measuring cup, add the precise amount of water required (typically a 1:1 ratio for sushi). Proper water measurement is the secret to a professional homemade result.
Set and Start
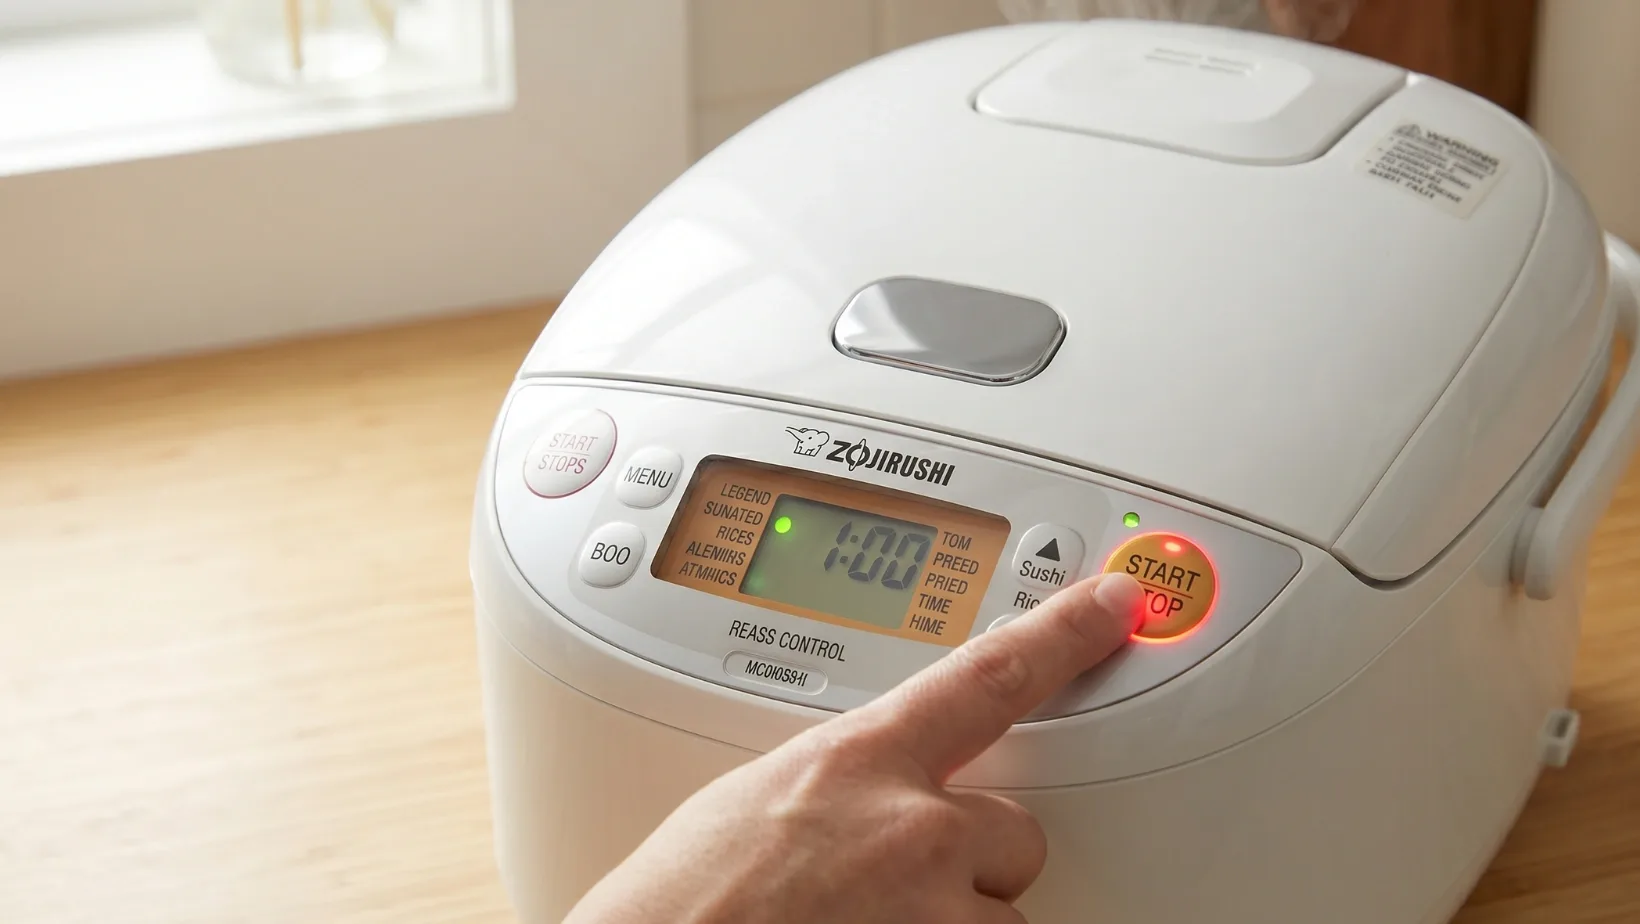
Secure the lid of your sushi rice cooker. Select the “Sushi Rice” setting if your model has one; otherwise, the standard white rice setting works perfectly. Press the start button and let the machine handle the precision cooking for you.
Fluff the Grains
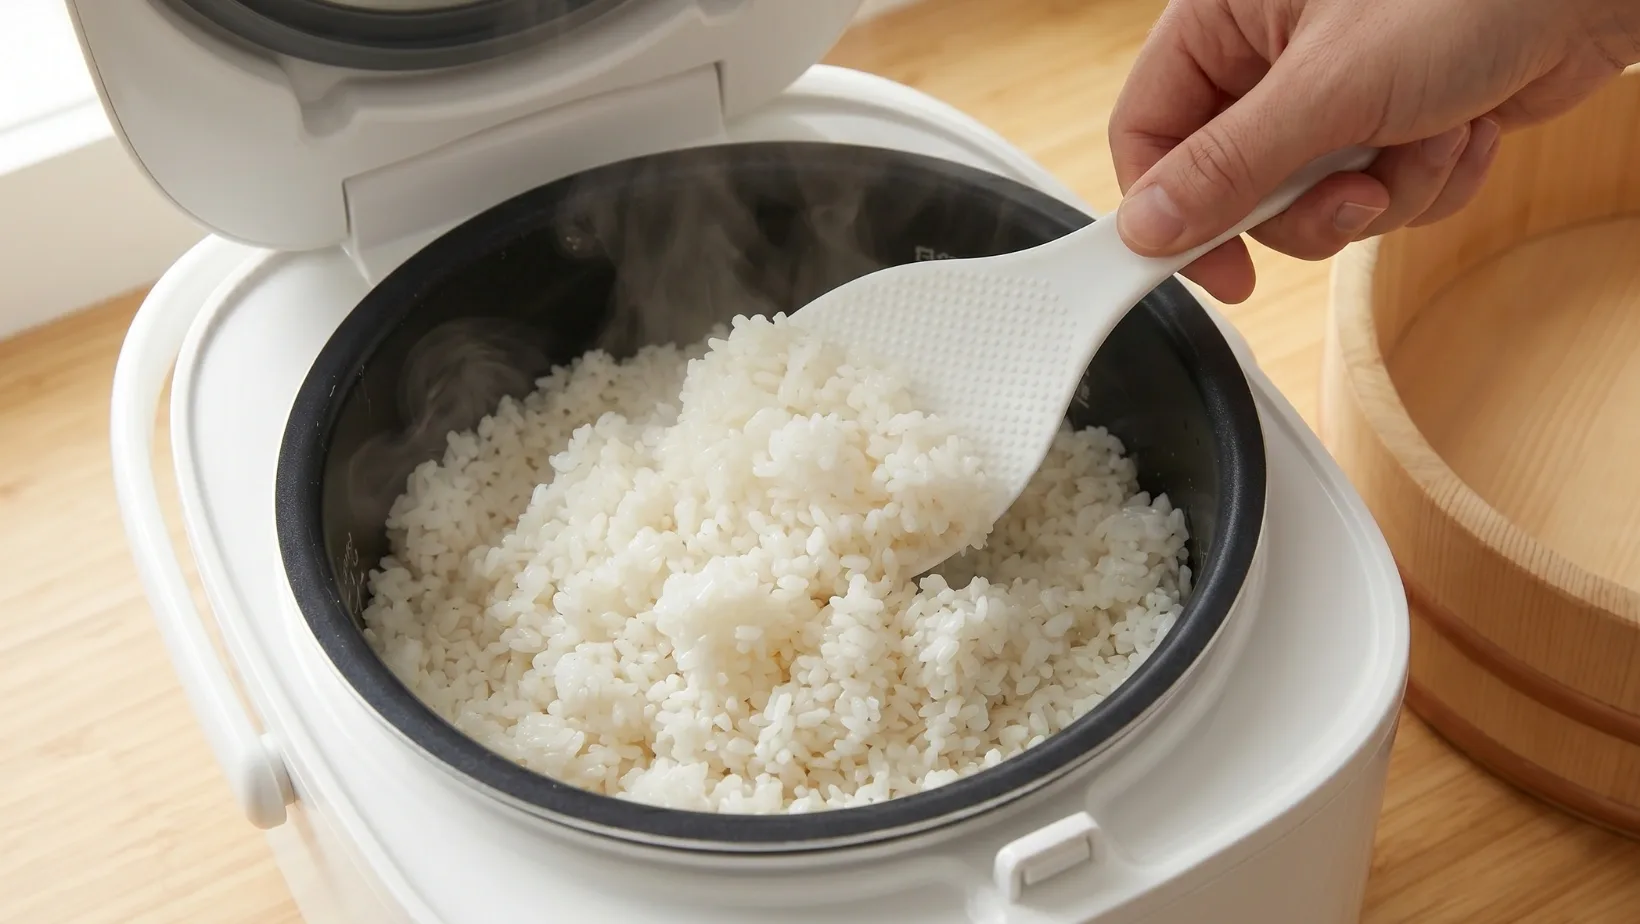
Once the timer goes off, open the lid and use a rice paddle to gently fluff the grains. You should see steam rising from perfectly plumped, sticky rice. For the best sushi rice in rice cooker results, let it sit for 5 minutes after fluffing to allow the moisture to redistribute.
Season and Cool
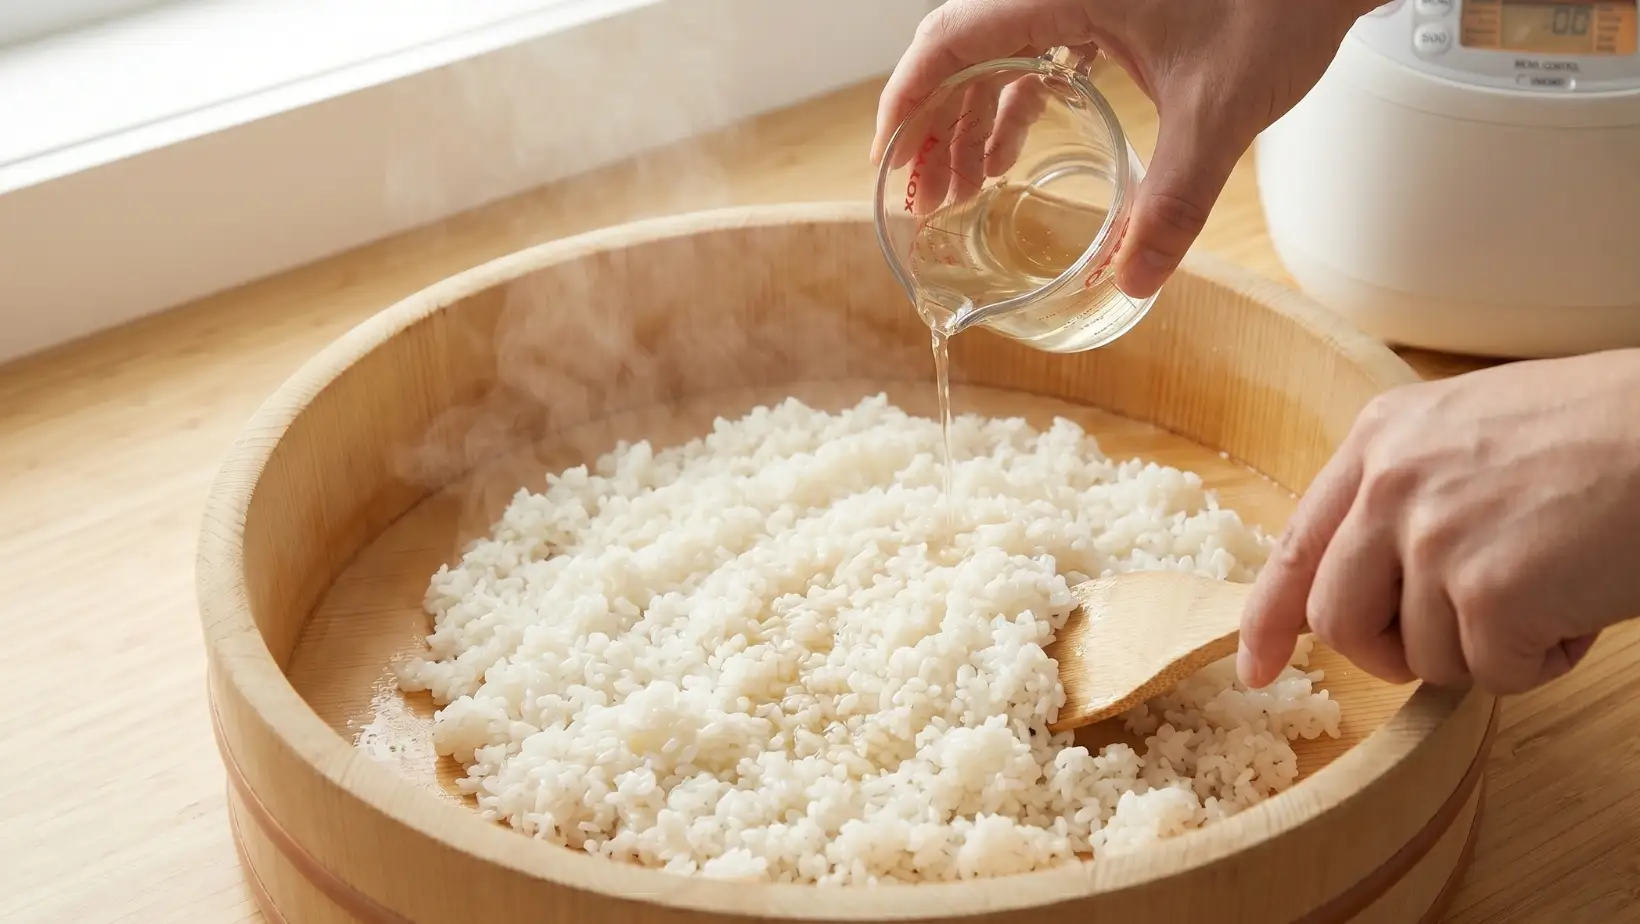
Transfer the hot rice to a traditional wooden “Hangiri” bowl or a large glass container. While the rice is still steaming, slowly pour your prepared rice vinegar seasoning over the grains. Use a slicing motion with a wooden paddle to incorporate the seasoning without mashing the rice. This step gives the dish its iconic glossy finish and authentic flavor.
Serving Suggestions
Once you have mastered how to cook sushi rice with a rice cooker, the possibilities for your meal are endless. You can use the seasoned rice to make traditional Nigiri or Maki rolls. If you have leftovers, I highly recommend making crispy rice sushi. Simply press the rice into a tray, chill it, cut it into rectangles, and pan-fry until golden. This crispy rice sushi makes for an incredible appetizer dish. You can also use this recipe as a base for a poke bowl or a side dish for grilled fish.
FAQ
Can I use an Instant Pot instead of a rice cooker?
Yes, the instant pot sushi rice method is very popular. You typically use a 1:1 ratio of rice to water and cook on high pressure for 5 minutes, followed by a 10-minute natural release. However, many pros still prefer the specialized sushi rice cooker for more delicate grains.
What is sushi rice versus sticky rice?
When people ask what is sushi rice, they often confuse it with Thai sweet rice. Sushi rice is a short-grain white rice seasoned with vinegar, while Thai sticky rice is a different variety entirely that is steamed rather than boiled.
Why is my rice too mushy?
If your sushi rice in rice cooker is mushy, you likely used too much water or didn’t rinse the rice enough. Always use a 1:1 ratio or slightly less water if you prefer a firmer bite.
Conclusion with Call-to-Action
Learning how to cook sushi rice with a rice cooker is a fundamental skill that elevates your homemade Japanese cooking. By using the right sushi rice cooker techniques and seasoning, you can create a restaurant-quality meal in your own kitchen. Whether you are rolling traditional sushi or frying up some crispy rice sushi, the foundation is always in the grains.
I encourage you to try this sushi rice in rice cooker recipe this week and leave a comment below with your results! If you found this guide helpful, make thenextrecipes.com your go-to site for more kitchen tips. Don’t forget to check out our other guides on how to use an instant pot sushi rice setup or our favorite fillings for the perfect dish. Your journey to becoming a sushi master starts right here at thenextrecipes.com.
Perfect Rice Cooker Sushi Rice
Ingredients
Method
- Rinse the Rice: Place the short-grain rice in a large bowl or fine mesh strainer. Rinse under cold running water, gently swishing the grains with your hands. Drain and repeat 3 to 4 times until the water runs almost completely clear. Shake off excess water.
- Cook: Transfer the rinsed grains to your rice cooker pot. Add the water (and the piece of kombu, if using). Close the lid and start the machine on the standard white rice setting or the specific sushi rice setting if your machine has one.
- Make the Seasoning: While the machine is running, combine the rice vinegar, granulated sugar, and salt in a small saucepan over medium-low heat. Stir just until the sugar and salt have completely dissolved. Do not let it boil. Remove from heat and let it cool.
- Prepare for Mixing: Once the machine chimes, let the pot sit closed for 10 minutes to steam. Remove the kombu. Transfer the hot grains to a large wooden bowl (hangiri) or a wide glass dish. Do not scrape the bottom of the pot if any grains are stuck or browned.
- Fold and Fan: Pour the cooled vinegar seasoning evenly over the hot grains. Using a wooden paddle, gently “slice” through the grains at an angle to fold the seasoning in. Avoid mashing the grains. If possible, fan the mixture with a piece of cardboard or a small fan while folding to give it a beautiful, glossy shine.
- Cool and Use: Cover the bowl with a damp towel to keep the mixture from drying out. Let it cool to room temperature before using it to make rolls or bowls.
Notes
Do Not Refrigerate: This is best used the same day it is made at room temperature. Refrigerating will cause the grains to harden and dry out.
Water Ratio: If your machine has a specific water line for this type of grain, follow the machine’s line over the cup measurement for the best results.