No-Bake Banana Cream Pie – Creamy & Classic
No Bake Banana Cream Pie: Your Easiest Summer Dessert Dream!
⭐️⭐️⭐️⭐️⭐️ (4.8 from 2,500 fans)
📸 1100+ photo shares | ☀️ Updated December 2025
Oh, friends, get ready to dive spoon-first into pure, unadulterated bliss! If there’s one dessert that instantly transports you back to grandma’s kitchen on a sunny afternoon, it’s a classic banana cream pie. But what if I told you we could achieve that same dreamy, creamy, banana-laden perfection without ever turning on the oven? That’s right, my sweet-toothed companions, today we’re talking about the ultimate, effortless no bake banana cream pie!
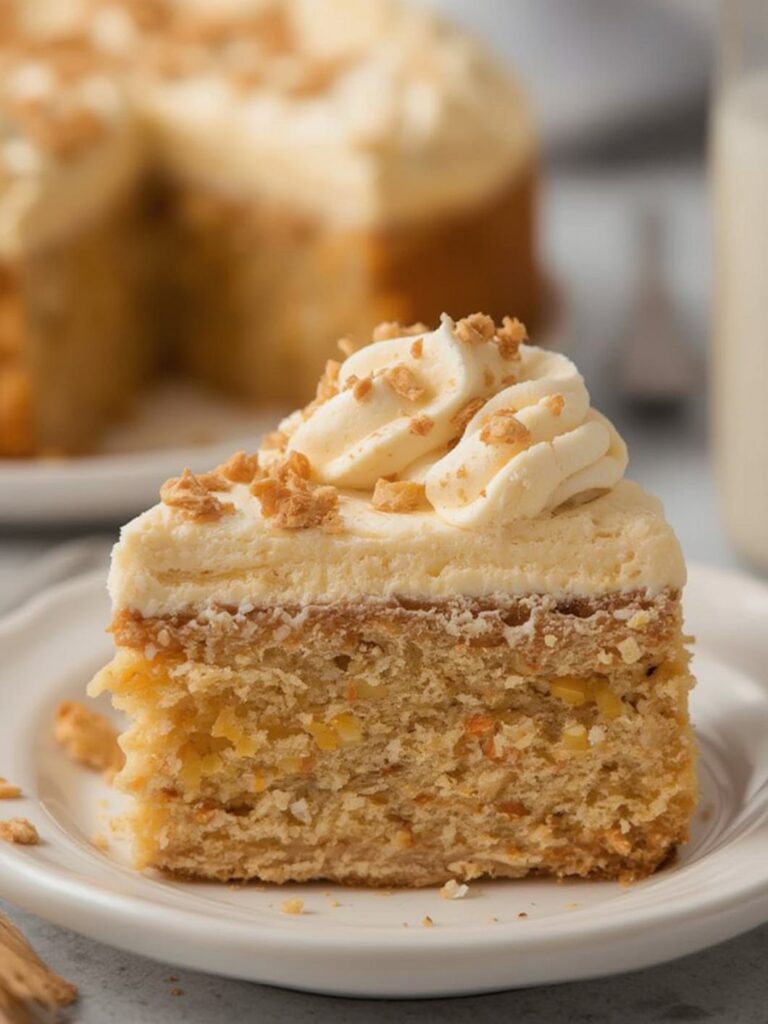
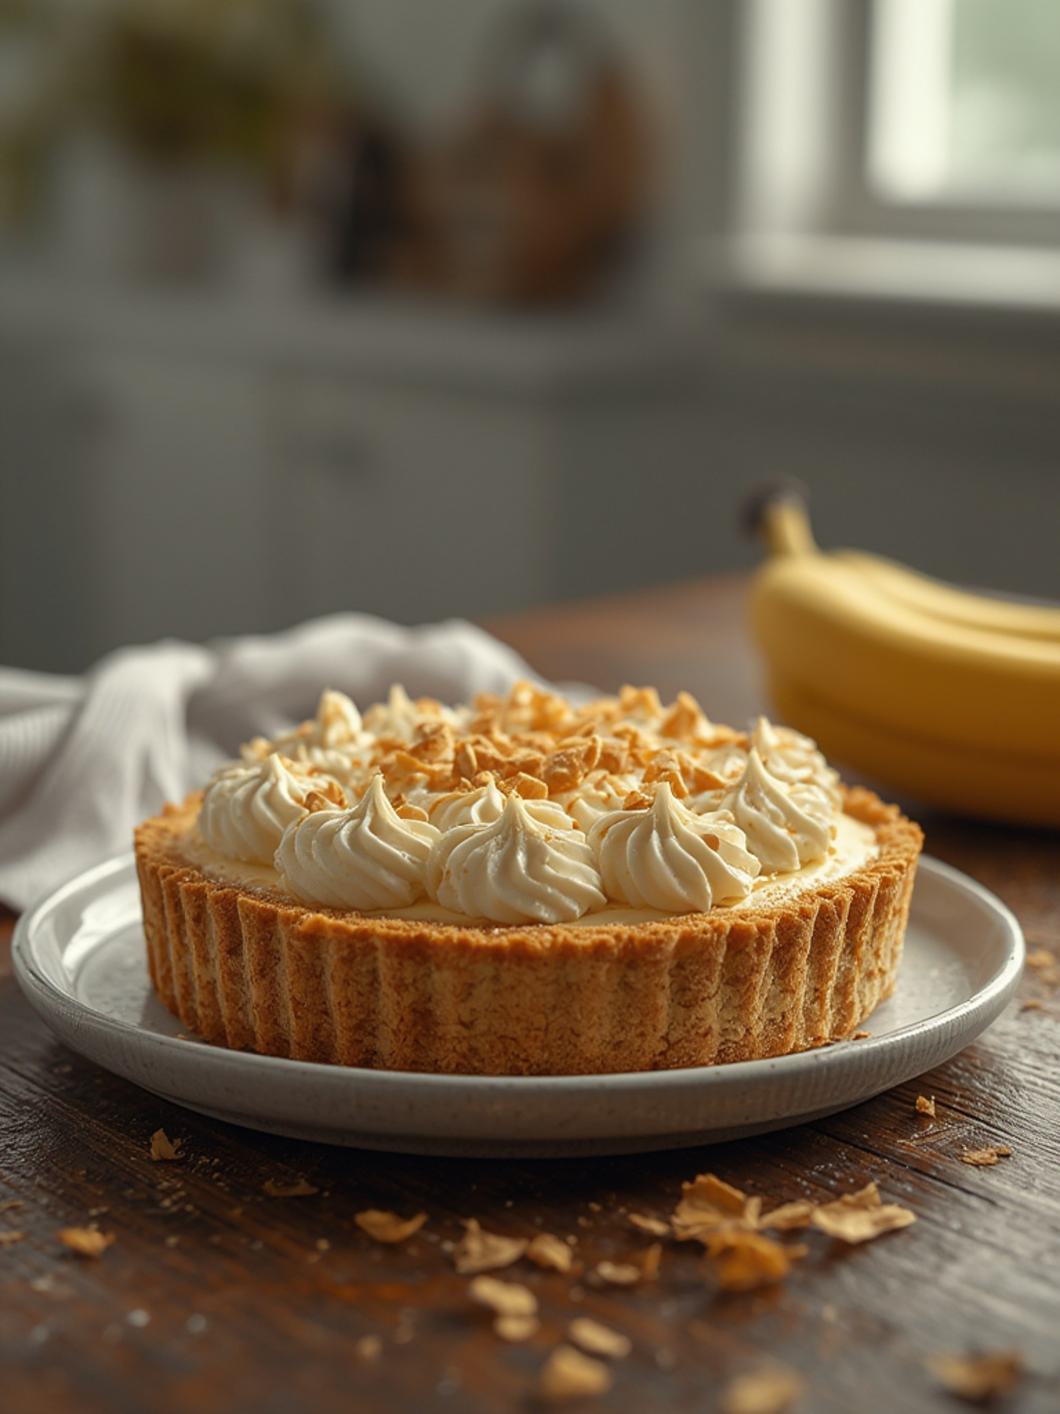
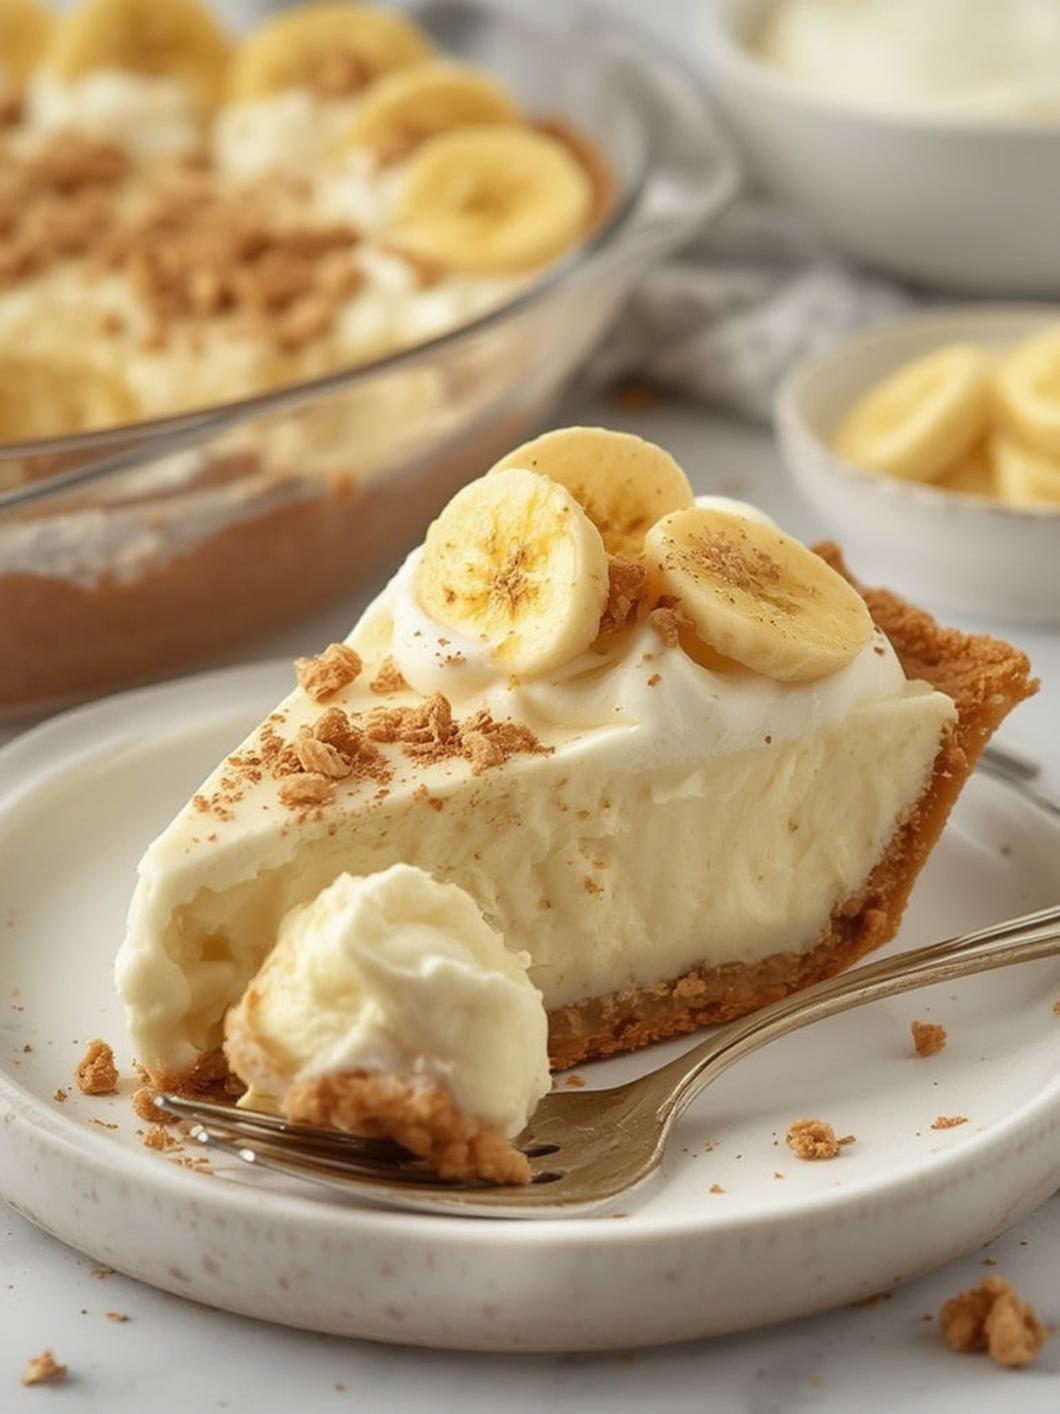
This isn’t just any pie; it’s a testament to simple pleasures and irresistible flavors. Imagine a buttery, crunchy Nilla wafer crust, piled high with fresh, sweet banana slices, smothered in a luscious, cloud-like cream cheese-enhanced banana pudding filling, and crowned with a generous swirl of whipped cream. It’s cool, it’s creamy, it’s bananas (in the best way possible!), and it requires absolutely no baking. Perfect for those sweltering summer days or anytime you crave a dessert that delivers maximum impact with minimal fuss.
Why You’ll Love This No-Bake Banana Cream Pie Recipe
- Effortless Elegance: No oven required means less heat in your kitchen and less stress for you!
- Crowd-Pleaser: The classic combination of banana and cream is universally loved.
- Quick Assembly: Most of the “work” is just chilling time, leaving you free to enjoy your day.
- Nostalgic Flavor: Brings back childhood memories with every delightful bite.
- Versatile: Easy to customize with various toppings and crusts.
Recipe Overview
- Prep Time: 25 minutes active, plus 4 hours chilling
- Servings: 8 servings
What You’ll Need
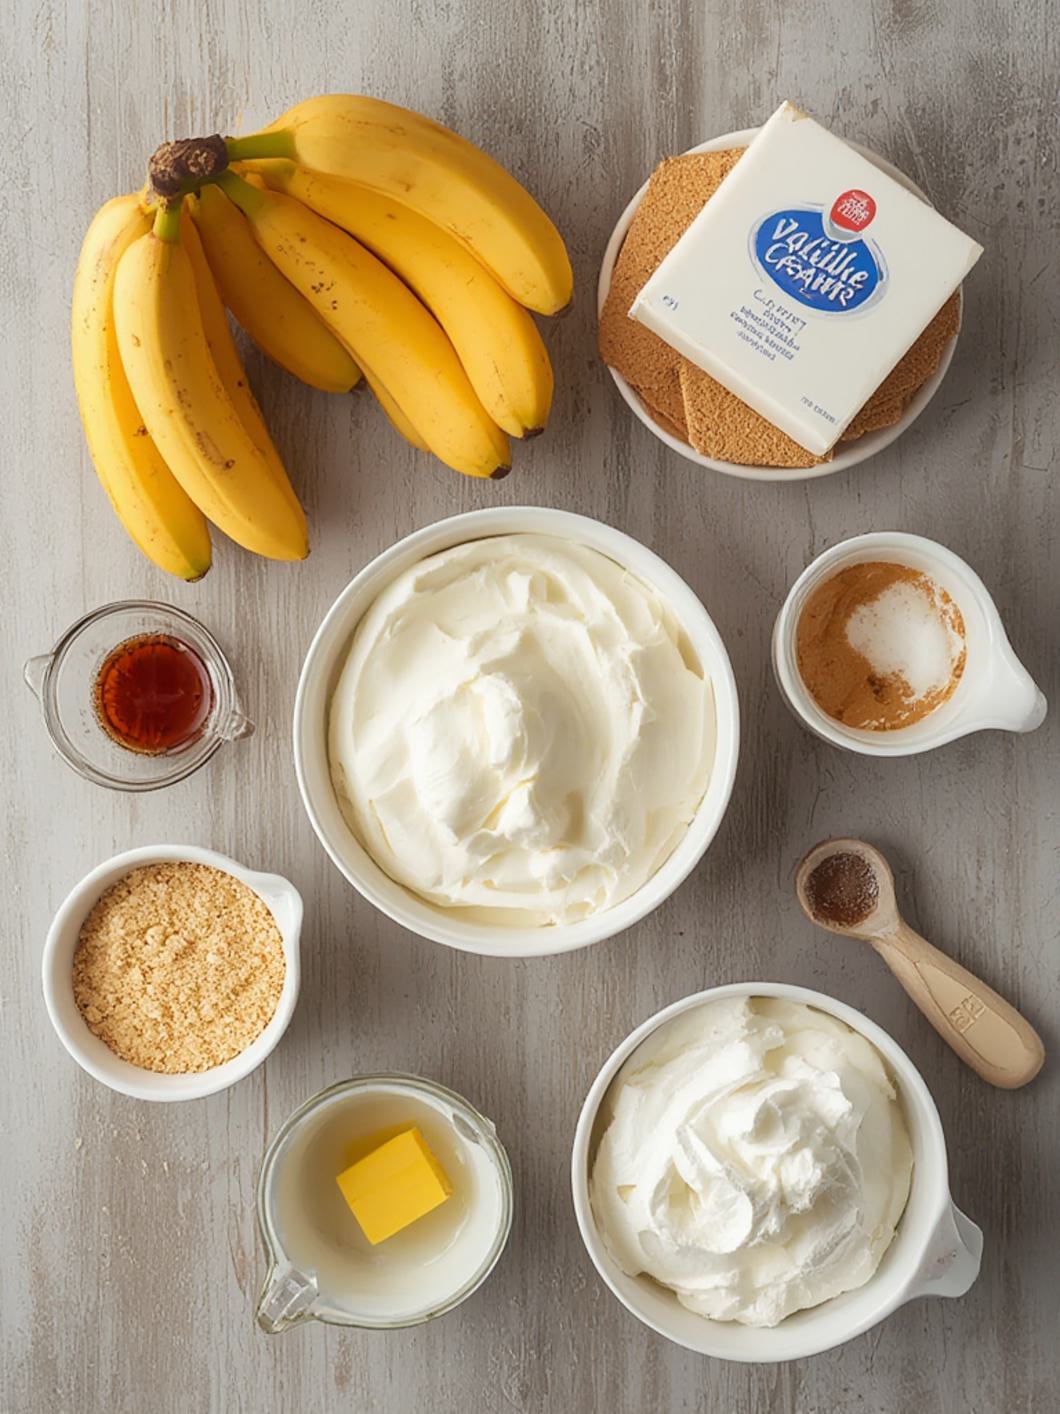
Gather your ingredients, and let’s get ready to create some magic!
For the Nilla Wafer Crust
- 1 ¾ cups (about 40-45 wafers) Nilla wafers, finely crushed
- ½ cup (1 stick) unsalted butter, melted
- 2 tablespoons granulated sugar (optional, for extra sweetness)
For the Creamy Filling
- 8 ounces cream cheese, softened
- 1 (14-ounce) can sweetened condensed milk
- 2 (3.4-ounce) packages instant vanilla pudding mix (or banana cream pudding mix for extra banana flavor)
- 3 cups cold whole milk
- 1 teaspoon vanilla extract
- 3-4 medium ripe bananas, sliced
For Topping
- 1 ½ cups heavy cream, very cold
- ¼ cup powdered sugar
- ½ teaspoon vanilla extract
- Extra banana slices and crushed wafers for garnish (optional)
How to Make No Bake Banana Cream Pie
Follow these simple steps to create your perfect no bake banana cream pie!
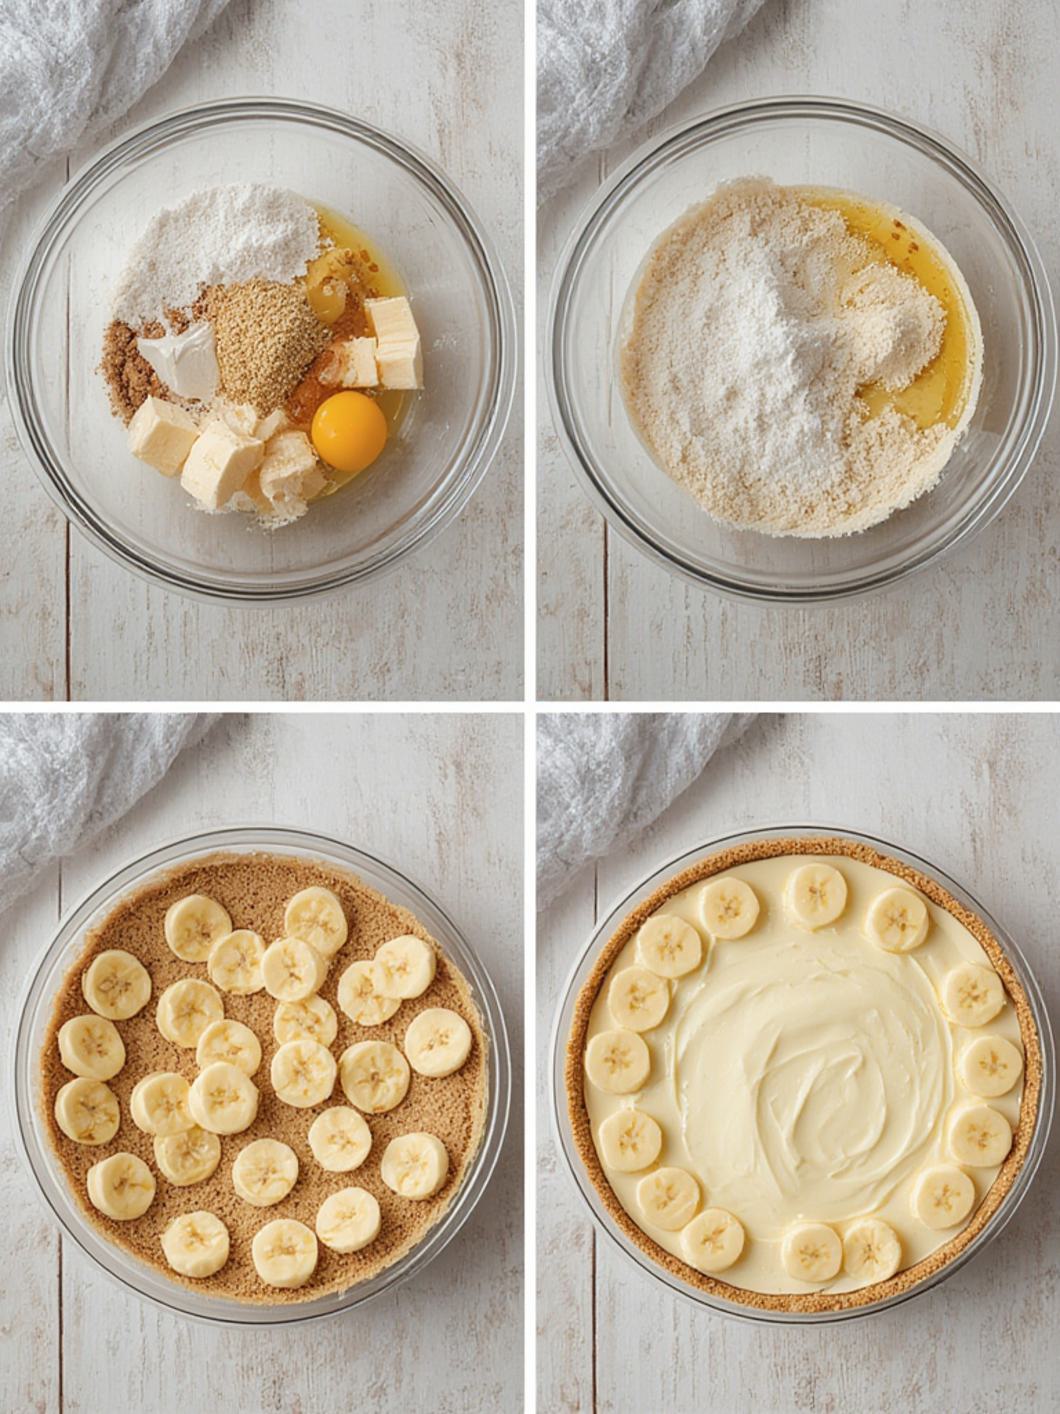
Step 1: Prepare the Nilla Wafer Crust
- In a medium bowl, combine the finely crushed Nilla wafers, melted butter, and optional granulated sugar. Mix until well combined and crumbly.
- Press the mixture firmly and evenly into the bottom and up the sides of a 9-inch pie plate. You can use the bottom of a glass or your fingers to get it nice and compact.
- Place the crust in the freezer for at least 15-20 minutes while you prepare the filling. This helps it set.
Step 2: Make the Creamy Filling
- In a large bowl, beat the softened cream cheese with an electric mixer until smooth and creamy, about 1-2 minutes.
- Gradually beat in the sweetened condensed milk until fully incorporated and smooth.
- Add the instant pudding mixes and cold whole milk. Beat on low speed until just combined, then increase to medium speed and beat for 2-3 minutes, until the mixture thickens. Stir in the vanilla extract.
Step 3: Assemble the Pie
- Remove the chilled crust from the freezer. Arrange a single layer of sliced bananas over the bottom of the crust.
- Carefully spoon about half of the creamy filling over the bananas, spreading it evenly.
- Add another layer of sliced bananas, then top with the remaining filling, smoothing the top.
Step 4: Chill to Perfection
- Cover the pie loosely with plastic wrap and refrigerate for at least 4 hours, or preferably overnight, until the pie is completely set.
Step 5: Whip the Topping & Serve
- Just before serving, in a clean, cold bowl, beat the cold heavy cream, powdered sugar, and vanilla extract with an electric mixer on high speed until stiff peaks form.
- Spread or pipe the whipped cream over the chilled pie.
- Garnish with extra banana slices and a sprinkle of crushed wafers, if desired. Slice and serve immediately. Enjoy your magnificent no bake banana cream pie!
Fun Twists & Serving Ideas
This pie is fantastic as is, but here are some ideas to make it even more your own:
- Chocolate Drizzle: A light drizzle of melted chocolate or chocolate syrup over the top adds a lovely layer of flavor.
- Caramel Swirl: For a banana split vibe, swirl in some caramel sauce with the whipped cream or drizzle it over the slices.
- Different Crust: Try a graham cracker crust or even an Oreo cookie crust for a fun variation.
- Nutty Crunch: Sprinkle toasted chopped pecans or walnuts over the top for added texture.
- Individual Servings: Make mini pies in ramekins or muffin tins lined with paper cups for adorable single servings.
Expert Tips for Success
- Ripe, Not Overripe Bananas: Use bananas that are ripe (yellow with a few brown spots) but not overly soft or bruised. They’ll have the best flavor and hold their shape better.
- Prevent Banana Browning: To keep your banana slices from browning, you can lightly brush them with a small amount of lemon juice before layering, but honestly, if you’re serving within a day, it’s usually not an issue.
- Cold Ingredients for Whipped Cream: Ensure your heavy cream, bowl, and beaters are very cold for the best whipped cream results.
- Don’t Overbeat Pudding: Beat the pudding mixture only until it thickens. Overbeating can make it too stiff or less smooth.
- Chill Time is Key: Don’t rush the chilling process! This is crucial for the pie to set properly and be easy to slice.
Storage and Make-Ahead
- Storage: Store leftover no bake banana cream pie covered in the refrigerator for up to 2-3 days. The bananas will start to soften and brown slightly after the first day, but it will still be delicious.
- Make-Ahead: You can prepare the crust and the filling (without the bananas) a day in advance. Store separately in the fridge. Assemble the pie the day you plan to serve, adding the fresh banana slices just before the final chill. This ensures the freshest bananas!
Reader Reviews
Hear what our amazing readers have to say about this recipe!
Sarah L. ⭐️⭐️⭐️⭐️⭐️
“This pie is an absolute dream! So easy to make and tastes like something from a fancy bakery. My family devoured it in one sitting. The Nilla wafer crust is genius!”
Mark T. ⭐️⭐️⭐️⭐️⭐️
“I’m not much of a baker, but this ‘no-bake’ concept had me hooked. Followed the instructions exactly, and it turned out perfect. The cream cheese in the filling makes it extra luxurious. A definite keeper for summer parties!”
Jessica R. ⭐️⭐️⭐️⭐️⭐️
“My go-to cream pie recipe now! The chilling time is the hardest part because you just want to dig in. The fresh bananas with that creamy pudding are just heavenly. Five stars!”
Frequently Asked Questions (FAQs)
Q: Can I use sugar-free pudding mix?
A: Yes, you can substitute sugar-free instant pudding mix, but be aware it might slightly alter the texture and sweetness. Adjust the sweetened condensed milk if needed.
Q: How do I prevent the bananas from turning brown?
A: Lightly brushing banana slices with a tiny bit of lemon juice or even pineapple juice can help. However, for best results, assemble the pie closer to when you plan to serve it, and keep it well-covered in the fridge.
Q: Can I use homemade whipped cream instead of Cool Whip?
A: Absolutely! The recipe specifically calls for homemade whipped cream. It’s easy to make and tastes much fresher than store-bought options.
Q: What if I don’t have Nilla wafers?
A: You can substitute other plain, buttery cookies like shortbread cookies or even graham crackers for the crust. Just ensure they are finely crushed and mixed with melted butter.
Final Thoughts
This no bake banana cream pie is more than just a dessert; it’s a feeling. It’s the joy of a simple, comforting treat that brings smiles and happy memories. Whether you’re a seasoned dessert maker or just starting out, this recipe is incredibly forgiving and yields spectacular results every single time. So go ahead, whip up this masterpiece, and prepare to bask in the glory of the easiest, most delicious cream pie you’ll ever make. Happy no-baking!
Recipe Note: Please ensure all ingredients are at the specified temperatures for optimal results. Chilling time is essential for the pie to set correctly.
No Bake Banana Cream Pie
Cook Time: N/A
Total Time: 4 hours 25 minutes (includes chilling)
Course: Dessert
Servings: 8
Calories: 450-550 kcal (approx.)
Ingredients
- 1 (9-inch) graham cracker crust
- 4-5 ripe medium bananas
- 1 (5.1 ounce) package instant vanilla pudding mix
- 3 cups cold milk (dairy or non-dairy, e.g., 2% or whole)
- 1 teaspoon vanilla extract
- 1 (8 ounce) container frozen whipped topping, thawed (like Cool Whip), or 2 cups heavy cream whipped with 2-3 tablespoons powdered sugar and 1/2 teaspoon vanilla extract
Instructions
-
Make the Crust
Mix cookie crumbs and melted butter. Press firmly into a 9-inch pie dish.
Refrigerate for 15 minutes to set. -
Prepare Pudding
Whisk pudding mix with cold milk for 2 minutes. Set aside to thicken. -
Make Cream Filling
Beat cream cheese, powdered sugar, and vanilla until smooth.
Add prepared pudding and mix until fully combined. -
Whip Cream
In a separate bowl, beat heavy cream to stiff peaks.
Gently fold into pudding mixture until light and fluffy. -
Assemble Pie
Layer banana slices over the chilled crust.
Spread filling evenly on top. -
Chill
Refrigerate for 4–6 hours, or until fully set. -
Serve
Top with whipped cream and garnish just before slicing.
Chef’s Notes: For best results, allow the pie to chill for at least 4 hours, or preferably overnight, to ensure it sets firmly and the flavors meld beautifully. You can also add a sprinkle of cinnamon or nutmeg to the whipped cream for an extra touch.