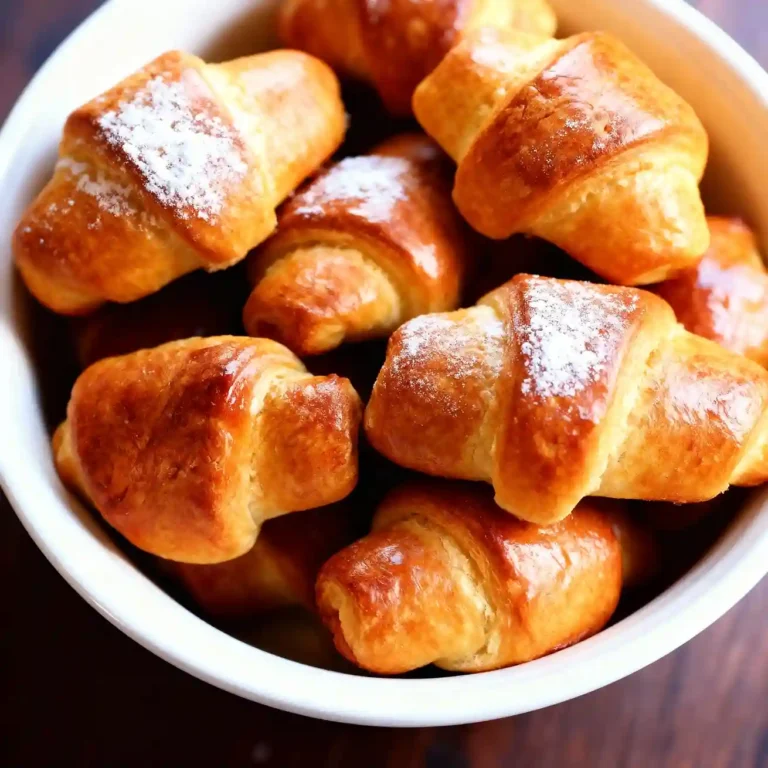
Homemade Pita Bread – Soft, Fluffy & Easy
Pillowy Perfection: How to Make Irresistible Homemade Pita Bread
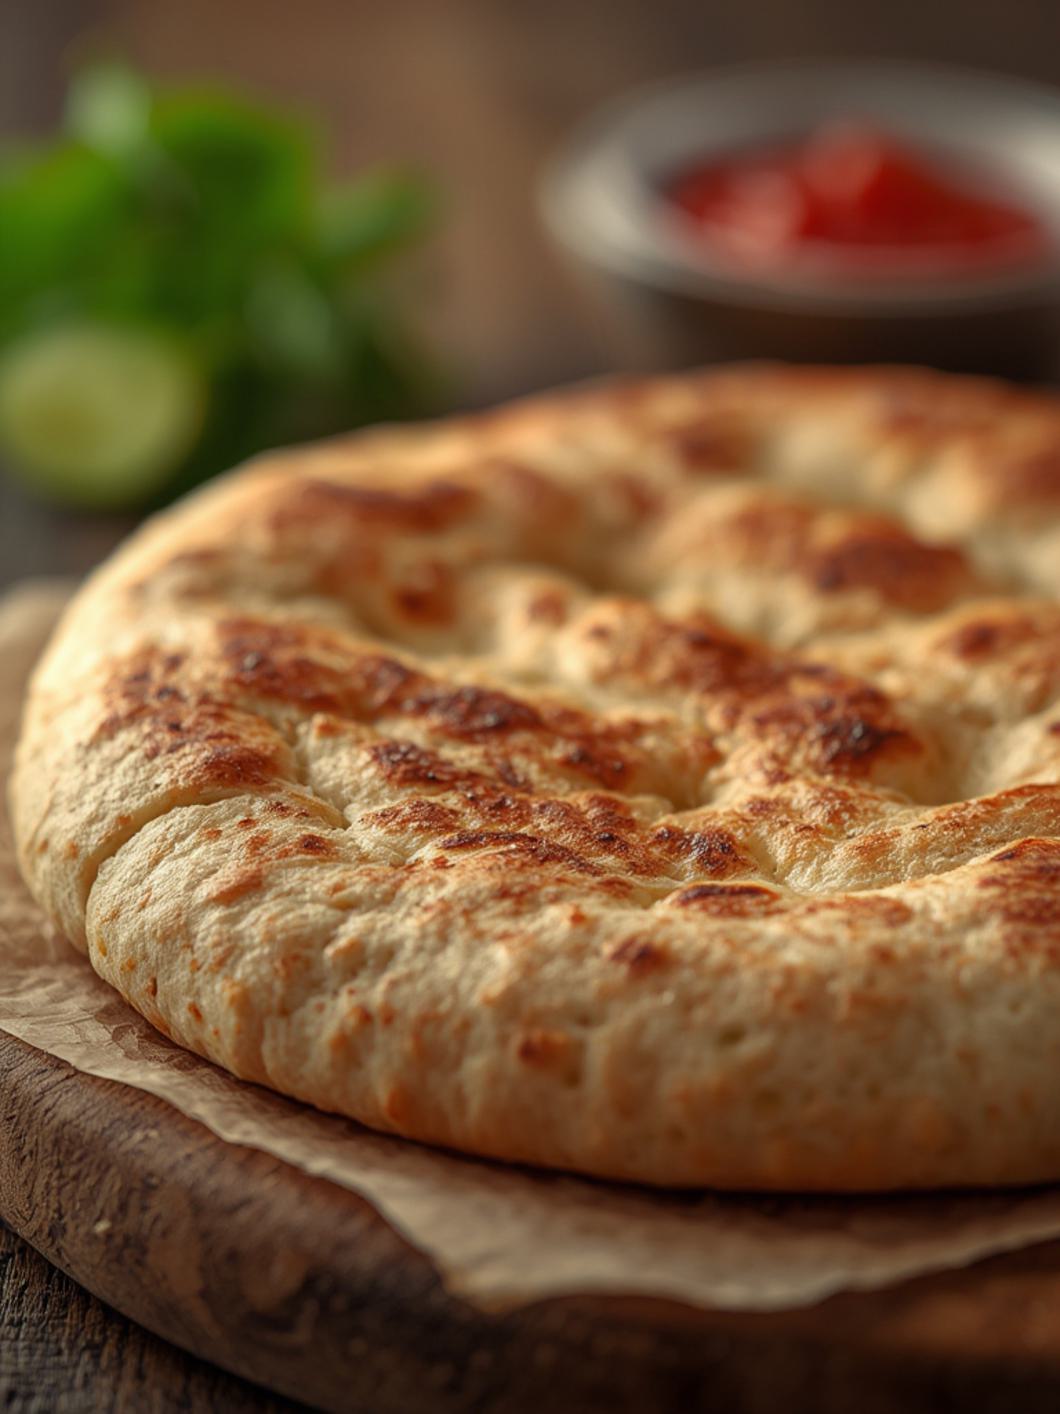
There’s nothing quite like the aroma of freshly baked bread filling your kitchen. And when that bread is warm, fluffy, and ready to cradle your favorite fillings, it’s pure magic. Today, we’re diving into the wonderful world of Homemade Pita Bread!
Forget those dry, store-bought versions that crack under pressure. This recipe delivers a soft, pliable, and perfectly puffy Flatbread that will elevate every meal. From scooping up hummus to creating epic sandwiches, knowing how to make your own pita is a game-changer. It’s surprisingly simple, incredibly rewarding, and trust me, once you go homemade, you’ll never look back!
⭐️⭐️⭐️⭐️⭐️ (4.8 from 2,500 fans)
📸 1100+ photo shares | ☀️ Updated December 2025
- Prep time: 2 hours 30 minutes (includes rising time)
- Servings: 8 pitas
- Vibe: Authentic, Pillowy, Versatile, Rewarding
Why You’ll Love This Recipe
- Unbeatable Freshness: Nothing compares to the taste and texture of pita straight from your oven.
- Perfect Pockets: Our method ensures those delightful pockets that are ideal for stuffing.
- Simple Ingredients: You likely have most of what you need in your pantry right now.
- Impressive & Rewarding: Your family and friends will be amazed, and you’ll feel like a true baker!
- Budget-Friendly: Making your own pita is far more economical than buying it.
What You’ll Need
Ingredients
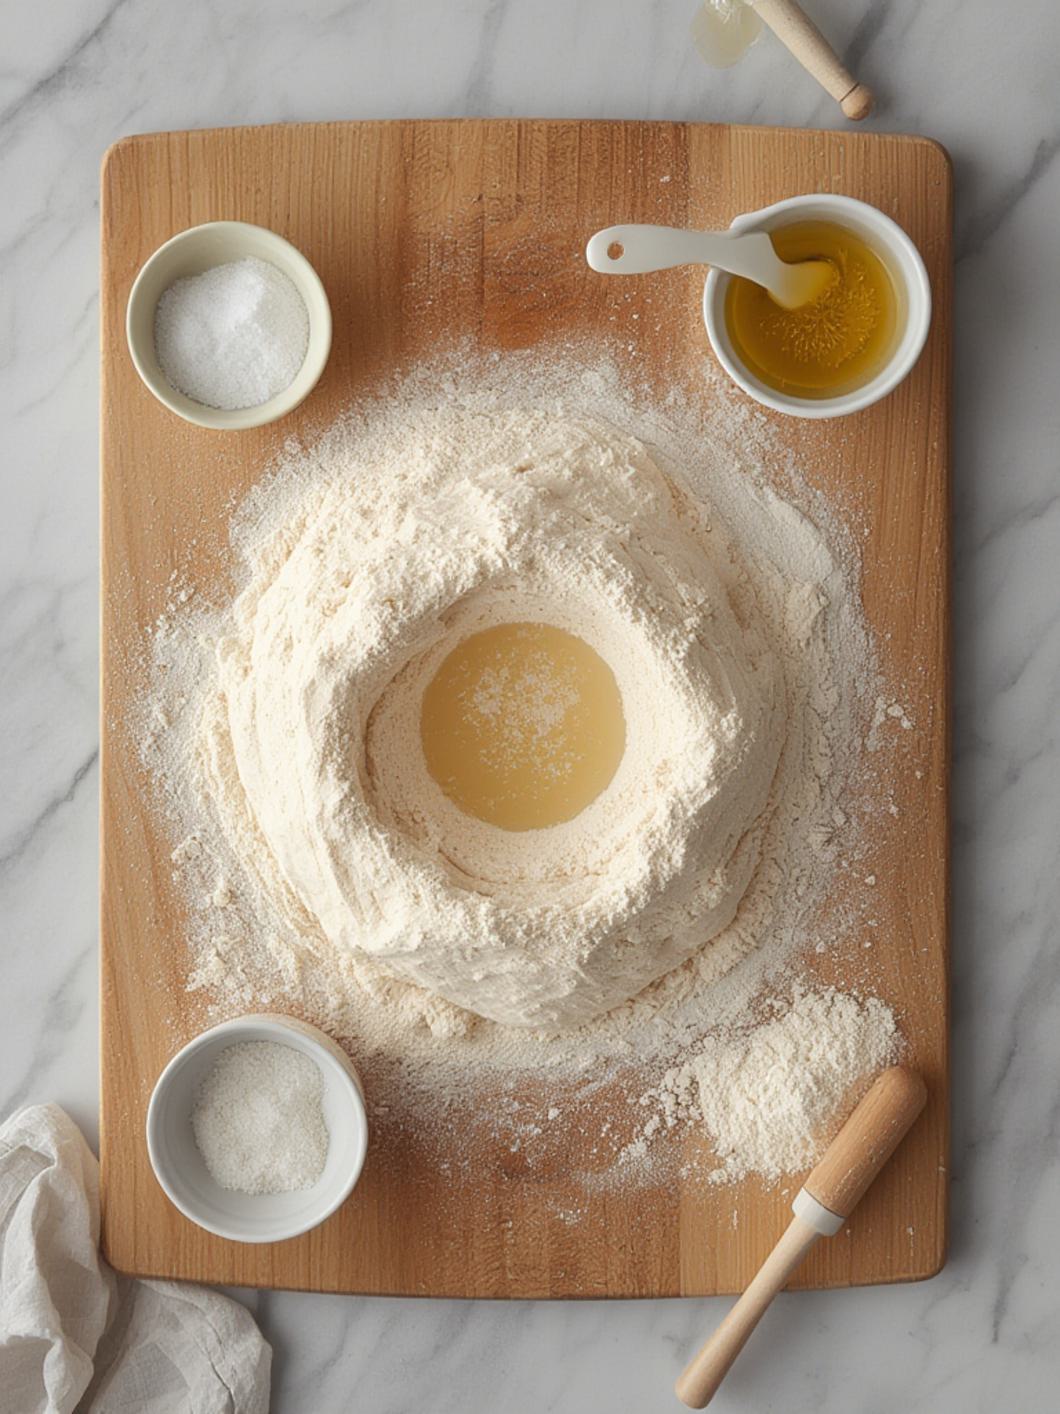
- 3 cups (360g) all-purpose flour, plus more for dusting
- 1 teaspoon active dry yeast
- 1 teaspoon granulated sugar
- 1 teaspoon fine sea salt
- 1 ¼ cups warm water (105-115°F / 40-46°C)
- 2 tablespoons olive oil, plus extra for greasing
How to Make Pita Bread
Step-by-Step Instructions
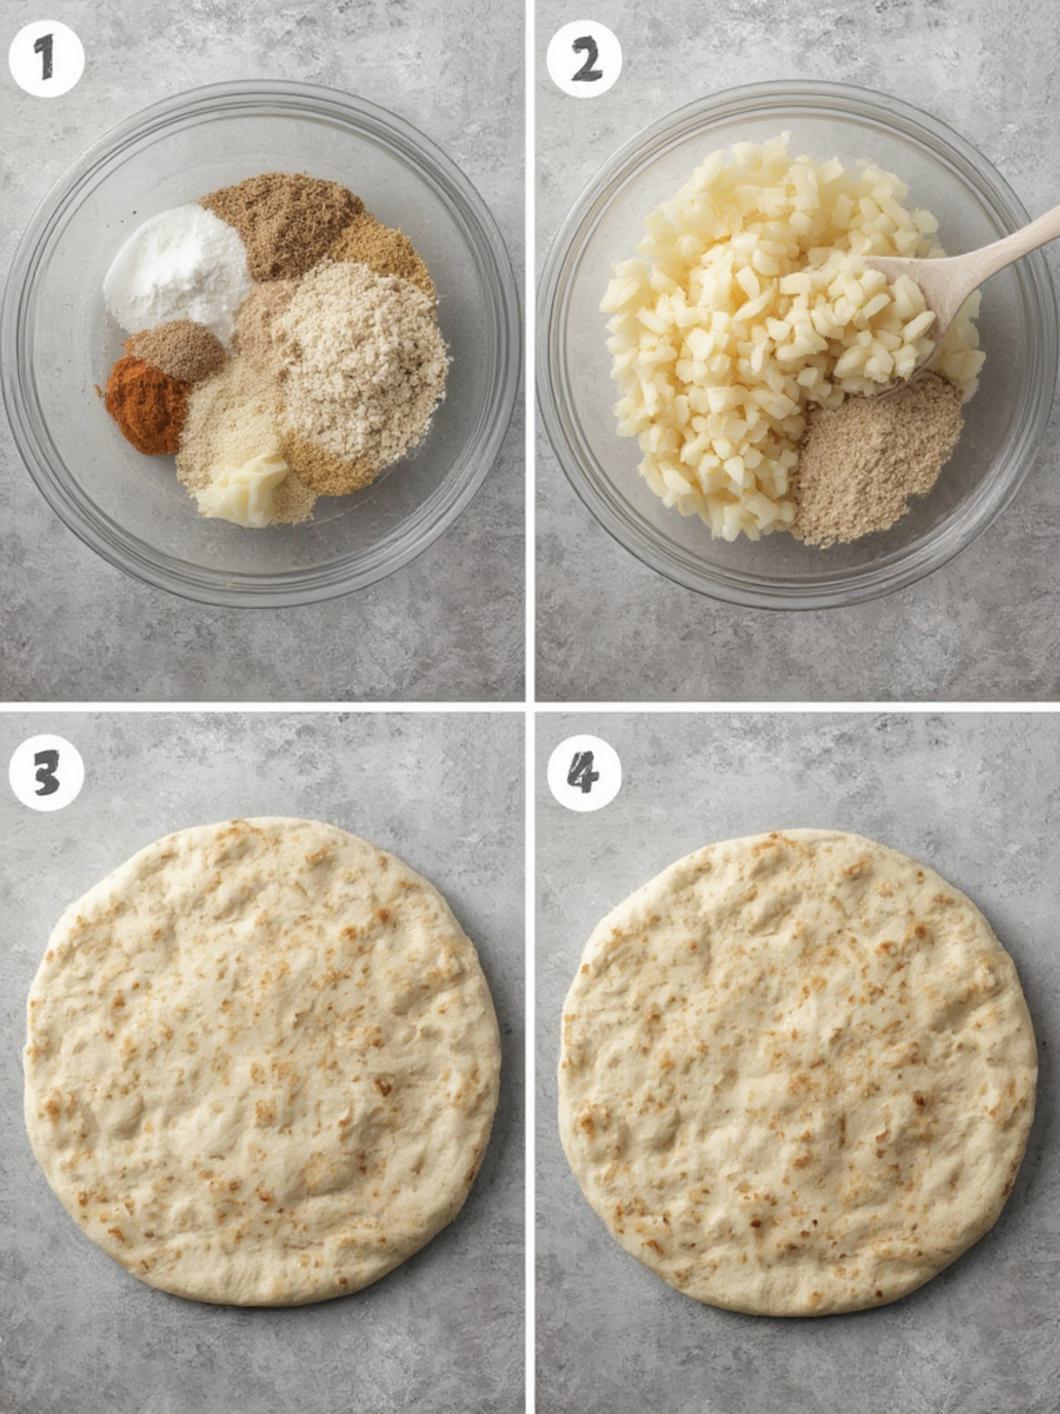
- Activate the Yeast: In a large mixing bowl, combine the warm water and sugar. Sprinkle the yeast over the top and let it sit for 5-10 minutes until foamy. This shows your yeast is active and ready to work its magic!
- Combine Dry Ingredients: Add the flour, salt, and olive oil to the yeast mixture. Mix with a spoon or your hands until a shaggy dough forms.
- Knead the Dough: Turn the dough out onto a lightly floured surface. Knead for 8-10 minutes until the dough is smooth, elastic, and no longer sticky. It should bounce back when gently poked. This crucial step develops the gluten for that perfect Homemade Pita Bread texture.
- First Rise: Lightly grease a clean bowl with olive oil. Place the dough in the bowl, turning it once to coat. Cover the bowl with plastic wrap or a clean kitchen towel and let it rise in a warm place for 1 to 1.5 hours, or until doubled in size.
- Divide and Shape: Gently punch down the dough to release the air. Divide it into 8 equal pieces. Roll each piece into a smooth ball. Cover the balls with a kitchen towel and let them rest for 15-20 minutes. This helps relax the gluten, making them easier to roll.
- Preheat Oven & Baking Surface: While the dough balls rest, preheat your oven to 475°F (245°C) with a baking stone, pizza stone, or an inverted heavy baking sheet inside. Let it heat for at least 30 minutes to get screaming hot. A hot surface is key to getting the pita to puff.
- Roll Out Pita: On a lightly floured surface, take one dough ball and roll it out into a 6-7 inch circle, about ¼-inch thick. Don’t roll it too thin, or it won’t puff up correctly. Keep the other dough balls covered.
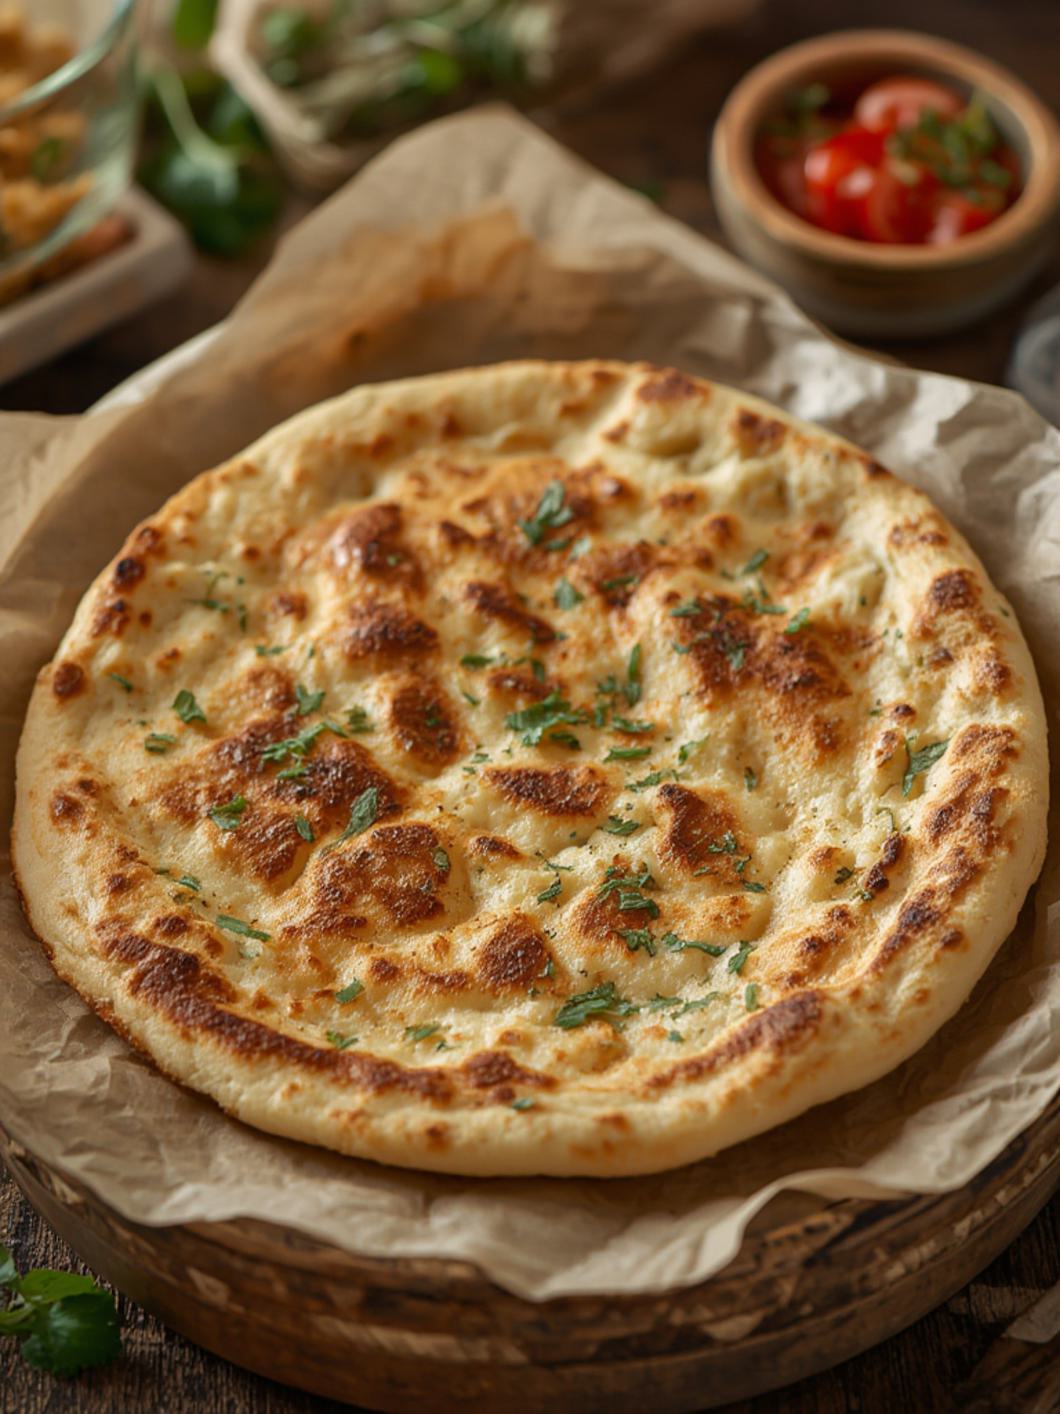
- Bake the Pita: Carefully transfer one or two rolled pita circles directly onto the hot baking stone/sheet. Bake for 2-4 minutes, or until the pita puffs up dramatically like a balloon. Flip it once and bake for another 1-2 minutes until lightly golden. The rapid heat creates steam inside, forming the signature pocket of this incredible Flatbread.
- Cool and Serve: Remove the baked pita from the oven and transfer it to a wire rack. Cover immediately with a clean kitchen towel to keep it soft and pliable. Repeat with the remaining dough. Serve warm!
Chef’s Tips for Perfection
- Warm Water is Key: Ensure your water is between 105-115°F (40-46°C). Too cold and the yeast won’t activate; too hot and you’ll kill it.
- Don’t Skimp on Kneading: Proper kneading develops the gluten, which is essential for the pita to puff up beautifully.
- Hot, Hot Oven: A super hot oven and baking surface are critical. This rapid heat creates steam that inflates the pita.
- Don’t Overbake: Pita cooks quickly! Overbaking will make it dry and stiff instead of soft and pliable.
- Cover After Baking: Covering the hot pita with a towel immediately after baking traps steam, keeping it soft.
Fun Twists & Serving Ideas
Creative Twists
- Whole Wheat Pita: Substitute up to half of the all-purpose flour with whole wheat flour for a nuttier, healthier version.
- Garlic Herb Pita: Add 1-2 minced garlic cloves and 1 tablespoon of finely chopped fresh herbs (like oregano or thyme) to the dough during kneading.
- Za’atar Pita: Brush freshly baked pita with olive oil and sprinkle generously with Za’atar spice blend for an authentic Middle Eastern treat.
- Spicy Pita: Knead in a pinch of red pepper flakes for a subtle kick.
Serving Suggestions
- Classic Dipping: Perfect with homemade hummus, baba ghanoush, tzatziki, or a simple olive oil and balsamic vinegar dip.
- Stuffed Pockets: Fill with falafel, grilled chicken or lamb, salads, or scrambled eggs for a delicious breakfast pita.
- Mini Pizzas: Use pita as a quick and easy base for individual pizzas.
- Pita Chips: Cut into triangles, brush with olive oil and your favorite seasonings, then bake until crispy for a snack.
- Souvlaki or Gyros: The ultimate vessel for your grilled meats and fresh toppings.
Storage and Reheating
Freshly baked Homemade Pita Bread is best enjoyed the day it’s made. Store cooled pita in an airtight bag or container at room temperature for up to 2-3 days. For longer storage, freeze them in a freezer-safe bag for up to 2-3 months.
To reheat, lightly dampen the pita (a quick spritz of water works wonders) and warm it in a hot dry skillet, toaster oven, or microwave until soft and pliable again.
User Reviews
Maria G. ⭐️⭐️⭐️⭐️⭐️
“I can’t believe how easy and delicious this pita recipe is! My kids devoured them with hummus. They actually puffed up perfectly, which never happens with other recipes I’ve tried. This is my new go-to!”
David R. ⭐️⭐️⭐️⭐️⭐️
“Making my own pita seemed daunting, but these instructions were so clear. The result was incredibly soft and had the best flavor. I used them for chicken gyros, and it felt like I was eating out at my favorite Mediterranean spot. Highly recommend!”
Sophie L. ⭐️⭐️⭐️⭐️⭐️
“The tip about covering the pita immediately after baking made all the difference! They stayed so soft and didn’t get crispy. So much better than store-bought and worth every minute. Plus, the smell in the kitchen was divine.”
Frequently Asked Questions (FAQs)
Q: My pita isn’t puffing up. What went wrong?
A: This is usually due to one of three things: your oven/baking surface wasn’t hot enough, the dough wasn’t kneaded enough (lack of gluten development), or the pita was rolled too thin or too thick. Ensure your oven is fully preheated with the stone/sheet inside for at least 30 minutes, and aim for a ¼-inch thickness.
Q: Can I make this with whole wheat flour?
A: Yes, you can substitute up to 1.5 cups of all-purpose flour with whole wheat flour. You might need a tiny bit more water, as whole wheat flour absorbs more liquid. The texture will be slightly denser, but still delicious.
Q: Can I cook pita on a stovetop?
A: Absolutely! Heat a cast iron skillet or heavy non-stick pan over medium-high heat until very hot. Cook each pita for 1-2 minutes per side, pressing lightly if needed, until it puffs and gets lightly browned spots. You might not get as dramatic a puff as in a super hot oven, but it will still be delicious.
Q: How long does the dough need to rise?
A: The first rise typically takes 1 to 1.5 hours, or until the dough has doubled in size. The resting time for the dough balls is shorter, about 15-20 minutes. These times can vary based on your kitchen temperature.
Conclusion
Making Homemade Pita Bread is truly one of the most satisfying baking experiences. The process is simple, the ingredients are humble, and the reward is a stack of warm, pillowy Flatbread that tastes infinitely better than anything you can buy. Whip up a batch for your next meal and prepare to be amazed at the freshness and versatility. Happy baking!
Recipe Note
All ovens and ingredients can vary, so please adjust cooking times and flour amounts as needed. Always trust your instincts and enjoy the process!