Homemade Chocolate Cream Pie – Silky & Indulgent
🍫 Chocolate Cream Pie: Pure Indulgence, Every Silky Spoonful
⭐️⭐️⭐️⭐️⭐️ (4.9 from 1,900 fans)
📸 700+ photo shares | ☀️ Updated [October 2025]
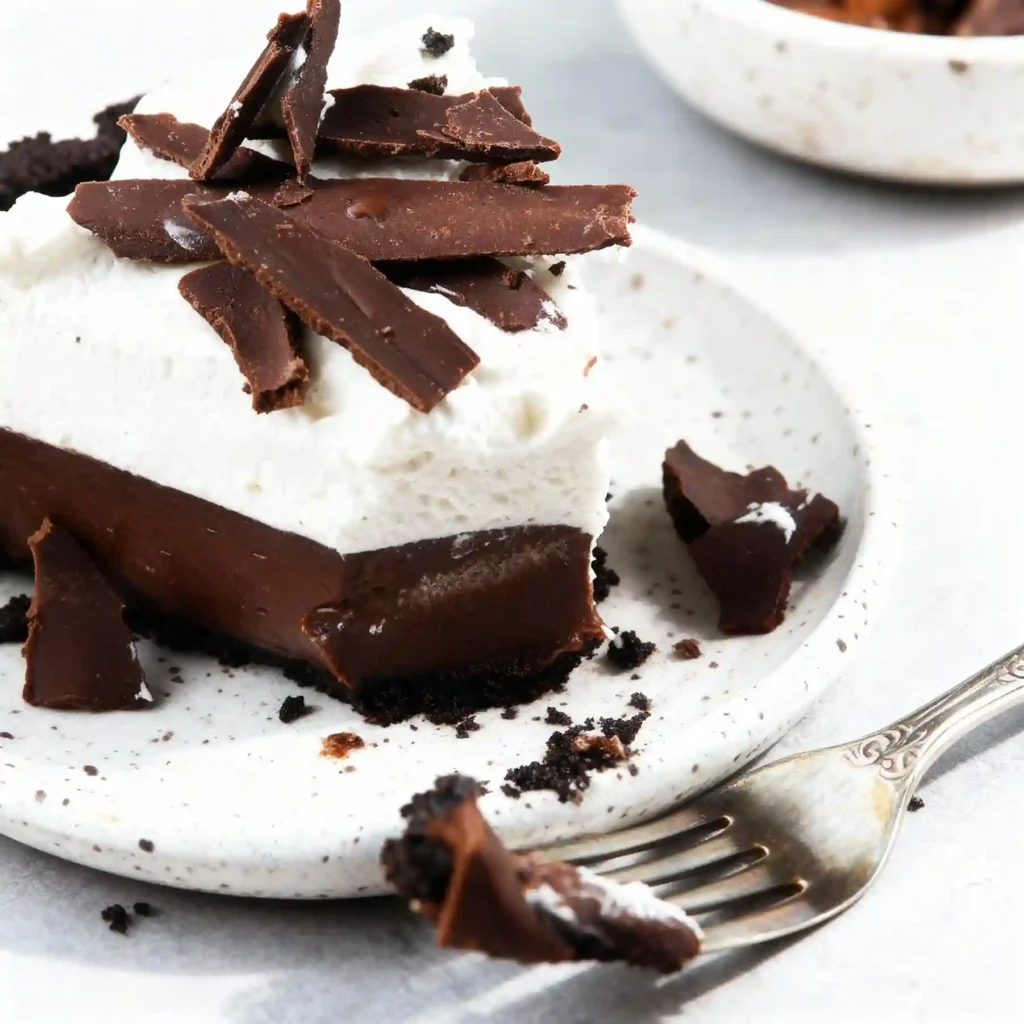
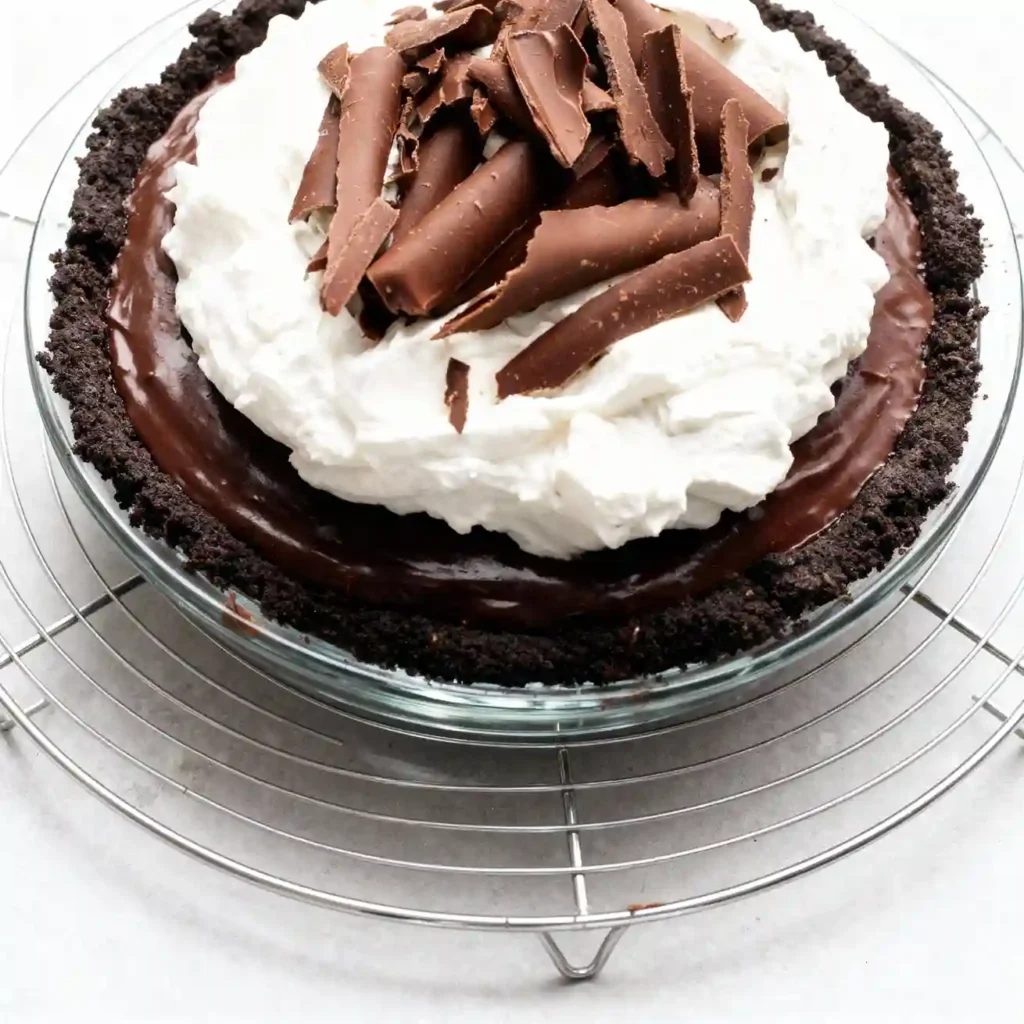
There are some desserts that just whisper “comfort” and “celebration” all at once, and for me, a classic Chocolate Cream Pie is at the very top of that list. Imagine a perfectly crisp, buttery crust giving way to an impossibly smooth, intensely chocolatey filling that melts on your tongue. Then, picture it all crowned with a cloud of freshly whipped cream, perhaps with a scattering of chocolate shavings for that extra touch of magic. It’s a dessert that feels both incredibly decadent and wonderfully nostalgic, perfect for cozy family gatherings, holiday tables, or simply when you need a spoonful of pure, unadulterated joy after a long day. Get ready to create a masterpiece that will have everyone asking for seconds!
Recipe Card will be inserted here
Quick Glance
- ⏱️ Prep Time: 35 minutes
- 🍽️ Servings: 8 generous slices
- 💥 Vibe: Decadent, Velvety, Nostalgic
Jump Ahead
What You’ll Need
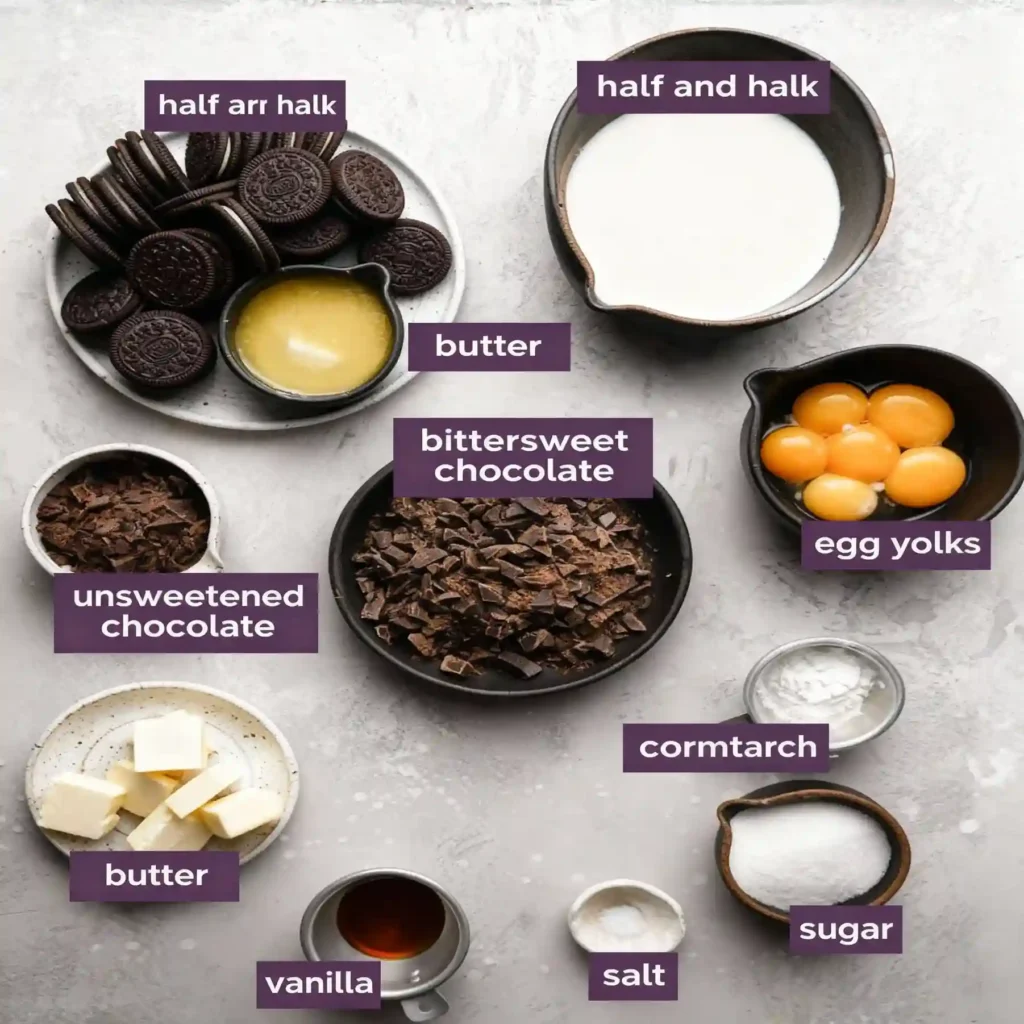
Gathering your ingredients is the first step to creating this dreamy pie. Most of these are likely staples in your pantry, promising a delightful treat without a special trip to the store.
For the Crust:
- 1 (9-inch) pre-baked pie crust (or your favorite homemade recipe)
For the Chocolate Filling:
- 1/2 cup granulated sugar
- 1/4 cup unsweetened cocoa powder
- 1/4 cup cornstarch
- 1/4 teaspoon salt
- 2 cups whole milk
- 2 large egg yolks, lightly beaten
- 2 ounces unsweetened chocolate, chopped
- 2 tablespoons unsalted butter
- 1 teaspoon vanilla extract
For the Topping:
- 1 1/2 cups heavy cream, very cold
- 1/4 cup powdered sugar
- 1/2 teaspoon vanilla extract
- Chocolate shavings or curls, for garnish (optional)
How to Make Chocolate Cream Pie
Creating this pie is a beautiful process, a little bit of whisking magic resulting in pure chocolate bliss. Follow these steps for a perfect, silky-smooth pie every time.
- Prepare your crust: Ensure your 9-inch pie crust is fully baked and cooled. This is key to preventing a soggy bottom!
- Whisk dry ingredients: In a medium saucepan, whisk together the granulated sugar, cocoa powder, cornstarch, and salt until well combined. This prevents lumps.
- Add liquids and egg yolks: Gradually whisk in the whole milk until smooth. Then, whisk in the lightly beaten egg yolks.
- Cook the filling: Place the saucepan over medium heat, stirring constantly. Bring the mixture to a gentle boil and continue to cook, stirring for 1-2 minutes, until it thickens considerably. It should coat the back of a spoon.
- Melt in chocolate and butter: Remove the saucepan from the heat. Stir in the chopped unsweetened chocolate and unsalted butter until fully melted and smooth.
- Add vanilla: Stir in the vanilla extract.
- Cool the filling: Pour the hot chocolate filling into the cooled pie crust. Gently press a piece of plastic wrap directly onto the surface of the filling to prevent a “skin” from forming.
- Chill thoroughly: Refrigerate the pie for at least 4 hours, or preferably overnight, until it is completely set and thoroughly chilled. Patience is a virtue here!
- Whip the cream: Just before serving, in a large bowl, combine the very cold heavy cream, powdered sugar, and vanilla extract. Beat with an electric mixer on medium-high speed until stiff peaks form.
- Top and serve: Spoon or pipe the whipped cream over the chilled pie. Garnish with chocolate shavings or curls, if desired. Slice and serve your magnificent creation!
Fun Twists & Serving Ideas
While classic Chocolate Cream Pie is perfect as is, a little creativity can make it even more special!
- Espresso Boost: Add 1 teaspoon of instant espresso powder to the dry ingredients for a deeper, richer chocolate flavor that really sings.
- Minty Fresh: A few drops of peppermint extract (start with 1/4 teaspoon) can transform this into a delightful chocolate mint cream pie, perfect for holidays!
- Nutty Crunch: Sprinkle chopped toasted pecans or walnuts over the bottom of the pie crust before adding the filling for an added layer of texture.
- Berry Bliss: A handful of fresh raspberries or sliced strawberries alongside each slice provides a lovely tart contrast to the rich chocolate.
- Cookie Crust: Instead of a traditional pastry crust, try an Oreo cookie crust for an extra layer of chocolatey goodness. Simply crush cookies and mix with melted butter.
Reviews
Sarah M. ⭐️⭐️⭐️⭐️⭐️
“This recipe is a dream! My family devoured it. The filling was so unbelievably smooth and rich, and the instructions were super easy to follow. A new family favorite for sure!”
David K. ⭐️⭐️⭐️⭐️⭐️
“I’ve always been intimidated by homemade pie, but this Chocolate Cream Pie recipe was fantastic. It turned out beautifully, and the taste was pure perfection. That velvety chocolate… wow!”
Emily R. ⭐️⭐️⭐️⭐️⭐️
“Absolutely divine! I made this for a dinner party, and it was the star of the show. So much better than any store-bought pie. The tips for chilling really made a difference.”
FAQ
Q: Can I make Chocolate Cream Pie ahead of time?
A: Absolutely! This pie benefits from a good chill, so making it the day before you plan to serve it is ideal. Store it covered in the refrigerator. Add the whipped cream topping just before serving.
Q: Why isn’t my filling thickening?
A: The most common reasons are not cooking it long enough or not bringing it to a full boil. Make sure to stir constantly and let it gently boil for the full 1-2 minutes after it starts to thicken, ensuring the cornstarch fully activates.
Q: Can I use a different type of milk?
A: Whole milk is recommended for the richest, creamiest texture. You could use 2% milk, but the pie might be slightly less decadent. Skim milk is generally not recommended as it won’t achieve the desired richness and thickness.
Q: How long does Chocolate Cream Pie last in the refrigerator?
A: Covered tightly, it will last for 3-4 days in the refrigerator. However, for the best flavor and texture, I recommend enjoying it within 2 days.
Conclusion
There’s something truly magical about a homemade Chocolate Cream Pie. It’s more than just a dessert; it’s an invitation to slow down, savor a moment of pure bliss, and share joy with those you love. From the anticipation as it chills to that first incredibly smooth, chocolatey bite, every step of the journey is deeply rewarding. I truly hope you find as much delight in making and sharing this recipe as I do. Dive in, get your hands a little chocolatey, and create a memory that tastes as good as it feels. Happy baking, my friends!
Recipe Note
For the absolute best results, ensure your heavy cream for the topping is very cold. Pop your mixing bowl and whisk attachment in the freezer for 10-15 minutes before whipping for the fluffiest, most stable whipped cream.
Chocolate Cream Pie
Cook Time: 15 minutes
Total Time: 5 hours 30 minutes (includes chilling time)
Course: Dessert
Servings: 8
Calories: 520 per serving
Ingredients
- 1 pre-baked 9-inch pie crust (graham cracker or pastry crust)
- 1 cup granulated sugar
- 1/2 cup unsweetened cocoa powder
- 1/4 cup cornstarch
- 1/2 teaspoon salt
- 3 cups whole milk
- 2 large egg yolks
- 1/4 cup unsalted butter, cut into pieces
- 2 teaspoons vanilla extract
- 4 ounces semi-sweet chocolate, finely chopped
- 1 1/2 cups heavy cream
- 1/4 cup powdered sugar
- 1/2 teaspoon vanilla extract (for topping)
Instructions
In a medium saucepan, whisk together the granulated sugar, cocoa powder, cornstarch, and salt. Gradually whisk in the milk until smooth. In a small bowl, whisk the egg yolks. Gradually whisk about 1/2 cup of the hot milk mixture into the egg yolks to temper them, then slowly pour the egg yolk mixture back into the saucepan, whisking constantly. Cook over medium heat, stirring constantly, until the mixture thickens and comes to a boil. Boil for 1 minute, stirring. Remove from heat and stir in the butter, 2 teaspoons vanilla extract, and chopped semi-sweet chocolate until melted and smooth. Pour the chocolate filling into the pre-baked pie crust. Cover the surface directly with plastic wrap to prevent a skin from forming and chill for at least 4 hours, or preferably overnight, until firm. For the topping, in a large bowl, beat the heavy cream, powdered sugar, and 1/2 teaspoon vanilla extract with an electric mixer on high speed until stiff peaks form. Remove the plastic wrap from the chilled pie and spread the whipped cream evenly over the chocolate filling. Chill for another 1 hour before serving. Slice and serve cold.
Chef’s Notes: For best results, allow the pie to chill completely, preferably overnight, to ensure the filling sets perfectly. Garnish with chocolate shavings or cocoa powder if desired.