Perfect Caramel Apples Guide: 9 Secrets Every Maker Needs
Discover the best caramel apples recipe and step-by-step guide on thenextrecipes.com. Learn how to make glossy, gourmet caramel apples at home without missing a single trick!
Table of Contents
The Ultimate Caramel Apples Guide on thenextrecipes.com
Introduction
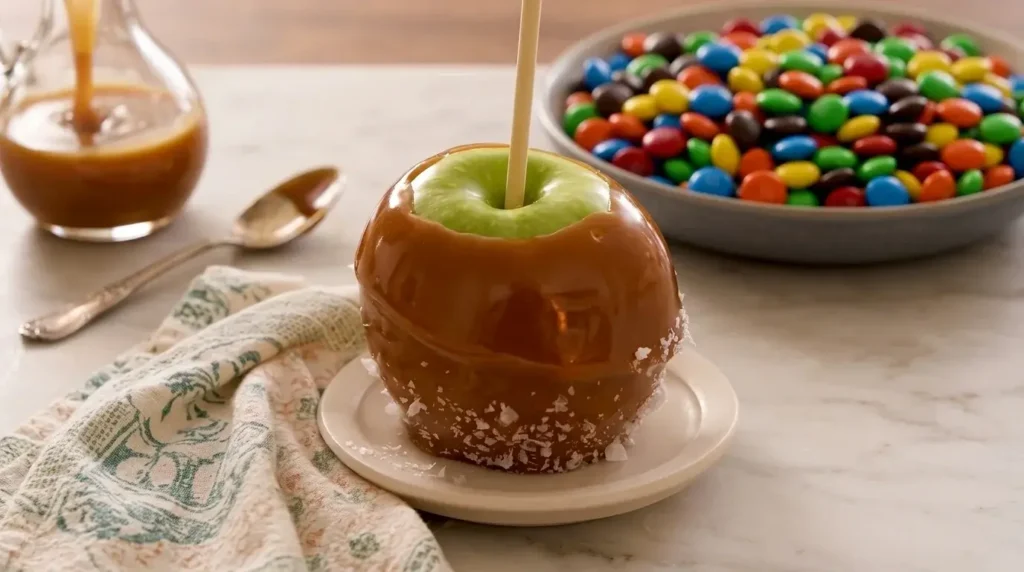
Few seasonal treats capture the nostalgic autumn magic, sweet-and-tart flavor contrast, and festive fun quite like classic caramel apples. Whether you are planning a family weekend project, preparing treats for Halloween and fall parties, or craving a gourmet dipped confectionery masterpiece, mastering how to make professional-quality caramel apples stands out as an essential seasonal skill. Instead of ending up with caramel that slides right off or apples that turn out soggy, following a precise, step-by-step method ensures a thick, glossy, perfectly clinging caramel coating every single time. You will love how rewarding it is to craft these bakery-quality treats right in your own kitchen!
Understanding the Magic of Making Caramel Apples
Why Prep Work, Temperature, and Stems Matter
Creating a flawless caramel apple relies on proper preparation and careful control over your ingredients:
- Removing the Wax Coating: Grocery store apples are often coated in food-grade wax. Washing them with warm water and vinegar or boiling water ensures the caramel actually sticks to the skin instead of sliding off.
- Sugar & Cream Balance: Using heavy cream, brown sugar, and corn syrup creates a rich, pliable caramel that wraps smoothly around the fruit without hardening into an unmanageable rock.
- The Temperature Sweet Spot: Cooking your caramel to the exact firm-ball stage (around 240°F to 245°F / 115°C to 118°C) guarantees it sets firmly without being too sticky or too brittle.
Essential Ingredients and Preparation Tools
To keep your kitchen prep smooth and organized, the table below outlines everything required for making gourmet caramel apples.
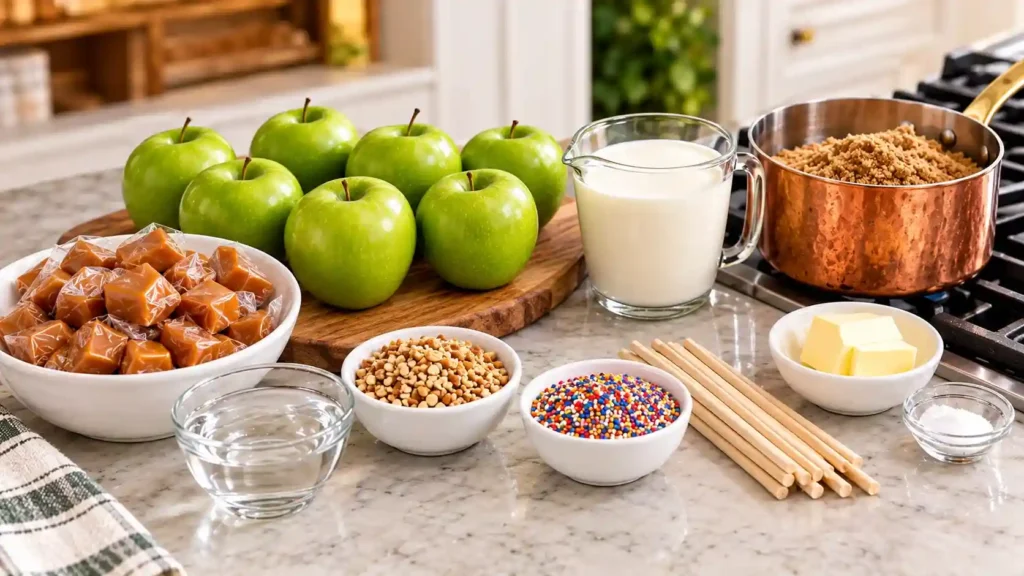
| Category | Item / Ingredient | Quantity | Purpose |
| Main Fruit | Crisp Tart Apples (Granny Smith recommended) | 6 to 8 medium | Provides the tart, crisp foundation to balance the sweet caramel. |
| Sweetener Core | Granulated Sugar & Light Corn Syrup | 1 cup / 1 cup | Creates the structural sweetness and smooth texture. |
| Rich Dairy | Heavy Cream (Whipping Cream) | 1 cup | Imparts decadent creaminess and rich flavor. |
| Flavor & Fat | Unsalted Butter & Pure Vanilla Extract | 4 tbsp / 1 tsp | Adds gloss, depth, and luxurious richness to the caramel. |
| Sticks & Toppings | Wooden Craft Sticks & Chopped Nuts/Chocolate | As needed | Secures the apples and adds delicious exterior crunch. |
Master Method: Comprehensive Step-by-Step Instructions
To ensure you capture every detail from preparation to final coating, follow these complete, sequential steps for absolute caramel apple success:
Step 1: Prep the Apples & Remove the Wax
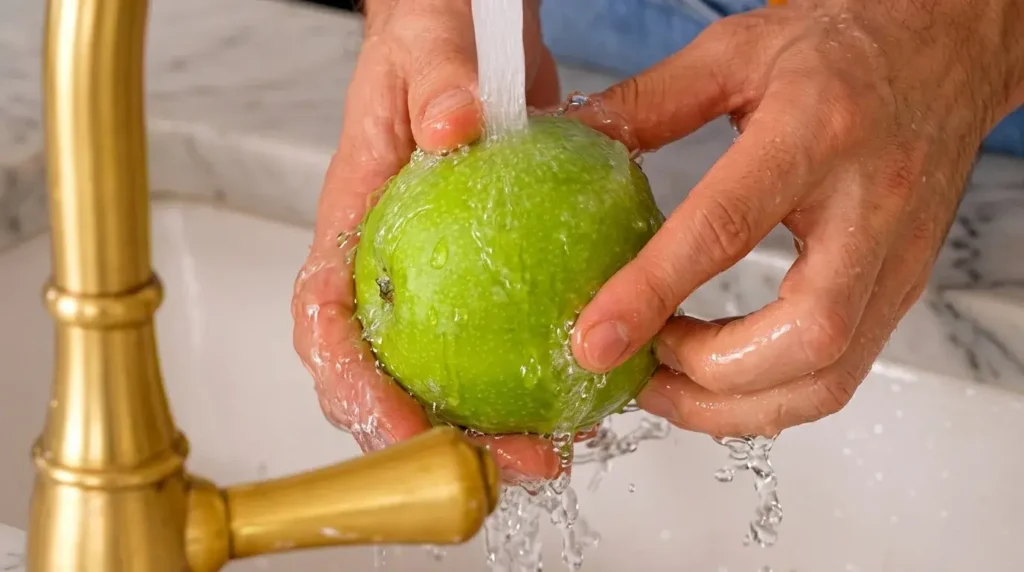
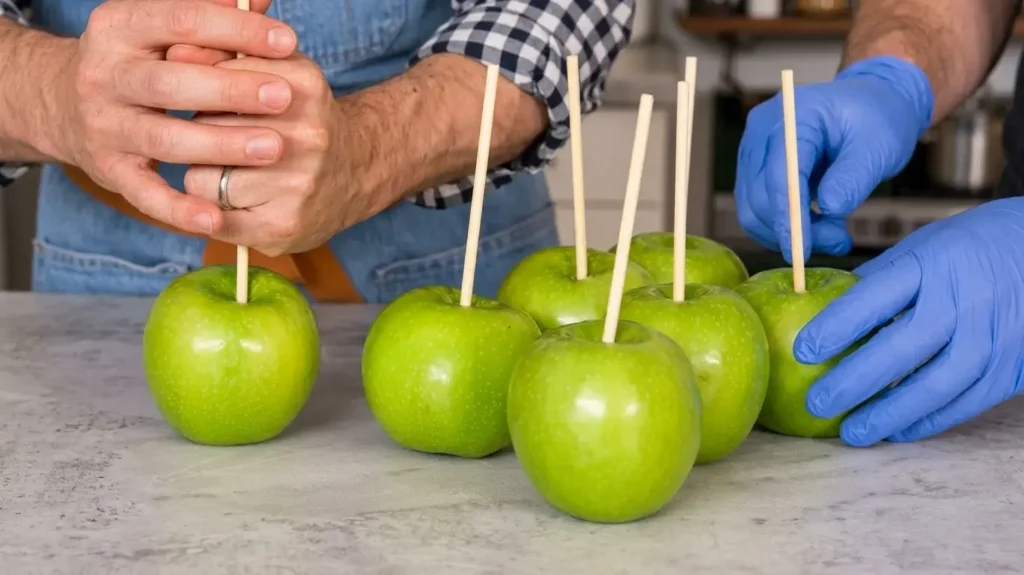
Start by washing your crisp apples thoroughly. To remove the slippery natural or artificial wax coating, dip each apple in boiling water for just 3 to 5 seconds, then dry them completely with a clean towel. Remove the natural stem from the top of each apple and firmly press a sturdy wooden craft stick or lollipop stick straight down into the core where the stem was. Line a baking sheet with parchment paper or a silicone baking mat and lightly grease it with butter or oil to prevent sticking.
Step 2: Combine the Caramel Ingredients
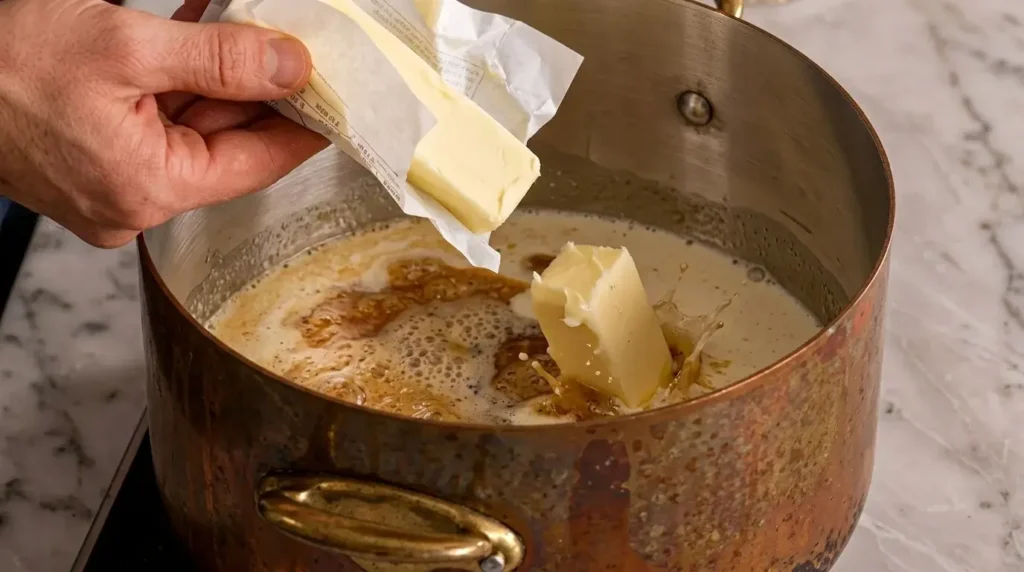
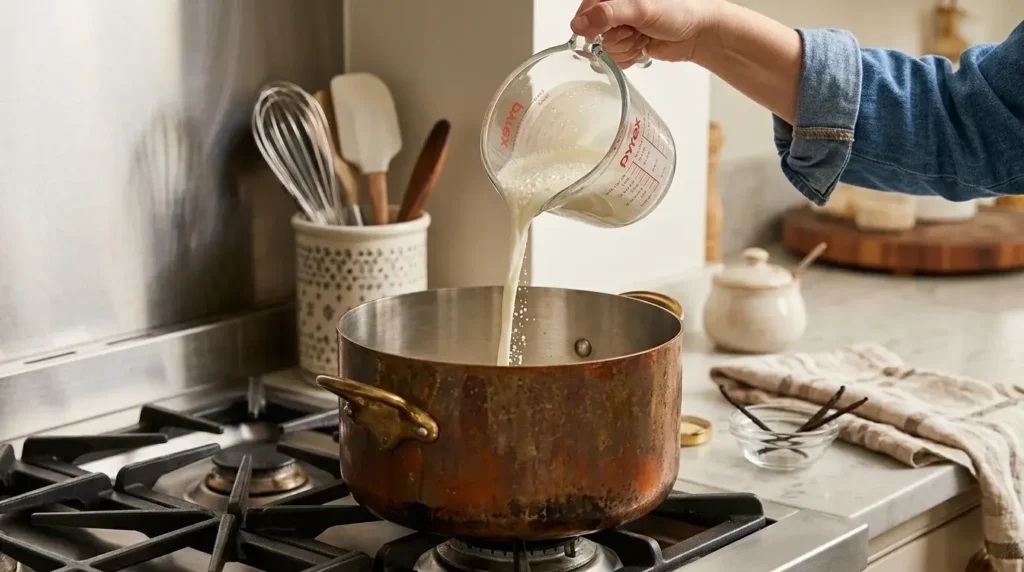
In a heavy-bottomed medium saucepan, combine your granulated sugar, light corn syrup, and butter. Pour in the heavy cream slowly while stirring. Using a heavy-bottomed pot is crucial to distribute heat evenly and prevent the sugar from scorching on the bottom.
Step 3: Cook to the Perfect Temperature
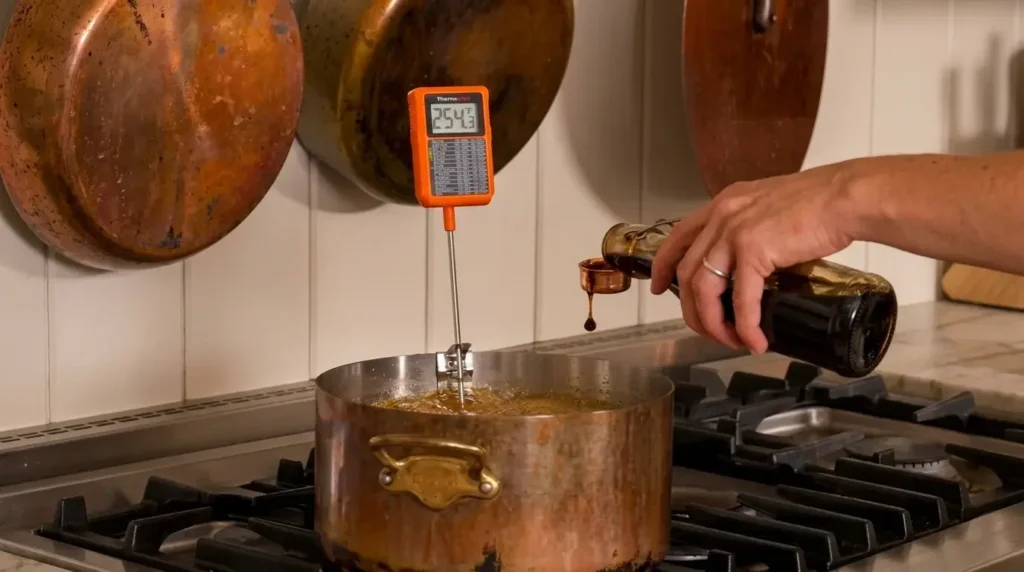
Place the saucepan over medium heat and stir continuously until the butter melts and the sugar dissolves completely. Attach a candy thermometer to the side of the pan. Let the mixture cook, stirring occasionally, until it reaches 240°F to 245°F (115°C to 118°C), which is the firm-ball stage. Once it reaches the target temperature, immediately remove the saucepan from the heat source and stir in the pure vanilla extract for rich flavor.
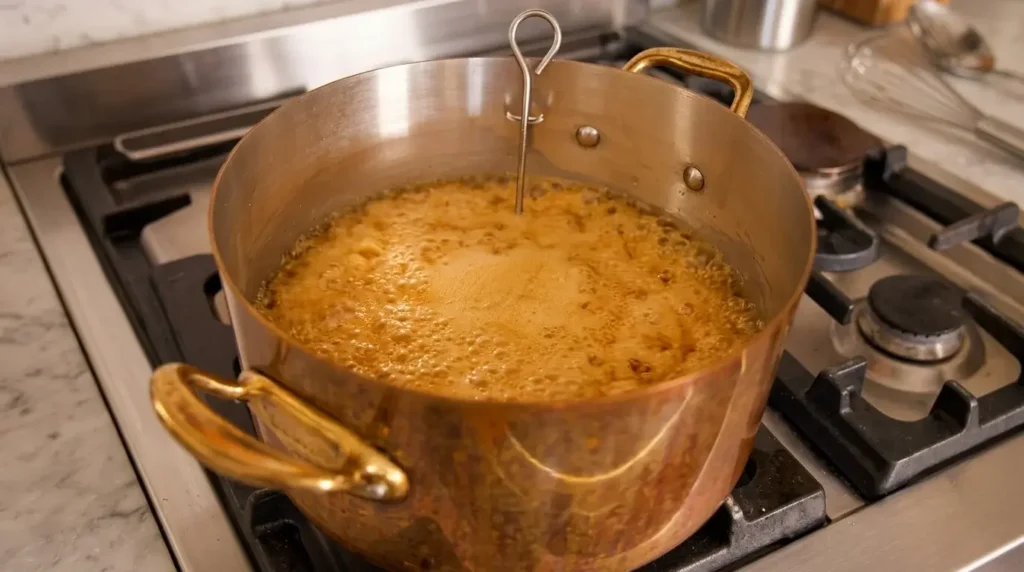
Step 4: Cool the Caramel Slightly & Dip
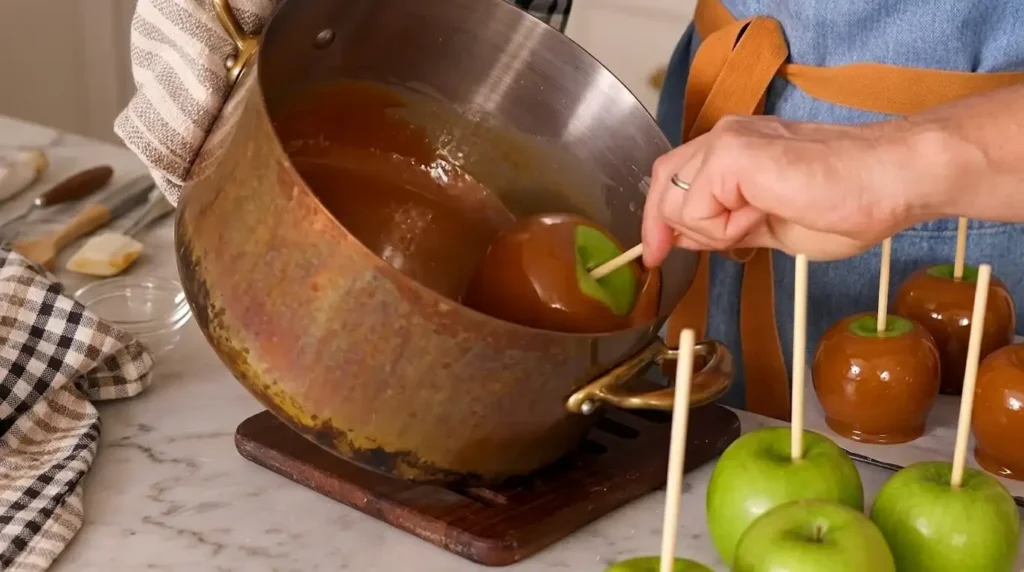
Let the hot caramel cool down for 2 to 3 minutes so it thickens slightly to a proper coating consistency. Tilt your saucepan at an angle and take one prepared apple by its wooden stick. Dip the apple into the warm caramel, rolling and swirling it to coat the entire skin evenly up to the base of the stick. Allow any excess caramel to drip back into the pan for a few seconds, gently scraping the bottom of the apple against the edge of the pot.
Step 5: Add Toppings, Chill & Set
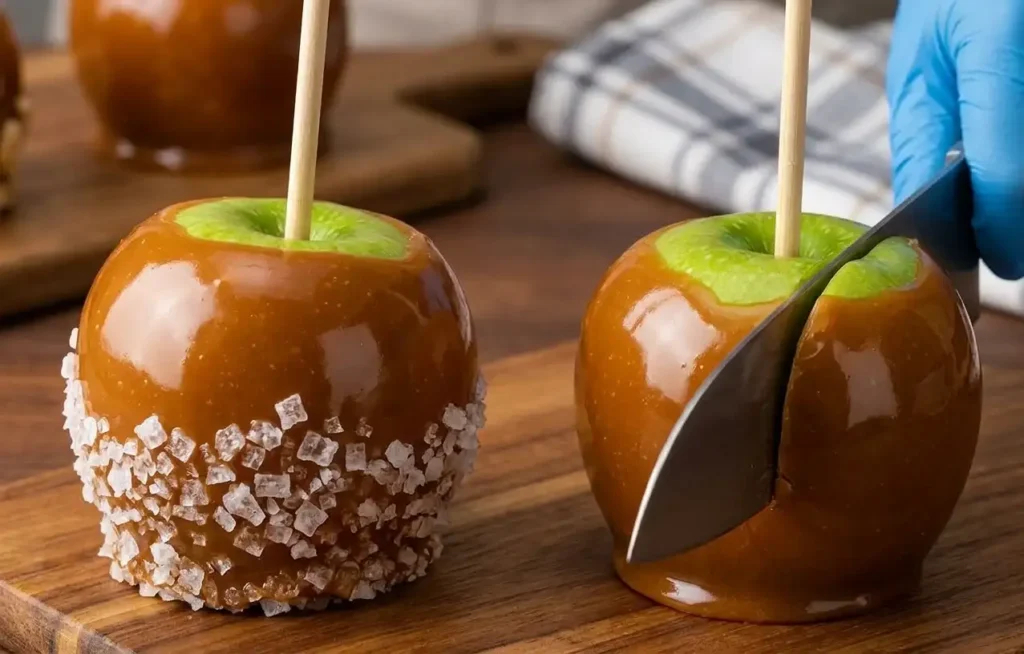
If you want to add chopped nuts, crushed cookies, or mini chocolate chips, roll or press them onto the warm caramel-coated apple immediately after dipping. Place the finished caramel apple upright onto your prepared greased parchment-lined baking sheet. Repeat the process with the remaining apples. Place the baking sheet into the refrigerator for 20 to 30 minutes to let the caramel set firmly before slicing or wrapping.
Popular Caramel Apple Variations and Toppings
Using the master method above, you can customize your caramel apples with endless creative flavors:
- Classic Pecan Turtle Apples: Roll the caramel-dipped apple in toasted chopped pecans, then drizzle with melted dark chocolate and white chocolate stripes.
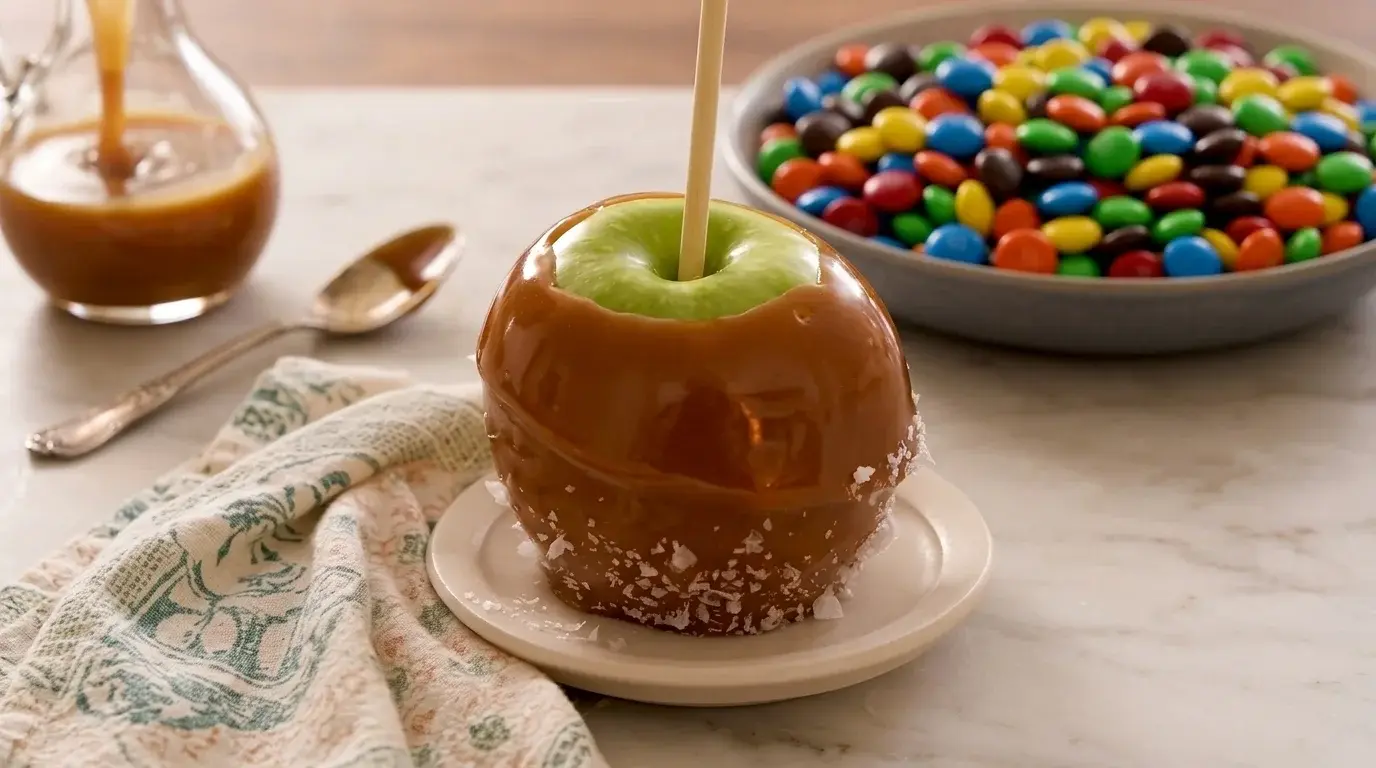
- Double Chocolate Crunch: Coat the caramel apple in crushed chocolate sandwich cookies or mini M&Ms for an extra decadent crunch.
- Apple Pie Spice Style: Stir a pinch of cinnamon and sea salt into the caramel just before dipping, and roll the base in crushed graham crackers.
Frequently Asked Questions About Caramel Apples
Why does caramel slide off my apples?
Caramel slides off when the apples still have their natural or commercial wax coating on the skin. Dipping them briefly in hot water and wiping them completely dry removes this wax layer so the caramel adheres securely.
What is the best type of apple to use?
Tart, firm apples like Granny Smith provide the ultimate flavor contrast. The sharp, tart flavor cuts through the rich, sweet caramel perfectly, while crisp textures hold up well under warm coatings.
How should I store leftover caramel apples?
Store finished caramel apples in the refrigerator in an airtight container or wrapped individually in cellophane for up to 3 to 5 days. For the best texture, take them out of the fridge about 15 minutes before eating to let the caramel soften slightly.
Reader Reviews & Testimonials
“Following every step in this guide made all the difference! Removing the wax with hot water first meant my caramel actually stayed on the apple instead of pooling at the botto
Conclusion and Call-to-Action
Crafting gourmet, glossy, and delicious confectionery treats at home is the ultimate way to celebrate the autumn season. By following these detailed steps—from removing the apple wax to hitting the precise candy thermometer temperature—you are guaranteed a flawless batch of caramel apples every single time. Visit thenextrecipes.com for more inspiring sweet treats and festive dessert guides! What is your favorite topping to roll your caramel apples in? Leave a comment below sharing your thoughts, and let us know what recipe you want us to cover next!
The Ultimate Caramel Apples Guide
Ingredients
Equipment
Method
- Group: 1. Prep the Apples & Remove the Wax
- Start by washing your crisp apples thoroughly. To remove the slippery natural or artificial wax coating, dip each apple in boiling water for just 3 to 5 seconds, then dry them completely with a clean towel. Remove the natural stem from the top of each apple and firmly press a sturdy wooden craft stick or lollipop stick straight down into the core where the stem was. Line a baking sheet with parchment paper or a silicone baking mat and lightly grease it with butter or oil to prevent sticking.
- Group: 2. Combine the Caramel Ingredients
- In a heavy-bottomed medium saucepan, combine your granulated sugar, light corn syrup, and butter. Pour in the heavy cream slowly while stirring. Using a heavy-bottomed pot is crucial to distribute heat evenly and prevent the sugar from scorching on the bottom.
- Group: 3. Cook to the Perfect Temperature
- Place the saucepan over medium heat and stir continuously until the butter melts and the sugar dissolves completely. Attach a candy thermometer to the side of the pan. Let the mixture cook, stirring occasionally, until it reaches 240°F to 245°F (115°C to 118°C), which is the firm-ball stage. Once it reaches the target temperature, immediately remove the saucepan from the heat source and stir in the pure vanilla extract for rich flavor.
- Group: 4. Cool the Caramel Slightly & Dip
- Let the hot caramel cool down for 2 to 3 minutes so it thickens slightly to a proper coating consistency. Tilt your saucepan at an angle and take one prepared apple by its wooden stick. Dip the apple into the warm caramel, rolling and swirling it to coat the entire skin evenly up to the base of the stick. Allow any excess caramel to drip back into the pan for a few seconds, gently scraping the bottom of the apple against the edge of the pot.
- Group: 5. Add Toppings, Chill & Set
- If you want to add chopped nuts, crushed cookies, or mini chocolate chips, roll or press them onto the warm caramel-coated apple immediately after dipping. Place the finished caramel apple upright onto your prepared greased parchment-lined baking sheet. Repeat the process with the remaining apples. Place the baking sheet into the refrigerator for 20 to 30 minutes to let the caramel set firmly before slicing or wrapping.
Notes
Pro-Tip: Caramel slides off when the apples still have their natural or commercial wax coating on the skin. Dipping them briefly in hot water and wiping them completely dry removes this wax layer so the caramel adheres securely.