No-Bake Oreo Icebox Cake – Creamy & Delicious
The Easiest, Most Dreamy Oreo Icebox Cake You’ll Ever Make!
⭐️⭐️⭐️⭐️⭐️ (4.8 from 2,500 fans)
📸 1100+ photo shares | ☀️ Updated December 2025

Oh, my sweet friends, get ready to dive into a slice of pure, unadulterated happiness! If there’s one dessert that embodies joy, nostalgia, and effortless deliciousness, it’s the humble yet magnificent Oreo Icebox Cake. This isn’t just a recipe; it’s a memory maker, a crowd-pleaser, and your new go-to for anything from a casual weeknight treat to a show-stopping potluck dessert. Forget turning on your oven – this glorious icebox cake comes together with just a few ingredients and a little patience (the hardest part, I promise!). It’s the kind of dessert that makes everyone ask for the recipe, even though it’s almost embarrassingly simple. So let’s gather our ingredients and whip up some magic!
What You’ll Need for Your No-Bake Masterpiece
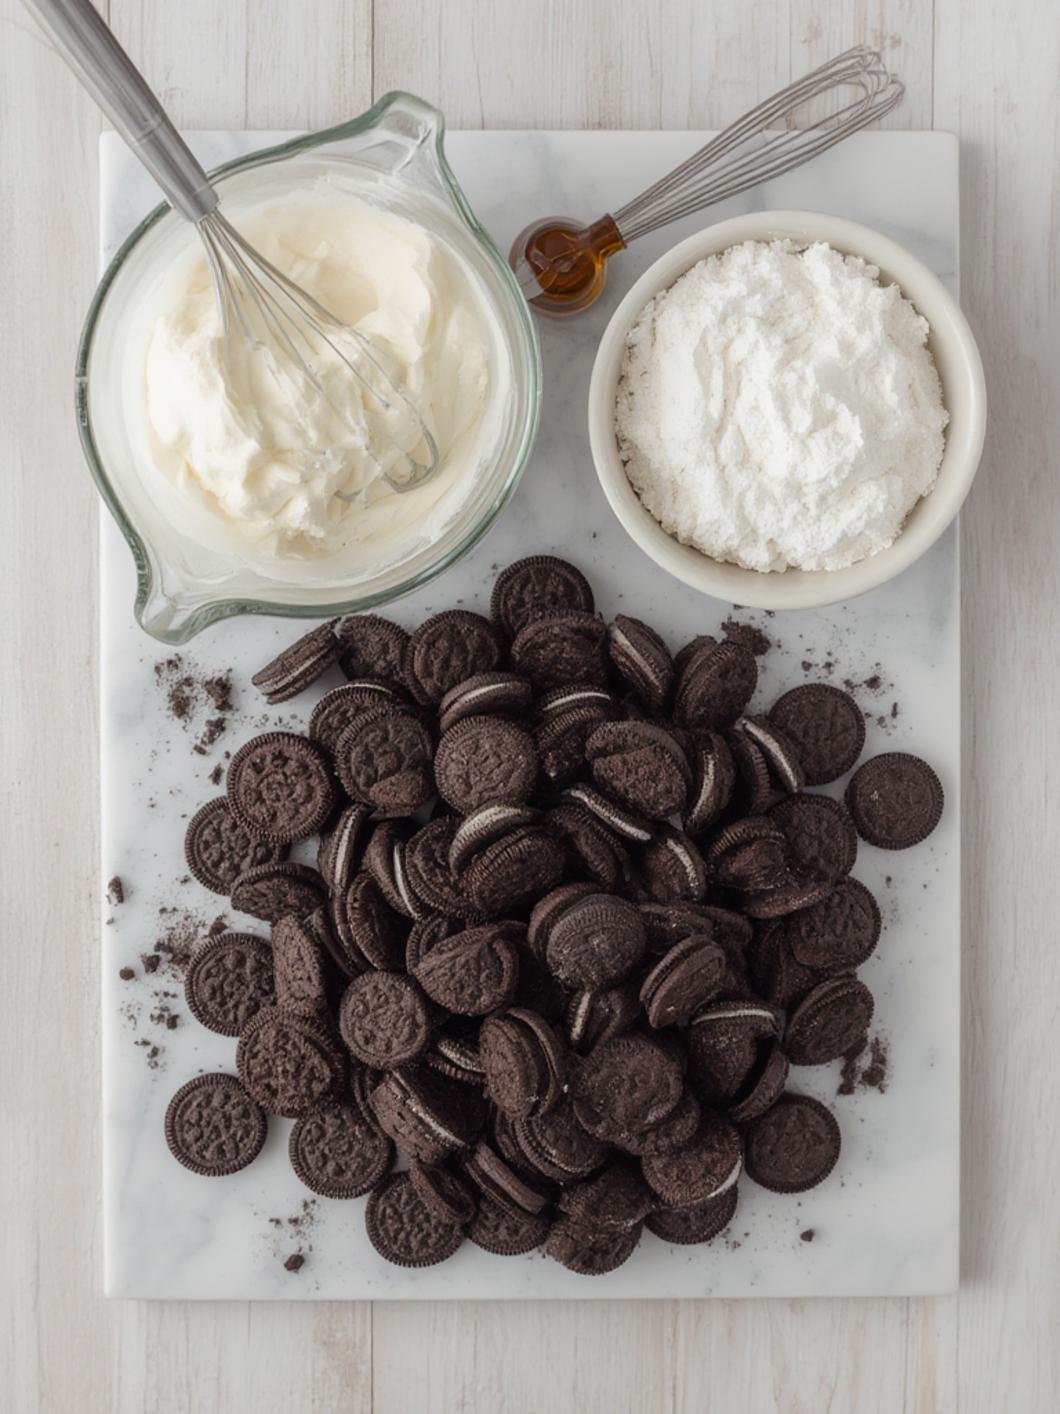
The beauty of this Oreo Icebox Cake lies in its simplicity. You only need a handful of accessible ingredients to create something truly spectacular. Here’s what you’ll be grabbing from your pantry and fridge:
Ingredients:
- 1 (14.3 oz) package Oreo cookies (about 36 cookies)
- 8 oz cream cheese, softened
- 1/2 cup granulated sugar
- 1 teaspoon vanilla extract
- 1 (12 oz) container frozen whipped topping (Cool Whip), thawed
- 1/2 cup cold milk (optional, for dipping cookies)
- Extra Oreos or chocolate shavings for garnish (optional)
Equipment:
- 9×13 inch baking dish
- Electric mixer (handheld or stand mixer)
- Spatula
Prep Time:
20 minutes (active)
Servings:
8-10 servings
How to Make Oreo Icebox Cake
Get ready for the easiest “baking” adventure of your life! This recipe is all about layering and chilling, letting time do all the heavy lifting for you. Follow these steps for an irresistible icebox cake:
- Prepare the Cream Cheese Mixture: In a large bowl, using an electric mixer, beat the softened cream cheese and granulated sugar until light and fluffy. This usually takes about 2-3 minutes.
- Add Vanilla and Whipped Topping: Stir in the vanilla extract. Gently fold in the thawed whipped topping until no streaks remain and the mixture is smooth and fully combined. Be careful not to overmix, as this can deflate the whipped topping.
- Start Layering: Take your 9×13 inch baking dish. If desired, quickly dip each Oreo cookie in cold milk for a softer cake, or use them as is for more texture. Arrange a single layer of Oreo cookies on the bottom of the dish, covering as much surface as possible. You may need to break some cookies to fit.
- Spread Cream Layer: Spoon about one-third of the cream cheese mixture evenly over the Oreo layer. Spread it gently right to the edges.
- Repeat Layers: Place another layer of Oreos on top of the cream, followed by another third of the cream mixture. Repeat one more time, ending with a final layer of cream mixture. You should have 3 layers of Oreos and 3 layers of cream.
- Chill Out: Cover the dish tightly with plastic wrap and refrigerate for at least 4 hours, or preferably overnight. This is crucial as it allows the cookies to soften and the flavors to meld, transforming it into a true Oreo Icebox Cake.
- Garnish and Serve: Before serving, you can crush a few extra Oreos and sprinkle them over the top, or add some chocolate shavings. Slice and enjoy your divine, no-bake creation!
Fun Twists & Serving Ideas
This icebox cake is a fantastic canvas for creativity! Here are a few ideas to make it uniquely yours:
- Flavor Frenzy: Experiment with different Oreo flavors! Mint Oreos, Peanut Butter Oreos, or even Golden Oreos would make for incredible variations.
- Fruity Fun: Add a layer of fresh sliced strawberries or raspberries between the cream layers for a burst of freshness.
- Chocolate Lover’s Dream: Drizzle chocolate syrup or hot fudge over the layers before chilling, or mix in mini chocolate chips into the cream mixture.
- Caramel Craze: A swirl of dulce de leche or caramel sauce would be absolutely divine.
- Coffee Kick: Briefly dip the Oreos in cold coffee or espresso instead of milk for a mocha-flavored twist.
- Individual Portions: Layer in small jars or glasses for adorable individual servings – perfect for parties!
Prep Ahead Tips:
This cake is meant to be made ahead! It actually tastes best after chilling overnight, giving the cookies ample time to soften and the flavors to deepen. You can prepare it up to 2 days in advance.
Storage:
Store any leftovers tightly covered in the refrigerator for up to 3-4 days. While it’s best within the first two days, it still tastes amazing!
What Readers Are Saying
Reader Reviews:
These reviews are from real readers who tried this recipe!
- Sarah M. ⭐️⭐️⭐️⭐️⭐️ “This recipe is a lifesaver! Made it for a family gathering and everyone thought I slaved away. So easy and incredibly delicious. The kids went crazy for it! My new go-to dessert.”
- David L. ⭐️⭐️⭐️⭐️⭐️ “Never thought something so simple could be so good. I used mint Oreos for a seasonal twist, and it was phenomenal. Perfect for summer when you don’t want to turn on the oven. Highly recommend!”
- Jessica P. ⭐️⭐️⭐️⭐️⭐️ “My grandma used to make an icebox cake, and this recipe brings back all those wonderful memories. It’s truly a taste of childhood. Easy to follow, and the results are always a hit. Thank you!”
FAQs About Oreo Icebox Cake
Got questions? I’ve got answers!
Q: Can I use homemade whipped cream instead of Cool Whip?
A: Absolutely! For a richer flavor, you can make your own whipped cream (2 cups heavy cream, 1/2 cup powdered sugar, 1 tsp vanilla extract, whipped until stiff peaks form). Just ensure it’s stiff enough to hold its shape.
Q: Do I really need to chill it for so long?
A: Yes! The chilling time is crucial for the Oreos to soften and absorb moisture from the cream mixture, transforming from crispy cookies into cake-like layers. A minimum of 4 hours is necessary, but overnight is truly best.
Q: Can I freeze Oreo Icebox Cake?
A: While you can technically freeze it, the texture of the whipped topping can change slightly upon thawing, sometimes becoming a bit watery. It’s best enjoyed from the refrigerator. If you do freeze it, ensure it’s tightly wrapped and thaw it in the fridge for several hours before serving.
Q: My cream mixture seems too soft, what did I do wrong?
A: Ensure your cream cheese was softened but not warm, and your whipped topping was fully thawed but still cold. Overmixing can also deflate the whipped topping. If it’s too soft, try chilling the mixture for 15-20 minutes before layering to help it firm up.
There you have it, folks! Your new favorite dessert that proves you don’t need fancy skills or an oven to create something truly magical. This Oreo Icebox Cake is all about simple ingredients, easy steps, and maximum delight. So go ahead, whip up a batch, chill it, and prepare for endless compliments!
Enjoy every glorious bite!
Recipe Note:
Remember, patience is key with this icebox cake. The longer it chills, the better it gets!