Peanut Butter Cups – Homemade, Chocolatey & Sweet
Homemade Peanut Butter Cups: A Dream Come True!
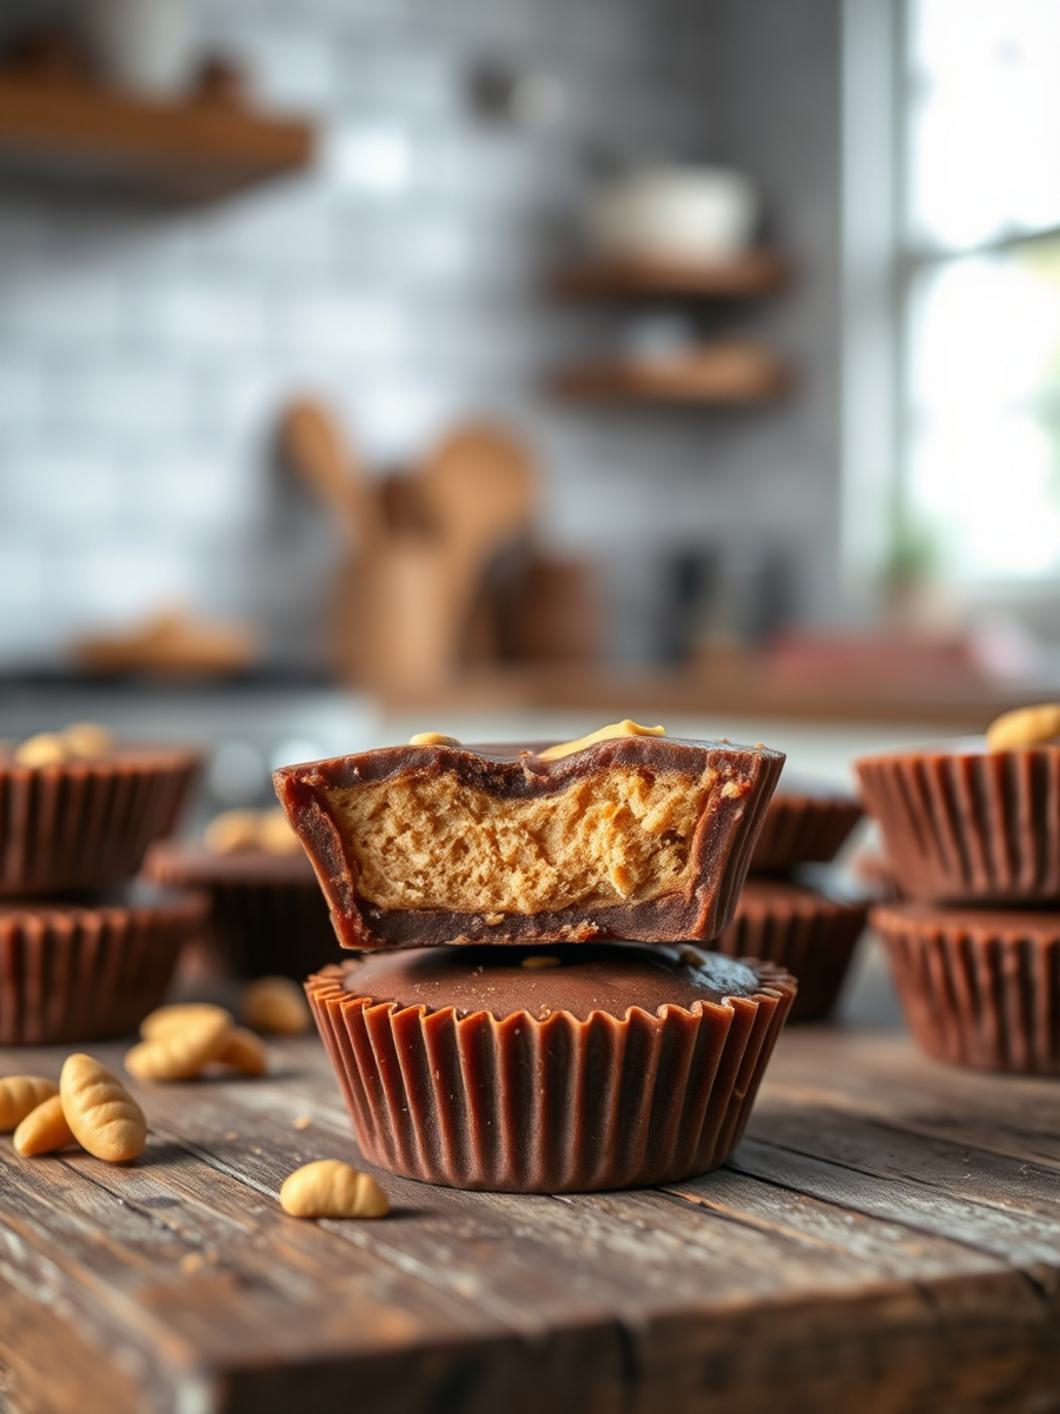
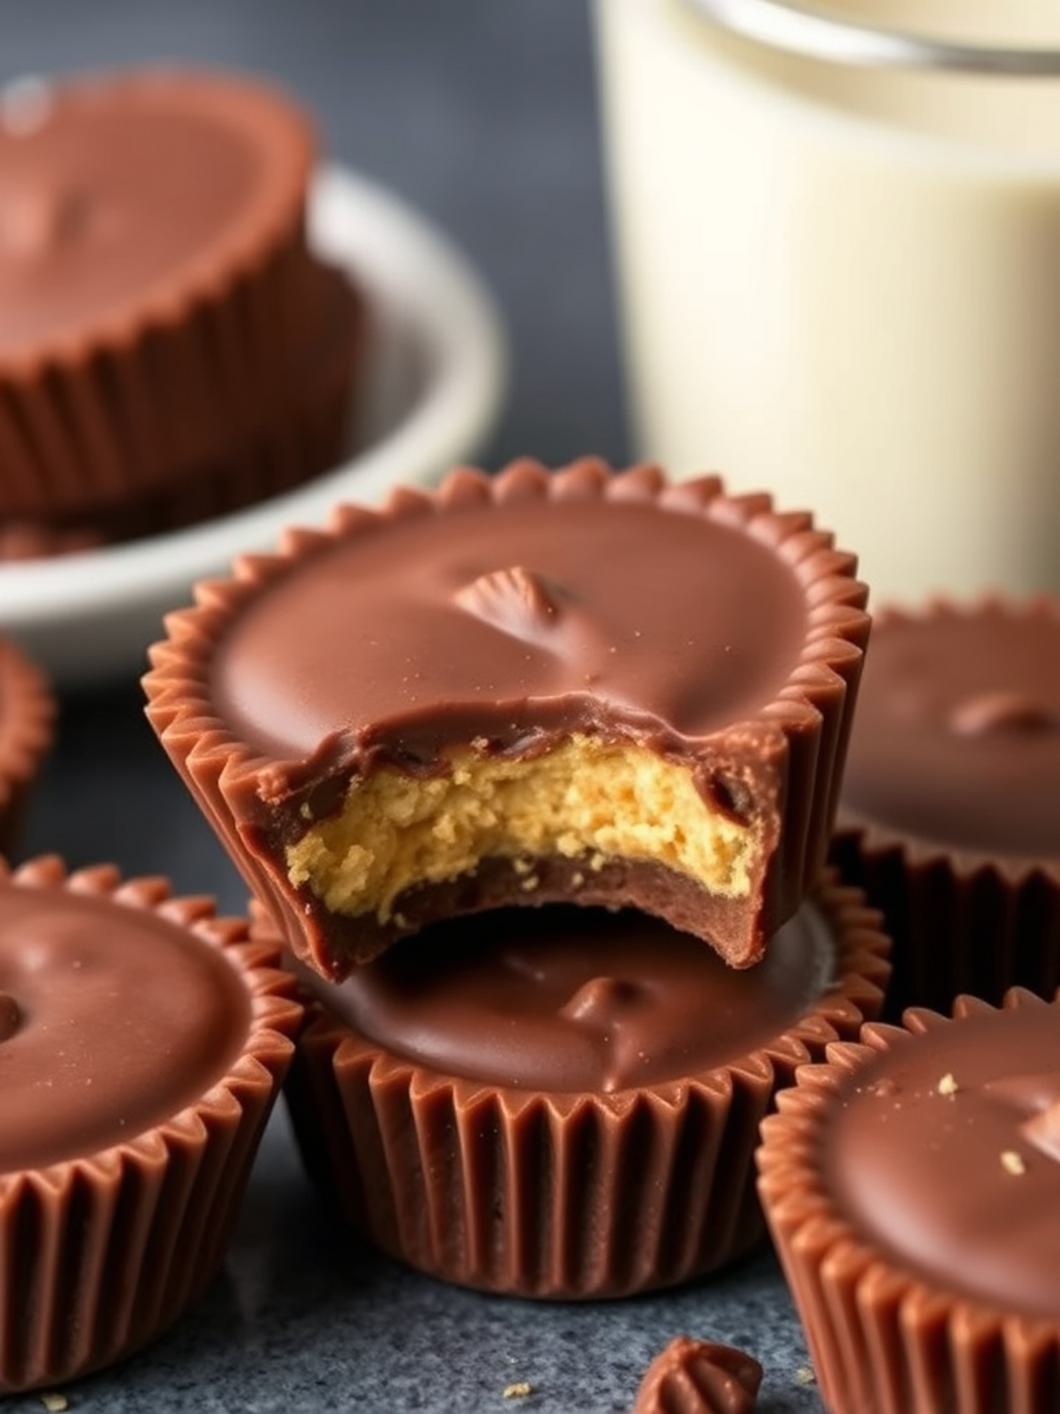
There’s something truly magical about the combination of rich, melty chocolate and creamy, dreamy peanut butter. It’s a flavor pairing that sparks joy, ignites nostalgia, and, let’s be honest, is utterly irresistible. Today, we’re diving into the delightful world of Homemade Peanut Butter Cups – a treat so simple, so satisfying, you’ll wonder why you ever bought them from the store!
Forget those flimsy wrappers and enjoy the superior taste and texture of a freshly made peanut butter cup. This recipe captures all the classic charm, elevating it to an artisanal level with minimal effort. It’s the perfect sweet escape, a little square of happiness, and a guaranteed crowd-pleaser for every occasion. Get ready to experience pure bliss with every bite of these glorious Reese’s Peanut Butter Cups-inspired treats!
⭐️⭐️⭐️⭐️⭐️ (4.8 from 2,500 fans)
📸 1100+ photo shares | ☀️ Updated December 2025
What You’ll Need
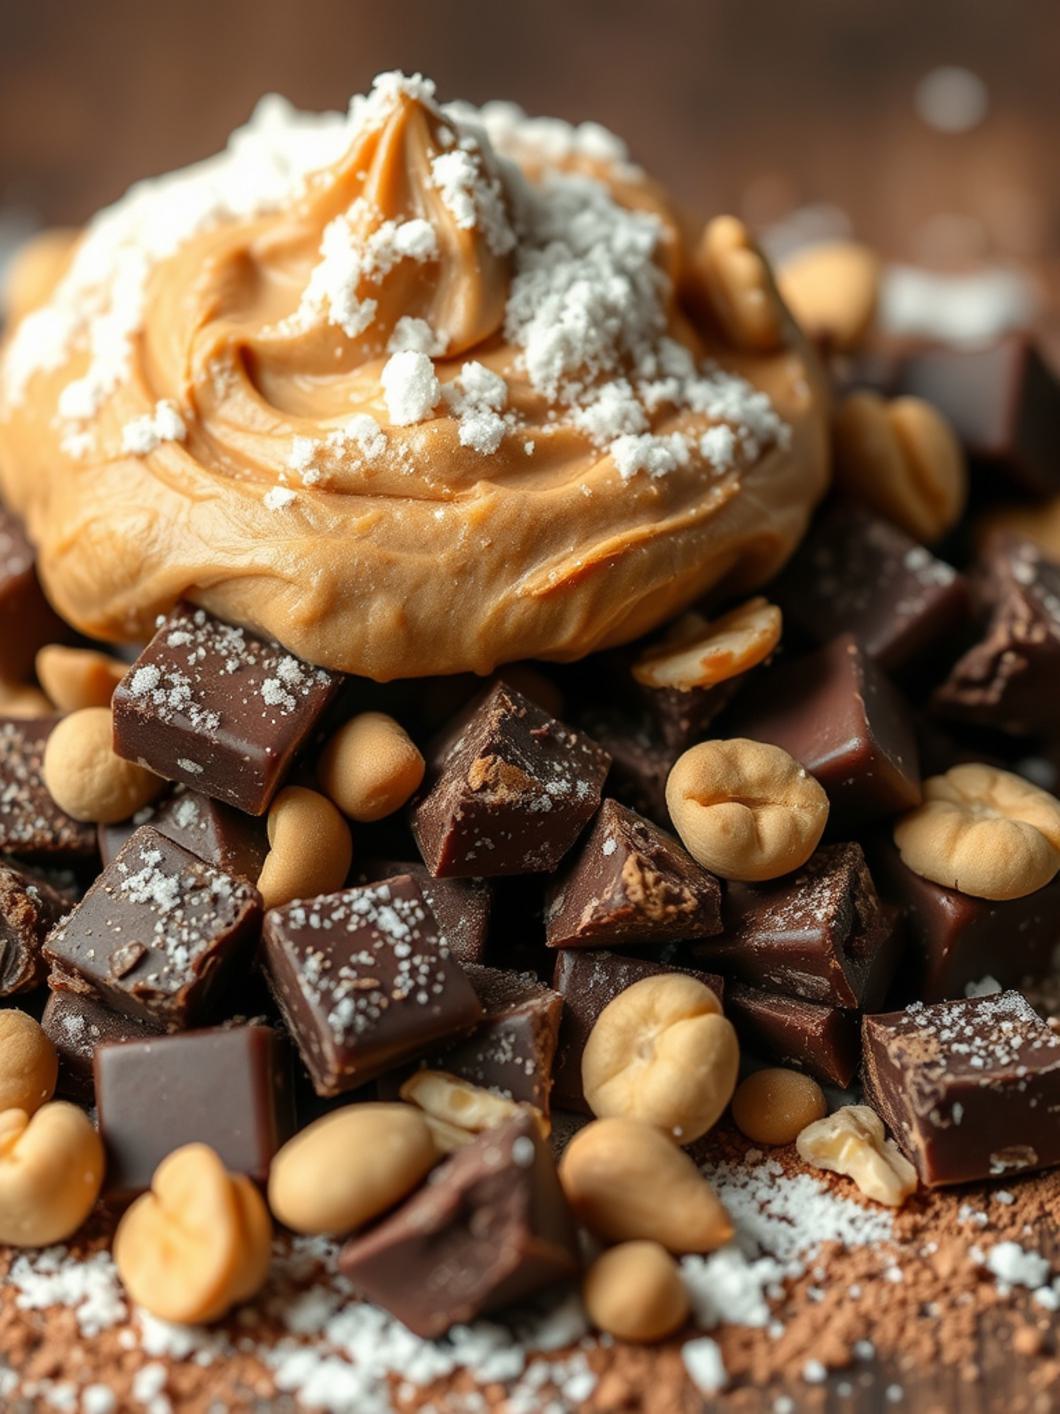
Making these decadent delights requires just a few basic ingredients you probably already have in your pantry. Simplicity is key to unlocking this incredible flavor experience!
Ingredients:
- 1 ¾ cups (about 10 oz) semi-sweet chocolate chips (or your favorite dark/milk chocolate)
- ½ cup creamy peanut butter (smooth, not natural or oily)
- ¼ cup unsalted butter, softened
- 1 ½ cups powdered sugar, sifted
- ½ teaspoon vanilla extract
- ¼ teaspoon salt
- Mini cupcake liners (about 16-18)
Equipment:
- Muffin tin or mini muffin tin
- Microwave-safe bowls or double boiler
- Spatula or spoon
- Measuring cups and spoons
How to Make Peanut Butter Cups
Get ready for pure magic! This process is so straightforward, you’ll be a Homemade Peanut Butter Cups master in no time. Follow these simple steps for perfectly formed, intensely delicious treats.
- Prepare your molds: Line a mini muffin tin (or regular muffin tin for larger cups) with mini paper cupcake liners. Set aside.
- Melt the first layer of chocolate: In a microwave-safe bowl, melt 1 cup of the chocolate chips in 30-second intervals, stirring well after each, until smooth and fully melted. Alternatively, use a double boiler.
- Create the chocolate base: Spoon about 1 teaspoon of melted chocolate into the bottom of each mini cupcake liner. Gently tap the tin on the counter a few times to spread the chocolate evenly. Place the tin in the refrigerator for 5-10 minutes to set.
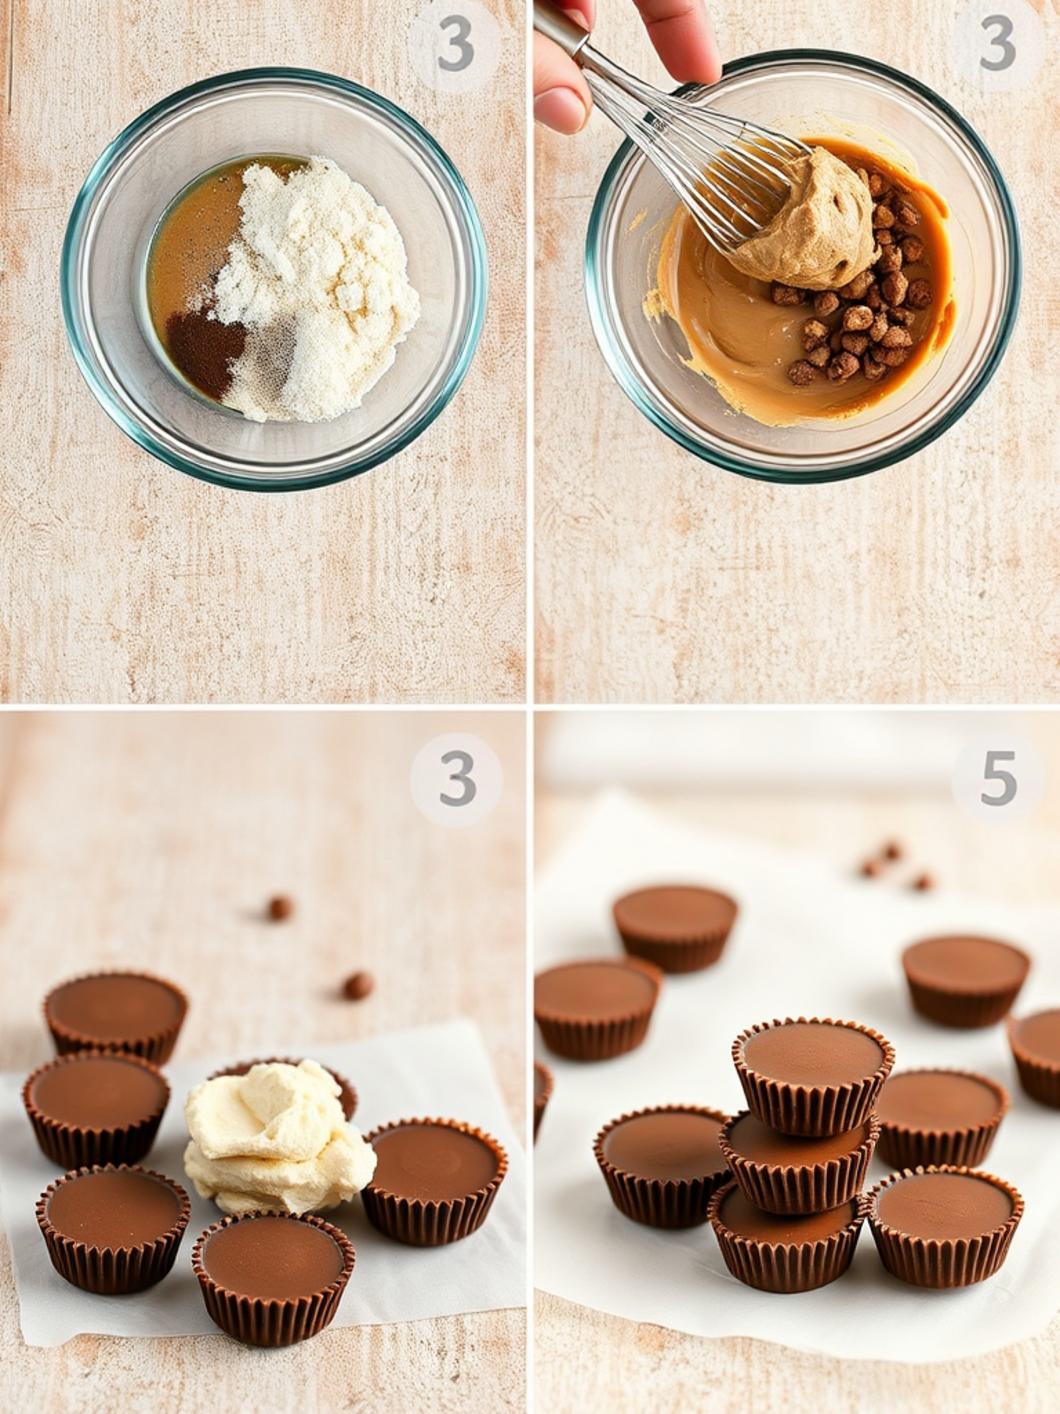
- Make the peanut butter filling: While the chocolate sets, combine the softened butter and creamy peanut butter in a medium bowl. Beat with a spoon or electric mixer until well combined and smooth.
- Add the dry ingredients: Gradually add the sifted powdered sugar, vanilla extract, and salt to the peanut butter mixture. Mix until a thick, crumbly dough forms. You might need to use your hands to fully incorporate the sugar and form a cohesive ball.
- Form the peanut butter discs: Roll the peanut butter mixture into small balls, then flatten them slightly into discs that will fit inside your cupcake liners (about 1 inch in diameter for mini cups).
- Layer the filling: Once the chocolate base is set, place one peanut butter disc on top of the hardened chocolate in each liner. Gently press down.
- Melt the final chocolate layer: Melt the remaining ¾ cup of chocolate chips using the same method as before.
- Top with chocolate: Spoon about 1-2 teaspoons of the remaining melted chocolate over each peanut butter disc, ensuring the peanut butter is fully covered and the chocolate reaches the edges of the liner. Gently tap the tin again to smooth the tops.
- Chill to perfection: Return the muffin tin to the refrigerator for at least 1-2 hours, or until the chocolate is firm and set. Once firm, remove the Reese’s Peanut Butter Cups from the liners and enjoy!
Fun Twists & Serving Ideas
These peanut butter cups are fantastic on their own, but a little creativity can elevate them even further!
- Flaky Sea Salt: A sprinkle of flaky sea salt on top of the wet chocolate layer before chilling adds a sophisticated touch and enhances the flavors.
- Dark Chocolate Lover’s Dream: Swap semi-sweet chocolate for dark chocolate (60-70% cacao) for a more intense, less sweet treat.
- White Chocolate Swirl: After the final chocolate layer, drizzle a bit of melted white chocolate on top and swirl with a toothpick for a decorative marble effect.
- Nutty Variations: Experiment with different nut butters! Almond butter or cashew butter can offer unique flavor profiles (ensure they are creamy and not too oily).
- Add a Crunch: Mix finely crushed pretzels or Rice Krispies into the peanut butter filling for an exciting textural contrast.
- Holiday Sprinkles: Before the chocolate sets, add festive sprinkles for a fun, celebratory touch perfect for any holiday or party.
Reader Reviews
Don’t just take my word for it – here’s what fellow peanut butter cup enthusiasts are saying!
- Sarah M. (⭐️⭐️⭐️⭐️⭐️): “Absolutely incredible! These taste better than store-bought and were so much fun to make with my kids. The recipe is spot on and easy to follow. A new family favorite!”
- David L. (⭐️⭐️⭐️⭐️): “I’ve always wanted to make my own, and this recipe delivered! The texture of the peanut butter filling is perfect. I used dark chocolate for a less sweet version, and they were divine. Only complaint is I ate too many!”
- Jessica P. (⭐️⭐️⭐️⭐️⭐️): “Seriously the best homemade treat! I brought these to a potluck, and they disappeared instantly. Everyone asked for the recipe. The salty-sweet balance is just perfect. Will definitely be making these again and again.”
FAQs About Homemade Peanut Butter Cups
- Q: Can I use natural peanut butter?
A: It’s best to use creamy, processed peanut butter (like Jif or Skippy) as natural peanut butters tend to separate and can make the filling too oily or gritty. - Q: How should I store homemade peanut butter cups?
A: Store them in an airtight container in the refrigerator for up to 2 weeks, or in the freezer for up to 3 months. Let them sit at room temperature for a few minutes before enjoying if frozen. - Q: Why is my chocolate seizing or clumpy?
A: Chocolate can seize if it comes into contact with even a tiny amount of water or if it overheats. Ensure your bowl and utensils are completely dry and melt gently, stirring frequently. - Q: Can I make these dairy-free?
A: Yes! Use dairy-free chocolate chips and a dairy-free butter substitute (like vegan butter sticks). The rest of the ingredients are typically dairy-free.
There you have it – your ultimate guide to crafting the most delightful Homemade Peanut Butter Cups right in your own kitchen! This recipe is a testament to how simple ingredients can create extraordinary flavor and bring pure joy. Whether you’re a seasoned baker or a kitchen novice, these treats are incredibly forgiving and utterly rewarding. So go ahead, treat yourself, your family, and your friends to the magic of Reese’s Peanut Butter Cups perfection. Happy baking (or rather, no-baking)!
Recipe Note: For best results, ensure your butter is truly softened for a smooth peanut butter filling. If the filling seems too sticky, add a touch more powdered sugar; if too dry, add a tiny bit more softened butter or peanut butter.
Peanut Butter Cups
Total Time: 1 hour 20 minutes
Course: Dessert
Servings: 12
Calories: 200
Ingredients
- 1 ½ cups (about 9 oz or 250g) chocolate chips (milk, semi-sweet, or dark)
- ¼ cup unsalted butter, softened (or coconut oil for a dairy-free option)
- 1 cup creamy peanut butter
- ½ cup powdered sugar
- ½ teaspoon vanilla extract (optional)
- Pinch of salt
- Mini paper liners or a mini muffin tin
Instructions
1.Line a 12-cup mini muffin tin with paper liners, or place individual mini paper liners on a baking sheet.
2. Melt half of the chocolate chips. You can do this in a microwave-safe bowl in 30-second intervals, stirring until smooth, or using a double boiler over simmering water.
3. Spoon about 1-2 teaspoons of melted chocolate into the bottom of each liner, just enough to cover the bottom. Place the muffin tin or baking sheet in the freezer for 5-10 minutes to set the chocolate.
4. While the chocolate is setting, prepare the peanut butter filling. In a medium bowl, combine the softened butter (or coconut oil), creamy peanut butter, powdered sugar, vanilla extract (if using), and salt. Mix with an electric mixer or spoon until well combined and smooth.
5. Remove the chilled chocolate bottoms from the freezer. Spoon about 1-2 teaspoons of the peanut butter mixture over the set chocolate in each liner, gently flattening it into a disc.
6. Melt the remaining chocolate chips. Spoon the melted chocolate over the peanut butter filling, ensuring the filling is completely covered. Gently tap the muffin tin or baking sheet on the counter a few times to help smooth the chocolate and release any air bubbles.
7. Return the peanut butter cups to the refrigerator for at least 1 hour, or until completely firm. Once firm, peel off the paper liners and serve. Store leftover peanut butter cups in an airtight container in the refrigerator.
Chef’s Notes: For best results, use good quality chocolate. You can vary the type of chocolate (milk, dark, or white) and peanut butter (creamy or crunchy). Ensure the butter for the filling is softened to room temperature for a smooth mixture. Store in an airtight container in the refrigerator.