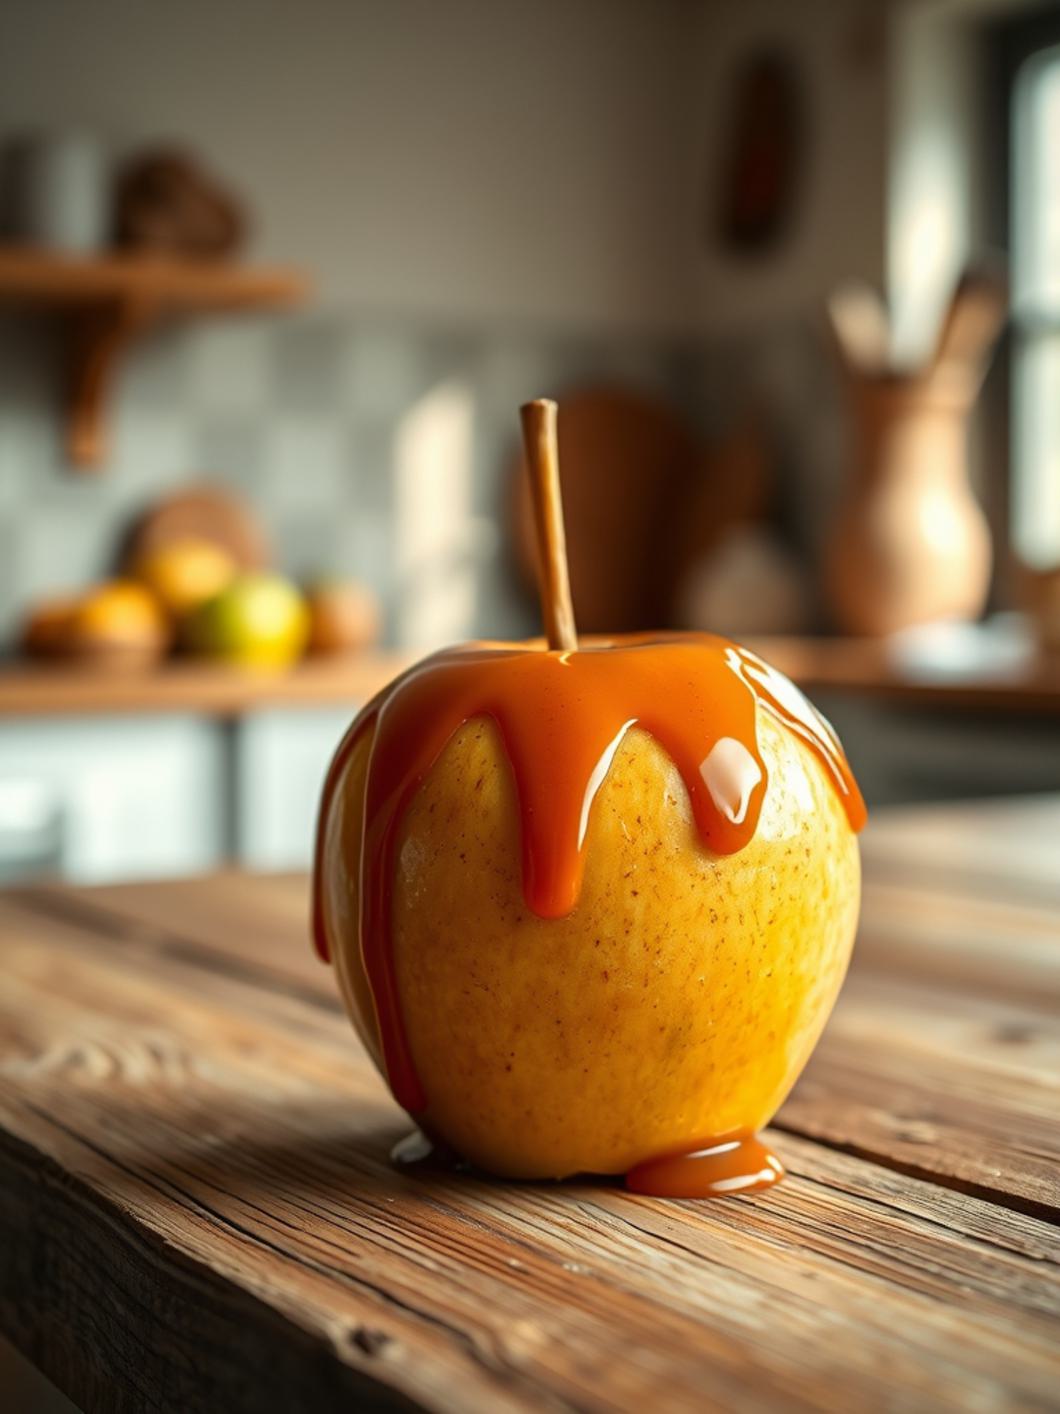
Caramel apple: 5 Must-Try Treats
The Ultimate Homemade Caramel Apple Recipe: A Taste of Autumn Nostalgia!
Oh, Caramel apple! Just hearing those words brings a rush of crisp autumn air, the scent of cinnamon, and memories of carnivals and hayrides. There’s something undeniably magical about a perfectly tart apple encased in a luscious, buttery, and sweet Homemade Caramel. Forget the store-bought versions; making them yourself is not only surprisingly simple but infinitely more rewarding (and delicious!). This recipe isn’t just about dipping fruit; it’s about crafting joy, bite by glorious bite. Get ready to impress everyone with these sticky, sweet, and utterly irresistible treats!
⭐️⭐️⭐️⭐️⭐️ (4.8 from 2,500 fans)
📸 1100+ photo shares | ☀️ Updated December 2025
Why You’ll Love This Recipe
- Nostalgic Delight: Recreate cherished childhood memories with this classic autumn treat.
- Incredibly Flavorful: The perfect balance of tart apple and rich, buttery caramel.
- Fun & Customizable: A fantastic activity for all ages, with endless possibilities for toppings.
- Impressive & Easy: Looks like a gourmet dessert but is surprisingly straightforward to make at home.
What You’ll Need
Equipment
- Large heavy-bottomed saucepan
- Candy thermometer (essential!)
- Baking sheet lined with parchment paper or a silicone mat
- Wooden skewers or lollipop sticks
- Small bowl for chilling apples
Ingredients
- 8 medium-sized firm apples (e.g., Granny Smith, Honeycrisp, Fuji), washed and thoroughly dried
- 8 wooden skewers or lollipop sticks
- 1 cup (2 sticks) unsalted butter
- 2 cups light brown sugar, packed
- 1 cup light corn syrup
- 1 (14 ounce) can sweetened condensed milk
- 1 teaspoon pure vanilla extract
- 1/2 teaspoon sea salt
How to Make Caramel apple
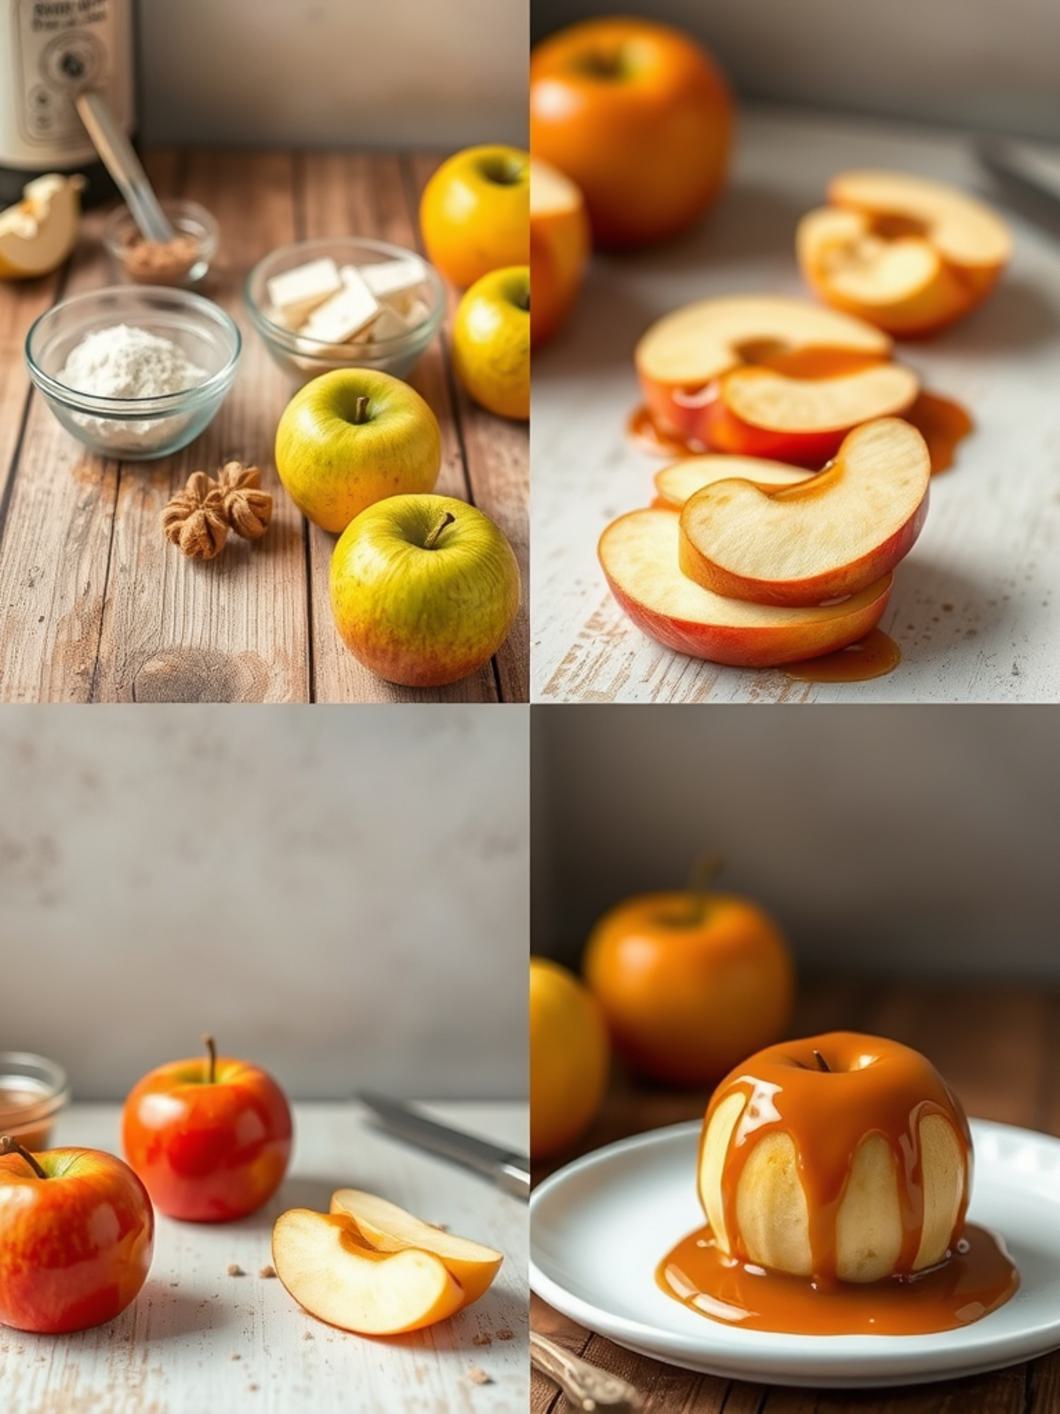
- Prep Your Apples: Thoroughly wash and dry your apples. This is crucial for the caramel to stick! Remove any stems and insert a wooden skewer firmly into the core of each apple, about two-thirds of the way down. Place the apples in the refrigerator while you prepare the caramel.
- Prepare Your Workspace: Line a baking sheet with parchment paper or a silicone baking mat. Have this ready, as the caramel sets quickly once it’s off the heat.
- Start the Caramel: In a large, heavy-bottomed saucepan over medium heat, melt the butter. Add the brown sugar, corn syrup, and sweetened condensed milk. Stir constantly with a wooden spoon or heat-proof spatula until the sugar dissolves and the mixture comes to a boil.
- Cook the Homemade Caramel: Attach a candy thermometer to the side of the pan, ensuring it doesn’t touch the bottom. Continue to cook, stirring frequently, until the mixture reaches 245°F (118°C) – the firm ball stage. This usually takes about 15-20 minutes. Don’t rush this step, and keep stirring to prevent scorching!
- Finish the Caramel: Once the caramel reaches 245°F, immediately remove the pan from the heat. Stir in the vanilla extract and sea salt. Let the Caramel apple mixture cool for about 5-10 minutes in the pan, stirring occasionally, until it thickens slightly but is still pourable.
- Dip the Apples: Remove your chilled apples from the refrigerator. Holding an apple by its stick, dip it into the warm caramel, tilting the pan and rotating the apple to ensure it’s fully coated. Lift the apple out, letting any excess caramel drip back into the pan. You can gently scrape the bottom against the pan rim if needed.
- Cool and Set: Place each dipped apple onto the prepared baking sheet. Repeat with the remaining apples. Allow the Caramel apple to set at room temperature for at least 30 minutes, or in the refrigerator for 15-20 minutes, until the caramel is firm.
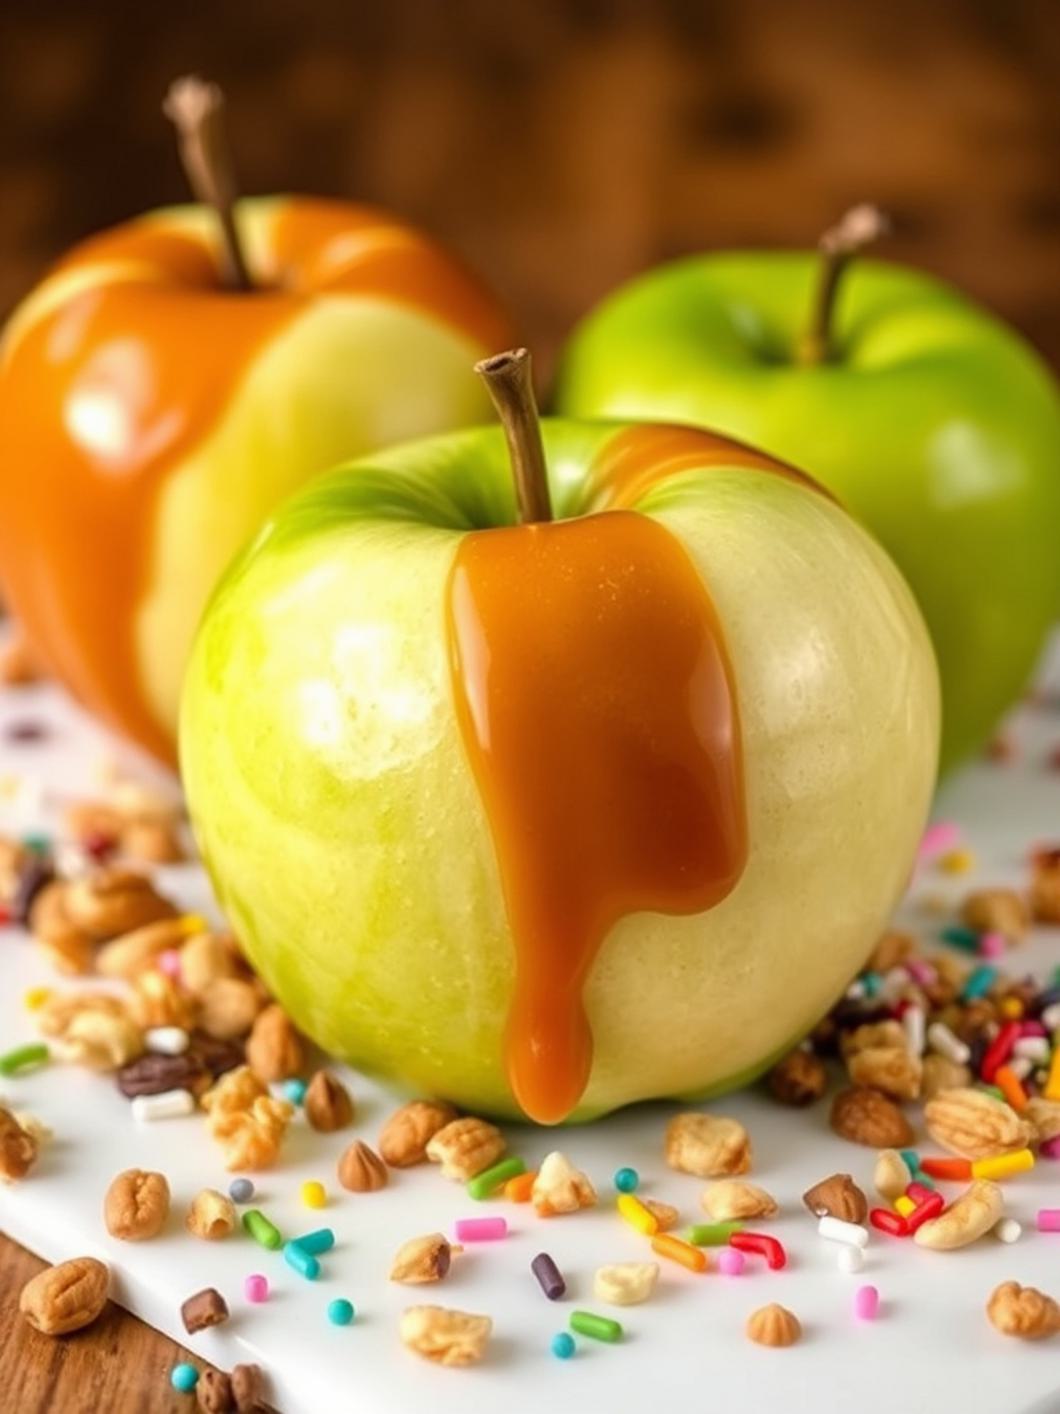
Fun Twists & Serving Ideas
- Nutty Crunch: Roll the freshly dipped apples in chopped peanuts, pecans, or walnuts before the caramel sets.
- Chocolate Drizzle: Melt some chocolate chips (milk, dark, or white) and drizzle artfully over the set caramel for an extra layer of decadence.
- Sprinkle Fun: Perfect for parties! Have a variety of festive sprinkles, mini chocolate chips, or crushed cookies ready for guests to customize their own.
- Spice it Up: Add a pinch of cinnamon or apple pie spice to your caramel mixture for an extra autumnal kick.
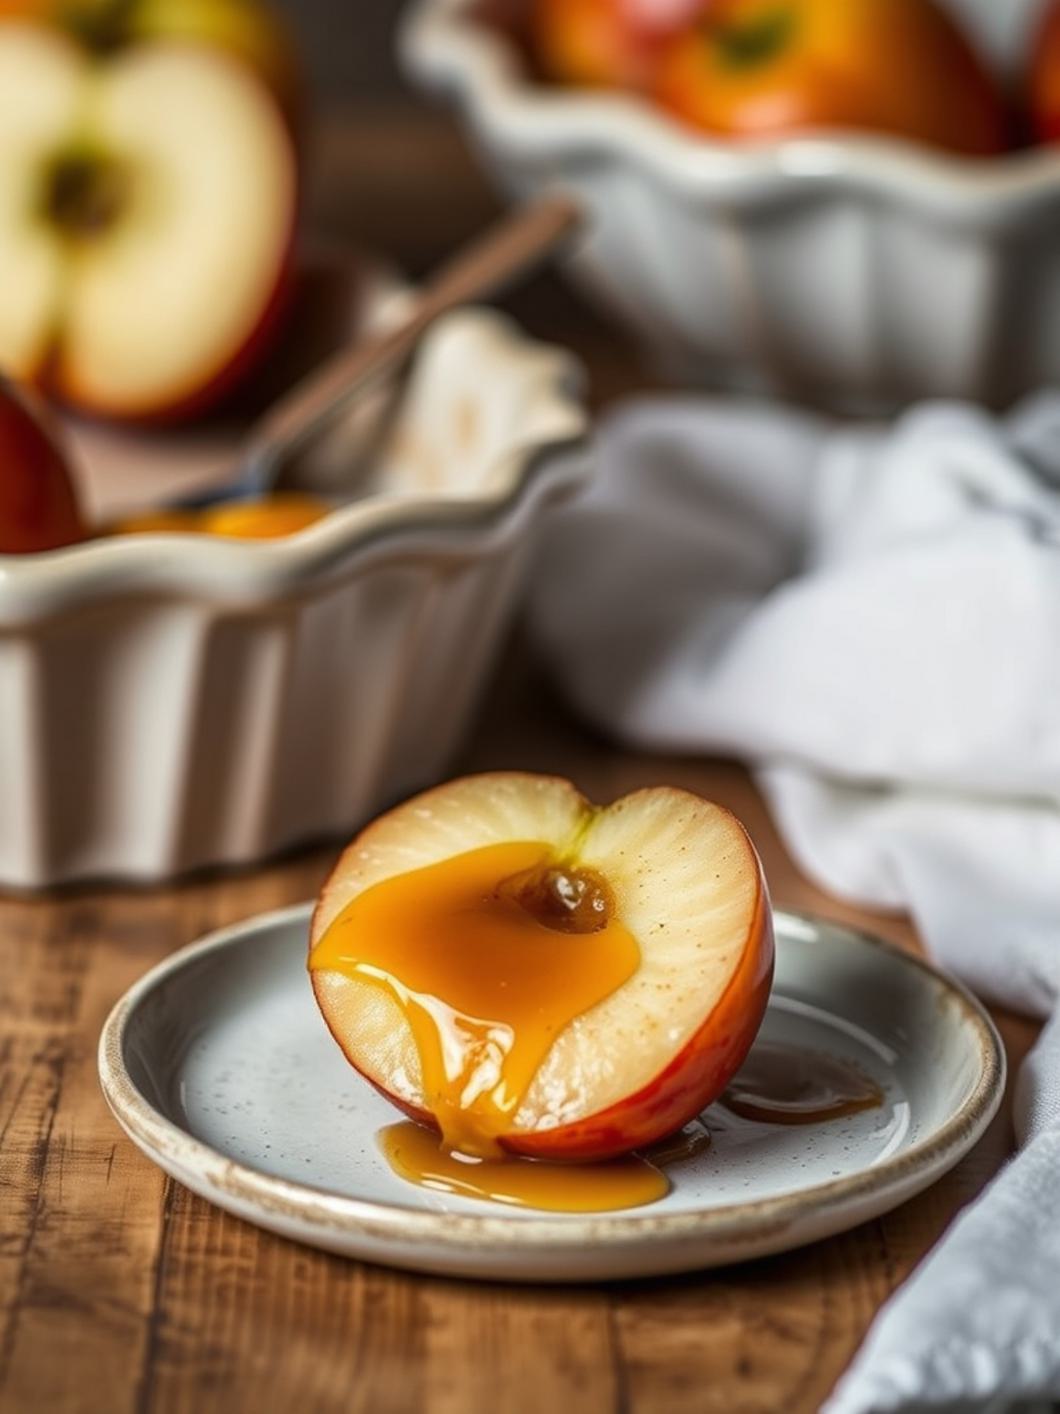
- Caramel Apple Slices: For easier eating, slice the apples into wedges after the caramel has set, then dip each wedge individually.
Pro Tips for Success
- Dry Apples are Key: Moisture on the apple skin will prevent the caramel from adhering properly. Wash and dry them meticulously!
- Use a Candy Thermometer: This is non-negotiable for perfectly textured caramel. Guessing the temperature often leads to sticky, runny, or too-hard caramel.
- Don’t Rush the Cook: Cooking caramel requires patience. Keep the heat medium and stir consistently to prevent burning.
- Chill Your Apples: Cold apples help the warm caramel set more quickly and evenly, preventing it from sliding off.
- Heavy-Bottomed Pan: This distributes heat more evenly and reduces the risk of scorching your caramel.
Storing Your Homemade Caramel Apples
Store your caramel apples in an airtight container in the refrigerator for up to 3-5 days. For best results and to prevent the caramel from becoming too sticky or runny, allow them to come to room temperature for about 15-20 minutes before serving.
Reader Reviews
⭐️⭐️⭐️⭐️⭐️
“I’ve always wanted to make these from scratch, and this recipe absolutely delivered! The caramel was perfect – not too hard, not too soft. My kids devoured them. A new fall tradition for sure!”– Sarah J.
⭐️⭐️⭐️⭐️⭐️
“The best caramel apple recipe I’ve ever tried! The instructions were clear, and the tips for chilling the apples really made a difference. They looked and tasted professional. So much better than store-bought.”– Mark T.
⭐️⭐️⭐️⭐️
“I struggled a bit with my candy thermometer, but the caramel still turned out delicious, just a little softer than I expected. The flavor was incredible though! Next time, I’ll pay closer attention to the temperature. Still a huge hit!”
– Emily R.
FAQs
Q: What kind of apples are best for caramel apples?
A: Firm, tart apples like Granny Smith, Honeycrisp, or Fuji work best as they provide a nice contrast to the sweet caramel and hold their shape well.
Q: Why did my caramel slide off the apples?
A: This usually happens if the apples weren’t thoroughly dry, if they weren’t chilled, or if the caramel wasn’t cooked to the correct temperature (too thin). Ensure apples are perfectly dry and chilled, and use a candy thermometer!
Q: Can I make the caramel ahead of time?
A: While possible, caramel is best used fresh. If you must, store it in an airtight container in the fridge and gently reheat over low heat, stirring constantly, until it’s dippable again. Be careful not to scorch it.
Q: What if I don’t have a candy thermometer?
A: A candy thermometer is highly recommended for success. Without one, it’s very difficult to achieve the correct caramel consistency, often resulting in caramel that’s too soft or too hard.
Recipe Note:
Please remember that handling hot caramel requires caution. Always be careful around hot sugar mixtures, and keep children at a safe distance during the cooking and dipping process.
Caramel apple
Cook Time: N/A
Total Time: 1 hour 30 minutes
Course: Dessert
Servings: 6
Calories: 400
Ingredients
- 6 medium-sized firm apples (such as Granny Smith or Honeycrisp)
- 6 wooden skewers or popsicle sticks
- 1 (14-ounce) package individually wrapped soft caramels (about 50 pieces)
- 2 tablespoons water or milk
- Optional toppings: chopped nuts, sprinkles, mini chocolate chips, melted chocolate for drizzling
Instructions
-
Wash and dry apples; remove stems and insert wooden sticks.
-
In a saucepan, melt caramel candies with water or cream over low heat, stirring until smooth.
-
Dip each apple into the melted caramel, turning to coat evenly.
-
Immediately roll or sprinkle with toppings if desired.
-
Place on parchment paper to set (10–15 minutes).
-
Serve once caramel is firm, or chill briefly for a firmer coating.
Chef’s Notes: For best results, use firm, tart apples like Granny Smith. Ensure apples are completely dry before dipping, as any moisture will prevent the caramel from sticking properly. You can also add chopped nuts, sprinkles, or a drizzle of melted chocolate after the caramel has set slightly for extra flavor and decoration.