Homemade Peppermint Marshmallows – Soft & Festive
🍬 Homemade Peppermint Marshmallows: Creamy, Comforting, and Irresistibly Good
⭐️⭐️⭐️⭐️⭐️ (4.9 from 1,623 fans)
📸 745+ photo shares | ☀️ Updated October 2025
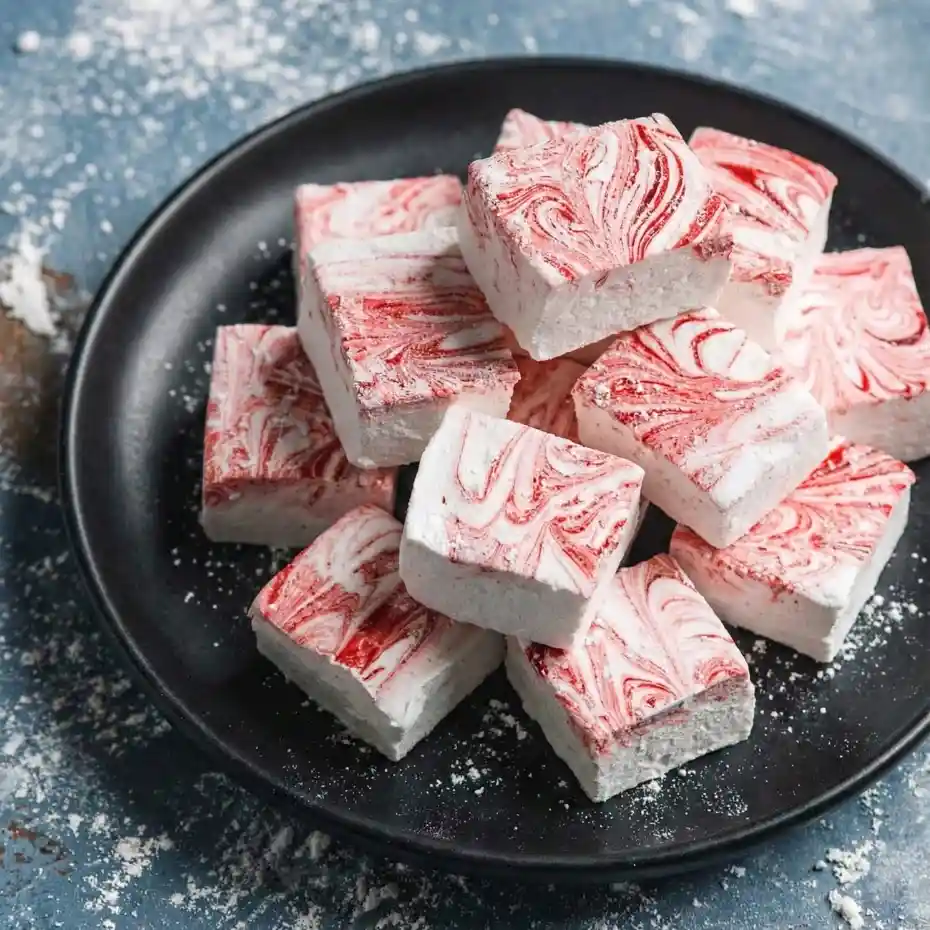
Oh, the magic of homemade marshmallows! There’s simply nothing quite like the cloud-like texture and pure, melt-in-your-mouth delight of a freshly made batch. But when you infuse that classic sweetness with the crisp, invigorating essence of peppermint, you elevate it to an entirely new realm of cozy indulgence. These Homemade Peppermint Marshmallows are more than just a treat; they’re a tiny edible dream, bursting with cool, minty flavor and a wonderfully soft, springy chew. Perfect for floating atop a steaming mug of hot chocolate on a chilly evening, sharing as a thoughtful holiday gift, or simply savoring as a sweet moment of peace, they’re guaranteed to bring a smile to anyone lucky enough to try them.
Quick Glance
⏱️ Prep Time: 30 minutes (plus 4 hours setting)
🍽️ Servings: 30-40 pieces
💥 Vibe: Fluffy, Minty, Dreamy
Jump Ahead
- What You’ll Need
- How to Make Homemade Peppermint Marshmallows
- Fun Twists & Serving Ideas
- Reviews
- FAQ
- Conclusion
What You’ll Need
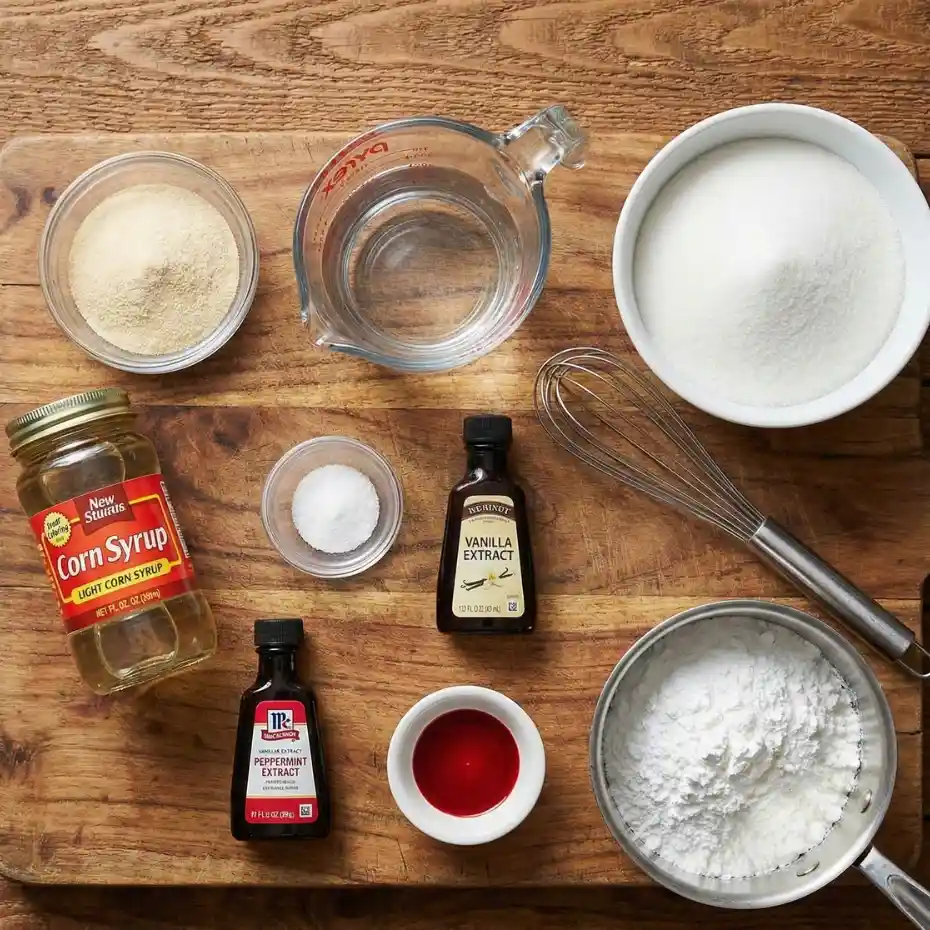
Crafting these dreamy peppermint clouds requires just a few simple ingredients, most of which you likely already have in your pantry. The key is quality ingredients and precise measurements for that perfect, pillowy texture. Here’s what you’ll gather:
- 3 packets (about 2 tbsp + 1 tsp) unflavored gelatin
- ½ cup cold water (for gelatin)
- 1½ cups granulated sugar
- 1 cup light corn syrup
- ½ cup water (for syrup)
- ¼ teaspoon salt
- 2 teaspoons pure peppermint extract
- Red food coloring (optional, a few drops)
- ½ cup powdered sugar
- ¼ cup cornstarch
How to Make Homemade Peppermint Marshmallows
Get ready to whisk, pour, and watch the magic unfold! Making your own marshmallows is a delightful process, and with these steps, you’ll have perfect peppermint treats in no time.
- Prepare Your Pan: Line a 9×13 inch baking pan with parchment paper, ensuring it extends over the sides for easy removal. Lightly grease the parchment with a neutral non-stick cooking spray or a pat of butter.
- Bloom the Gelatin: In the large bowl of your stand mixer (fitted with the whisk attachment), sprinkle the unflavored gelatin evenly over ½ cup of cold water. Let it sit undisturbed for 5-10 minutes to allow the gelatin to “bloom” and soften.
- Craft the Syrup: In a medium-sized, heavy-bottomed saucepan, combine the granulated sugar, light corn syrup, ½ cup of water, and salt. Stir gently over medium-high heat until the sugar completely dissolves.
- Reach for Soft Ball Stage: Insert a candy thermometer into the syrup, being careful not to let it touch the bottom of the pan. Continue to cook the syrup without stirring until it reaches precisely 240°F (115°C), which is the soft ball stage.
- Begin Whipping: With your stand mixer on low speed, slowly and carefully pour the hot sugar syrup in a thin, steady stream into the gelatin mixture. Be mindful not to pour the hot syrup directly onto the whisk attachment, as it can splatter.
- Whip to Perfection: Once all the syrup has been added, increase the mixer speed to high. Whip the mixture for 10-15 minutes. It will transform from a liquid into a remarkably thick, glossy, and billowy marshmallow fluff, nearly tripling in volume and turning a brilliant white.
- Infuse Flavor and Color: In the final minute of whipping, add the pure peppermint extract. If you’re going for that festive look, add a few drops of red food coloring now, mixing just until evenly combined.
- Pour and Spread: Quickly pour the marshmallow mixture into your prepared pan. Use an oiled spatula or your clean, slightly oiled hands to gently spread the marshmallow evenly across the pan.
- Set It Aside: Allow the marshmallows to set at room temperature for at least 4 hours, or ideally, overnight. Leave them uncovered during this time.
- Dust and Cut: In a shallow dish, whisk together the powdered sugar and cornstarch. Heavily dust a clean cutting board and a sharp knife (or a pizza cutter) with this mixture. Invert the marshmallow slab onto the dusted board and carefully peel off the parchment paper.
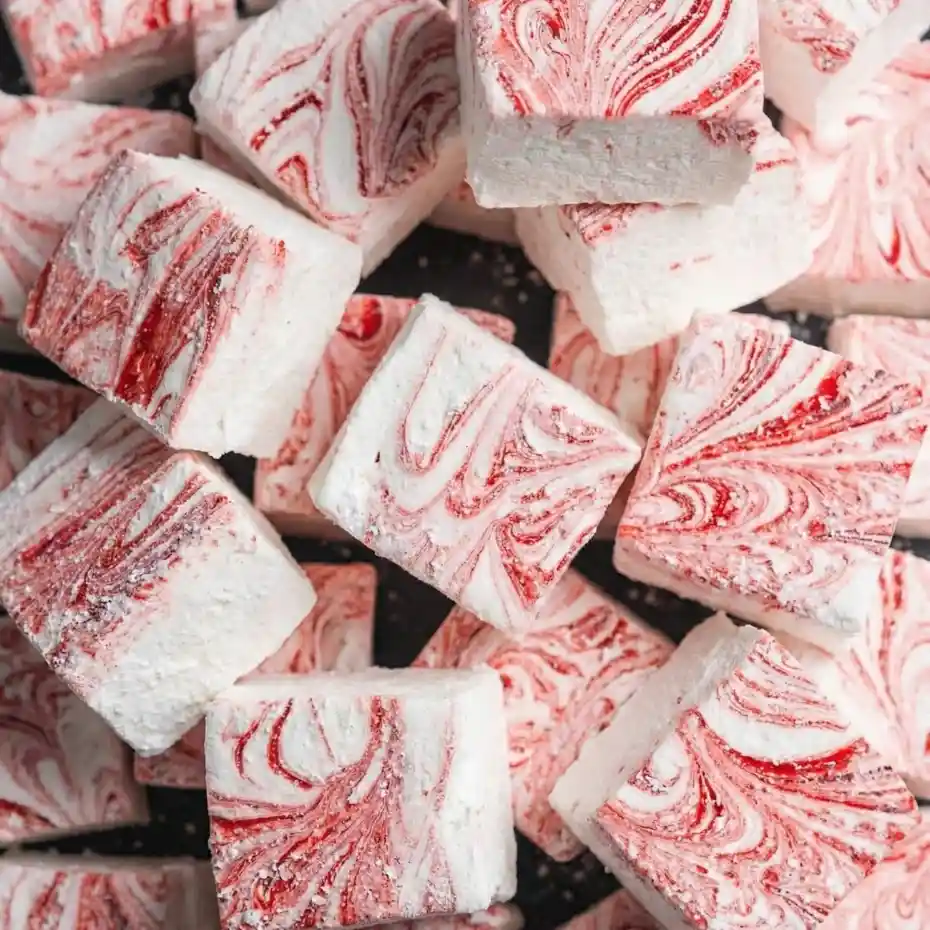
- Shape Your Treats: Generously dust the top surface of the marshmallow slab. Using your dusted knife or pizza cutter, cut the slab into your desired shapes – classic squares, festive rectangles, or even use cookie cutters for fun holiday shapes. Make sure to dust all cut sides with the powdered sugar mixture to prevent any stickiness.
- Enjoy and Store: Your Homemade Peppermint Marshmallows are ready to delight! Serve them immediately or store them in an airtight container at room temperature.
Fun Twists & Serving Ideas
These peppermint marshmallows are fantastic on their own, but they also open up a world of delightful possibilities! Here are a few creative ways to enjoy them:
- Hot Chocolate Heaven: This is a classic for a reason! Drop a few into a steaming mug of hot cocoa, and watch them melt into a creamy, minty cloud.
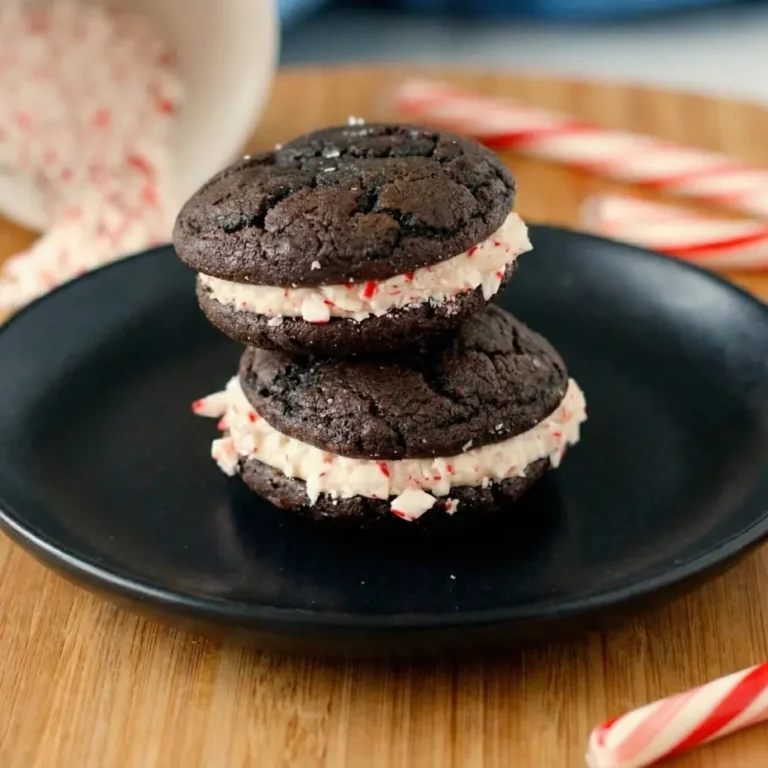
- Chocolate Dipped Dreams: Melt some dark or white chocolate, dip half of each marshmallow, and then sprinkle with crushed candy canes before the chocolate sets for an extra festive touch.
- Peppermint S’mores: Take your campfire s’mores to the next level! Toast these over an open flame until gooey, then sandwich them with chocolate and graham crackers.
- Giftable Goodness: Package them in pretty bags with festive ribbon for a thoughtful, homemade holiday gift that friends and family will adore.
- Cookie Toppers: Gently place a small peppermint marshmallow on top of freshly baked chocolate cookies during the last few minutes of baking for a melted, gooey delight.
Reviews

Reading your wonderful comments always warms our hearts! Here’s what some of our fans have to say:
“Absolutely divine! I made these for my holiday party, and they were the first thing to disappear. The peppermint is so fresh, and they’re so much better than store-bought. A new family tradition!” – Sarah L. ⭐️⭐️⭐️⭐️⭐️
“Surprisingly easy! I was intimidated at first, but your instructions were so clear. The texture is incredible, truly like biting into a cloud. My kids are obsessed!” – David P. ⭐️⭐️⭐️⭐️⭐️
“Perfect for hot chocolate! I love how they slowly melt, adding just the right amount of minty sweetness. I even tried dipping some in dark chocolate, and wow!” – Emily R. ⭐️⭐️⭐️⭐️⭐️
FAQ
Got questions? We’ve got answers to help you master these delightful treats!
Q: How long do homemade marshmallows last?
A: Stored in an airtight container at room temperature, your homemade peppermint marshmallows will stay fresh and delicious for up to 2-3 weeks. Be sure to keep them away from direct sunlight or heat.
Q: Can I use another flavor extract instead of peppermint?
A: Absolutely! This recipe is wonderfully versatile. Feel free to substitute the peppermint extract with vanilla, almond, orange, or even a different seasonal extract like gingerbread spice for a fun twist.
Q: My marshmallows didn’t set properly, what went wrong?
A: The most common culprits are either not reaching the correct temperature (240°F / 115°C) for the sugar syrup, or not whipping the mixture long enough. A candy thermometer is crucial for accuracy. Also, ensure your gelatin is fresh and bloomed correctly.
Q: Can I freeze homemade marshmallows?
A: While you can freeze them, the texture might change slightly, becoming a bit chewier. We recommend enjoying them fresh for the best experience. If you do freeze, wrap them tightly and store for up to a month, then thaw at room temperature.
Conclusion
There’s a special kind of warmth that comes from creating something truly special with your own hands, and these Homemade Peppermint Marshmallows embody that feeling perfectly. From the gentle hum of the mixer transforming simple ingredients into ethereal clouds, to the joyful moment of dusting and cutting your soft, minty creations, every step is a small celebration. They’re more than just a sweet treat; they’re an invitation to slow down, savor the moment, and share a little bit of homemade love. We hope you dive into this recipe, embrace the delicious adventure, and let these fluffy, flavorful gems bring a touch of cozy magic into your kitchen and your heart.
Recipe Note
For the cleanest cuts and to prevent sticking, re-dust your knife and cutting board frequently with the powdered sugar/cornstarch mixture. An oiled pizza cutter can also make quick work of slicing even squares!
Homemade Peppermint Marshmallows
Cook Time: N/A (Chill 40 minutes)
Total Time: 4 hours 40 minutes (includes 4 hours setting time)
Course: N/A
Servings: 48-60 pieces
Calories: 70 calories per piece (approximate)
Ingredients
- 3 envelopes (about 21g or 2.5 tablespoons) unflavored gelatin
- 1/2 cup cold water (for gelatin)
- 1 1/2 cups granulated sugar
- 1 cup light corn syrup
- 1/2 cup water (for syrup)
- 1/4 teaspoon salt
- 2 teaspoons peppermint extract
- 1/2 teaspoon red food coloring (optional, for pink swirl)
- 1/2 cup powdered sugar
- 1/4 cup cornstarch
Instructions
1.Lightly grease a 9×13-inch baking pan and line it with parchment paper, leaving an overhang on the sides. Grease the parchment paper as well. In a small bowl, combine the powdered sugar and cornstarch, then generously dust the prepared pan with about half of this mixture, tapping out any excess. Set aside.
2. In the bowl of a stand mixer fitted with the whisk attachment, pour the 1/2 cup cold water and sprinkle the unflavored gelatin evenly over the top. Let it bloom for 5-10 minutes until softened.
3. While the gelatin blooms, combine the granulated sugar, corn syrup, 1/2 cup water, and salt in a medium saucepan. Cook over medium-high heat, stirring until the sugar dissolves. Once dissolved, stop stirring and bring the mixture to a boil. Insert a candy thermometer and cook until the syrup reaches 240°F (116°C).
4. Carefully remove the sugar syrup from the heat. With the mixer on low speed, slowly and steadily pour the hot syrup down the side of the bowl into the bloomed gelatin. Once all the syrup is added, increase the mixer speed to high. Whip for 12-15 minutes, or until the mixture is very thick, white, glossy, and has nearly tripled in volume.
5. Reduce the mixer speed to low and add the peppermint extract. If using red food coloring, add it now and mix briefly until just incorporated, or gently swirl it in by hand once poured into the pan for a marbled effect.
6. Quickly pour the marshmallow mixture into the prepared pan. If adding a swirl, drizzle the food coloring on top and gently swirl with a knife or skewer. Lightly grease an offset spatula or your hands with cooking spray and gently press the marshmallow evenly into the pan.
7. Dust the top of the marshmallow generously with some of the remaining powdered sugar/cornstarch mixture. Let it sit at room temperature for at least 4 hours, or preferably overnight, until completely set.
8. Once set, invert the marshmallow onto a cutting board dusted with the remaining powdered sugar/cornstarch mixture. Peel off the parchment paper. Use a sharp, greased knife or a greased pizza cutter to cut the marshmallows into desired squares or rectangles.
9. Toss the cut marshmallows in the remaining powdered sugar/cornstarch mixture to prevent sticking. Store in an airtight container at room temperature for up to 2 weeks.
Chef’s Notes: Using a stand mixer is highly recommended for whipping the marshmallow mixture. Ensure accurate measurements for the best results. Patience during the setting time is key for firm marshmallows.