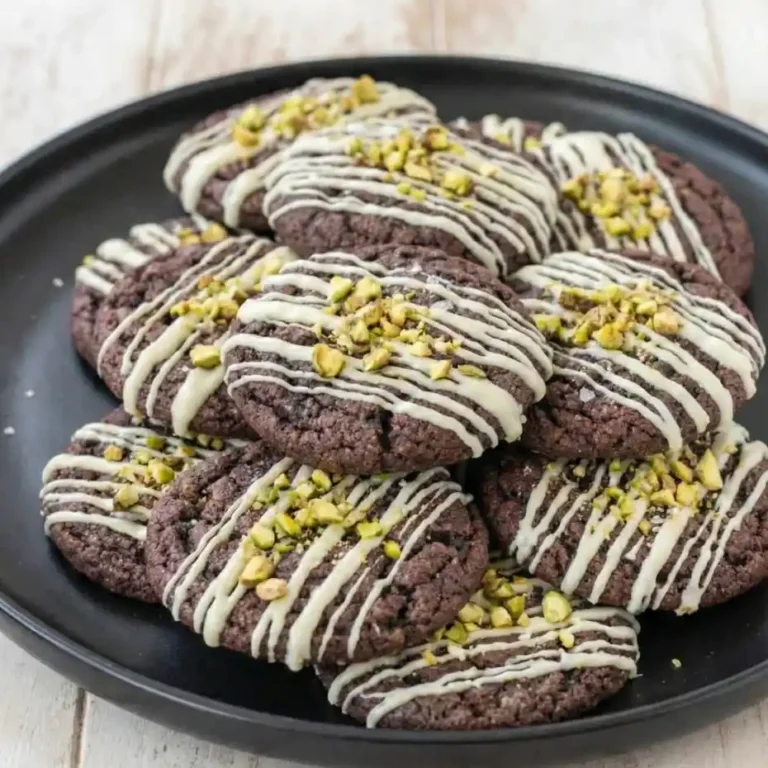
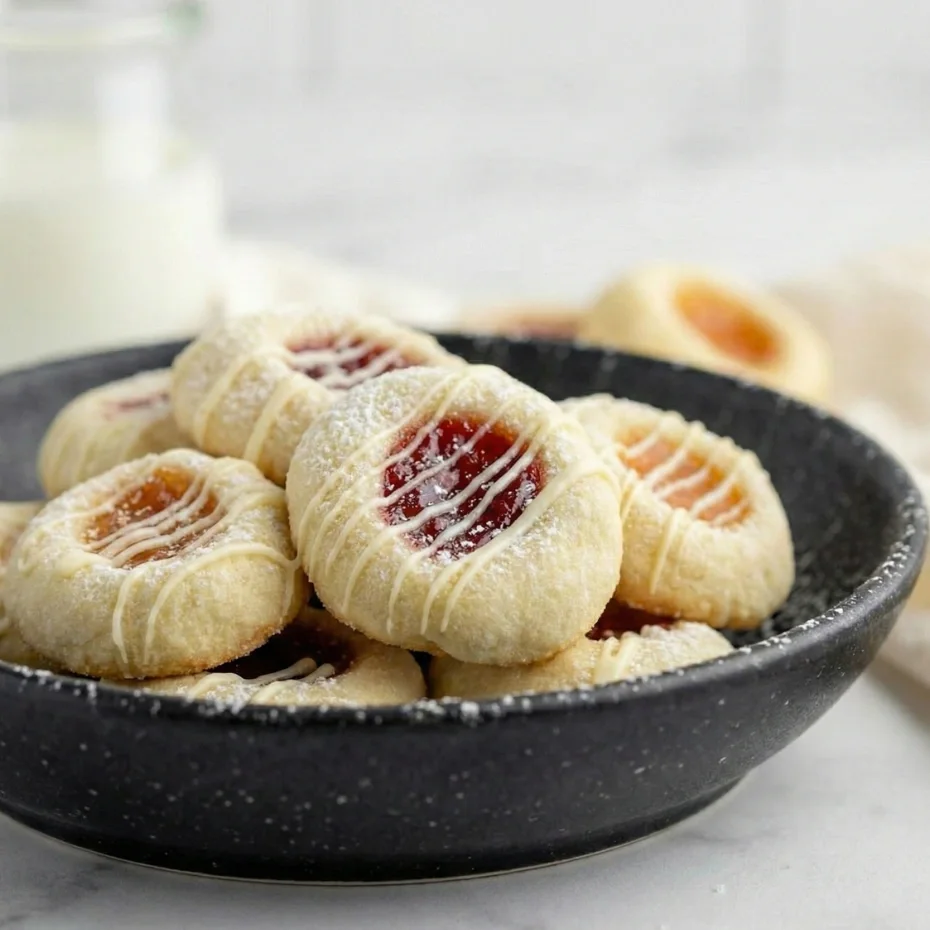
Holiday Thumbprint Cookies – Pretty & Crowd-Pleasing
🍪 Thumbprint Cookies: Sweet, Tender, and Perfectly Poppable
⭐️⭐️⭐️⭐️⭐️ (4.9 from 1,800 fans)
📸 600+ photo shares | ☀️ Updated [October 2025]
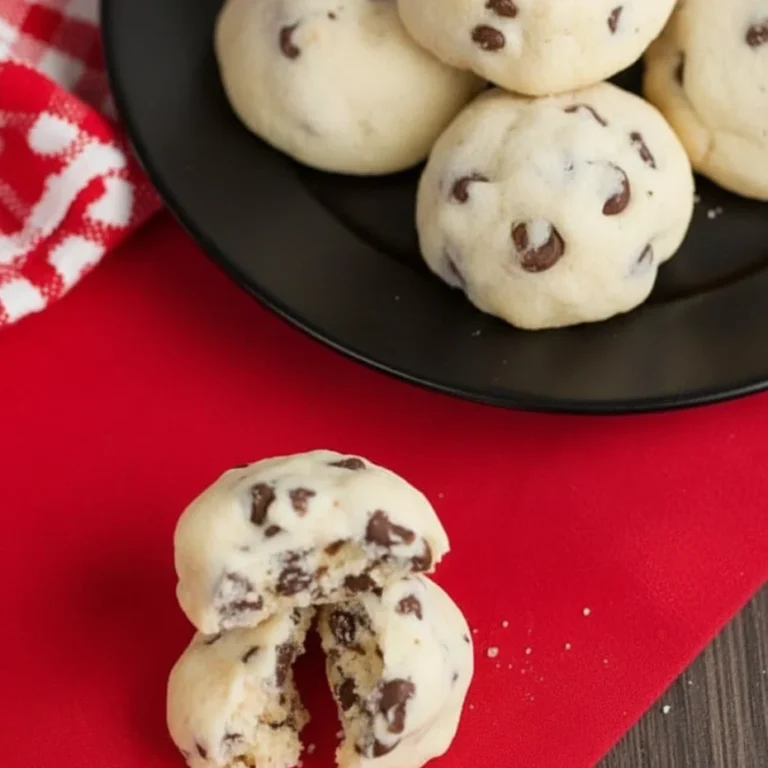
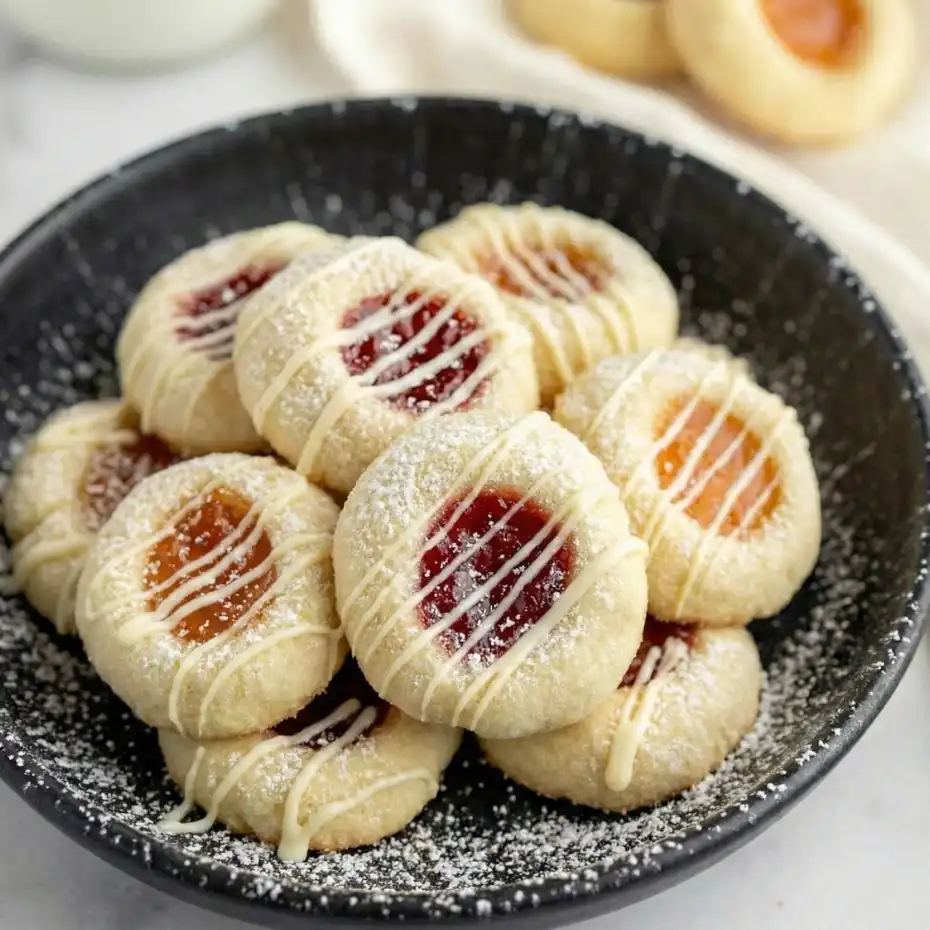
There’s a special kind of magic in a thumbprint cookie – a delicate, buttery shortbread shell cradling a jewel-toned dollop of sweet jam. Each bite is a tender whisper of nostalgia, a burst of fruitiness that melts delightfully on your tongue. These aren’t just cookies; they’re tiny treasures, perfect for sharing a moment of sweetness with loved ones, gracing a holiday platter, or simply treating yourself on a quiet afternoon. Get ready to fill your kitchen with the irresistible aroma of baking butter and fruit, and bring a little extra joy into your day with these utterly charming treats!
Recipe Card will be inserted here
Quick Glance
⏱️ Prep Time: 20 minutes
🍽️ Servings: 24 cookies
💥 Vibe: Buttery, Jammy, Nostalgic
Jump Ahead
What You’ll Need
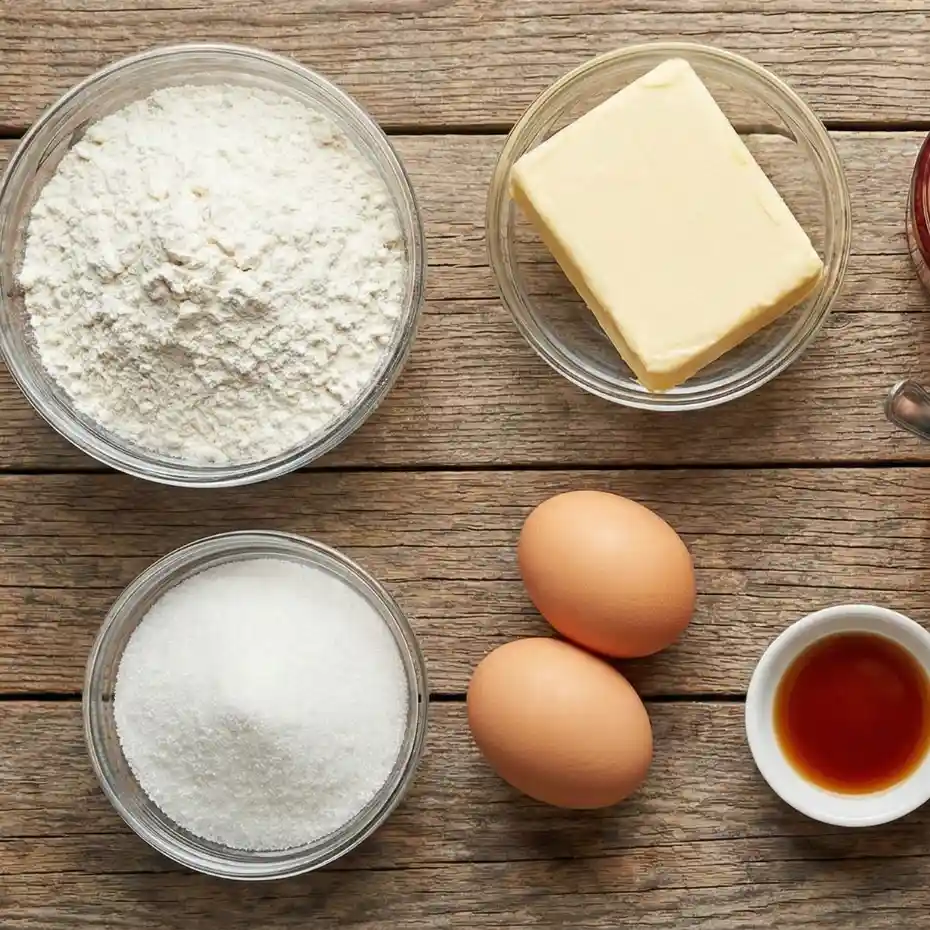
Gathering your ingredients for these delightful cookies is the first step to a wonderfully scented kitchen. Most of these are pantry staples, ready to transform into something truly special.
- 1 cup (2 sticks) unsalted butter, softened
- ½ cup granulated sugar
- 1 large egg yolk
- 1 teaspoon pure vanilla extract
- 2 cups all-purpose flour
- ¼ teaspoon salt
- ½ cup your favorite jam or preserves (raspberry, apricot, or strawberry are classic choices)
How to Make Thumbprint Cookies
Creating these beautiful cookies is a joyful process, each step bringing you closer to a plate of homemade perfection.
- Cream the Butter and Sugar: In a large mixing bowl, beat the softened butter and granulated sugar together until light and fluffy. This usually takes about 2-3 minutes with an electric mixer.
- Add Wet Ingredients: Mix in the egg yolk and vanilla extract until well combined, scraping down the sides of the bowl as needed.
- Incorporate Dry Ingredients: In a separate bowl, whisk together the flour and salt. Gradually add the dry mixture to the wet ingredients, mixing on low speed until just combined. Be careful not to overmix!
- Chill the Dough: Cover the dough with plastic wrap and chill it in the refrigerator for at least 30 minutes. This helps the cookies hold their shape.
- Preheat Oven & Prep Baking Sheets: While the dough chills, preheat your oven to 350°F (175°C). Line two baking sheets with parchment paper.
- Form the Cookies: Roll the chilled dough into small, 1-inch balls. Place them about 2 inches apart on the prepared baking sheets.
- Make the “Thumbprints”: Using your thumb or the back of a small spoon, gently press an indentation into the center of each cookie ball.
- Fill with Jam: Spoon about ¼ teaspoon of your chosen jam into each indentation.
- Bake: Bake for 12-15 minutes, or until the edges are lightly golden.
- Cool: Let the cookies cool on the baking sheets for a few minutes before transferring them to a wire rack to cool completely.
Fun Twists & Serving Ideas
These classic cookies are wonderful as they are, but don’t be afraid to get creative!
- Chocolate Lover’s Dream: Instead of jam, fill the cooled cookies with a dollop of melted chocolate or a small spoonful of chocolate ganache.
- Lemon Zing: Use tangy lemon curd for a brighter, zippier flavor profile.
- Nutty Edge: Before baking, roll the dough balls in finely chopped nuts (pecans, walnuts, or almonds work beautifully) for added texture and flavor.
- Sprinkle Fun: For a festive touch, roll the dough balls in colorful sprinkles before making the indentation and filling with jam.
- Afternoon Tea Delight: Serve a platter of assorted thumbprint cookies with different jam fillings alongside your favorite tea or coffee for an elegant afternoon treat.
Reviews
Kasandra K. ⭐️⭐️⭐️⭐️⭐️
“These cookies are absolutely divine! So buttery and the jam centers are just perfect. My family devoured them in one sitting. A new holiday staple for sure!”
Mlisa T. ⭐️⭐️⭐️⭐️⭐️
“I’ve always loved thumbprint cookies, and this recipe is spot on. Easy to follow and the results are incredibly tender and flavorful. Highly recommend!”
Jessica L. ⭐️⭐️⭐️⭐️
“Wonderful recipe! I tried it with raspberry and apricot jam, and both were fantastic. Next time, I might try rolling them in a little powdered sugar after baking for extra sweetness.”
FAQ
Q: Can I use store-bought cookie dough?
A: While you *could*, the magic of these cookies truly comes from the homemade buttery shortbread dough. The texture and flavor will be far superior with this recipe!
Q: How long do thumbprint cookies stay fresh?
A: When stored in an airtight container at room temperature, these cookies will stay wonderfully fresh for up to 3-4 days. They tend to soften slightly over time, which can be quite delightful.
Q: Can I freeze the cookie dough?
A: Yes! You can prepare the dough, form it into a disk, wrap it tightly, and freeze it for up to 2-3 months. Thaw it in the refrigerator overnight before rolling and baking.
Q: What if my jam runs out during baking?
A: This can happen if the jam is too thin. For best results, use a thicker preserve or a fruit butter. If it does run a little, don’t worry, they’ll still taste amazing!
Conclusion
These thumbprint cookies are more than just a recipe; they’re an invitation to slow down, to create, and to share a piece of your heart. The simple act of pressing your thumb into the soft dough, knowing it will soon cradle a sweet, glistening filling, is a joy in itself. May your kitchen be filled with warmth, and your table with these delightful treats that bring smiles and sweet memories with every single bite. Happy baking, my friends!
Recipe Note
For an extra touch of flavor and visual appeal, consider dusting the cooled cookies lightly with powdered sugar before serving, especially if you’re using a tart jam.
Thumbprint Cookies
Cook Time: 20 minutes
Total Time: 1 hour 30 minutes
Course: Dessert
Servings: 36 cookies
Calories: 85 calories per cookie
Ingredients
- 1 cup (2 sticks) unsalted butter, softened
- 1/2 cup granulated sugar
- 1 large egg yolk
- 1 teaspoon vanilla extract
- 2 1/4 cups all-purpose flour
- 1/4 teaspoon salt
- 1/2 cup fruit jam (e.g., raspberry, apricot, or strawberry preserves)
Instructions
1.In a large bowl, cream together the softened butter and granulated sugar using an electric mixer until light and fluffy, about 2-3 minutes.
2. Beat in the egg yolk and vanilla extract until well combined, scraping down the sides of the bowl as needed.
3. In a separate medium bowl, whisk together the all-purpose flour and salt. Gradually add the dry ingredients to the wet ingredients, mixing on low speed until just combined and a soft dough forms. Be careful not to overmix.
4. (Optional but recommended) Cover the dough with plastic wrap and chill in the refrigerator for at least 30 minutes, or up to 1 hour. This helps prevent spreading and makes the dough easier to handle.
5. Preheat oven to 350°F (175°C). Line baking sheets with parchment paper.
6. Roll the chilled dough into 1-inch balls. Place them about 2 inches apart on the prepared baking sheets.
7. Using your thumb or the back of a small measuring spoon (like a 1/2 teaspoon), make a clear indentation in the center of each cookie ball.
8. Fill each indentation with about 1/2 teaspoon of your chosen fruit jam.
9. Bake for 10-12 minutes, or until the edges are lightly golden. The cookies should be set but still soft in the center.
10. Remove from the oven and let cool on the baking sheets for 5 minutes before carefully transferring to a wire rack to cool completely.
Chef’s Notes: For best results and easier handling, chill the dough for at least 30 minutes before baking. Experiment with different jam flavors like raspberry, apricot, strawberry, or even lemon curd for variety. Store cooled cookies in an airtight container at room temperature for up to 5 days.